 Skip to content
A chair leg slides. A dog skids around the corner. A toy hits the floor harder than it should. In a lot of Parker homes, that's how the search for a hardwood floor repair kit home depot starts.
I've seen this plenty in neighborhoods like Stroh Ranch and Canterberry Crossing, where homeowners want a quick fix before a scratch turns into the first thing they notice every time they walk into the room. That instinct makes sense. A small repair kit can be a smart move for isolated damage, especially when you want to avoid turning a one-mark problem into a full project.
Still, there's a line between a touch-up and a real repair. If the damage is shallow and local, a kit may do the job. If the floor has broader wear, finish loss, movement, or moisture issues, you're in Parker hardwood floor refinishing territory, and that's where a UV-Cure System starts making more sense than another round of filler.
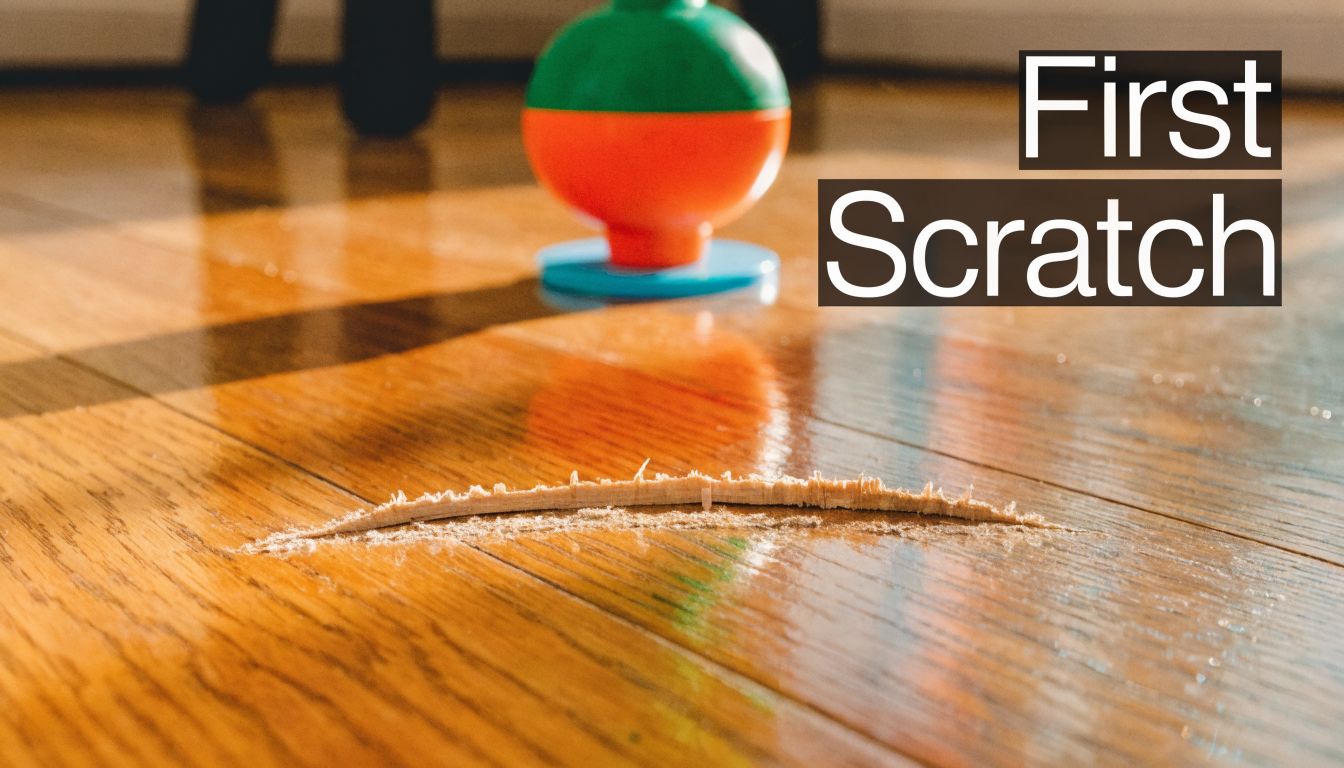
That First Scratch A Homeowner's Guide to Quick Fixes
The most common call starts with one ugly mark in an otherwise good-looking floor. Maybe it's near the kitchen island. Maybe it's in the hallway where everyone cuts the corner. The floor still looks solid overall, but that damaged spot grabs your eye every time.
For that kind of problem, a repair kit can be useful. Markers can hide a light surface scratch. Wax sticks can help disguise a nick. Filler can patch a small gouge if you prep it correctly and keep your expectations realistic.
What a quick DIY fix is good for
A kit is usually worth trying when the damage is:
- Small and isolated with no spread across the room
- Mostly cosmetic rather than structural
- Away from active moisture like a dishwasher leak area
- Not in a worn-out traffic lane where the finish is already breaking down
If the scratch is only in the finish and not through the wood, your odds improve. If raw wood is exposed, the repair gets trickier because now you're not just coloring. You're rebuilding and blending.
Practical rule: A repair kit hides blemishes best. It rarely recreates a factory-perfect board.
If your floor has more than one problem area, it helps to look at a deeper repair approach before spending time on patchwork. This guide on how to fix scratched floors is a good next read if you're trying to judge whether you need a touch-up or a larger refinishing plan.
Unboxing Your Home Depot Repair Kit What's Inside
Home Depot carries a wide mix of repair products, and the price spread tells you a lot about what they're meant to do. The Home Depot stocks a diverse array of hardwood floor repair kits with prices typically ranging from $9.95 to around $30. For instance, the Fix-A-Floor Micro Injection Nozzle Pro Pack is priced at $9.95, while more extensive options like the picobello Flooring Repair Kit use hard wax for long-lasting repairs and fall within the $10-20 range. These kits can reduce repair costs by 50-80% compared to professional services for minor issues, according to Home Depot product listings.
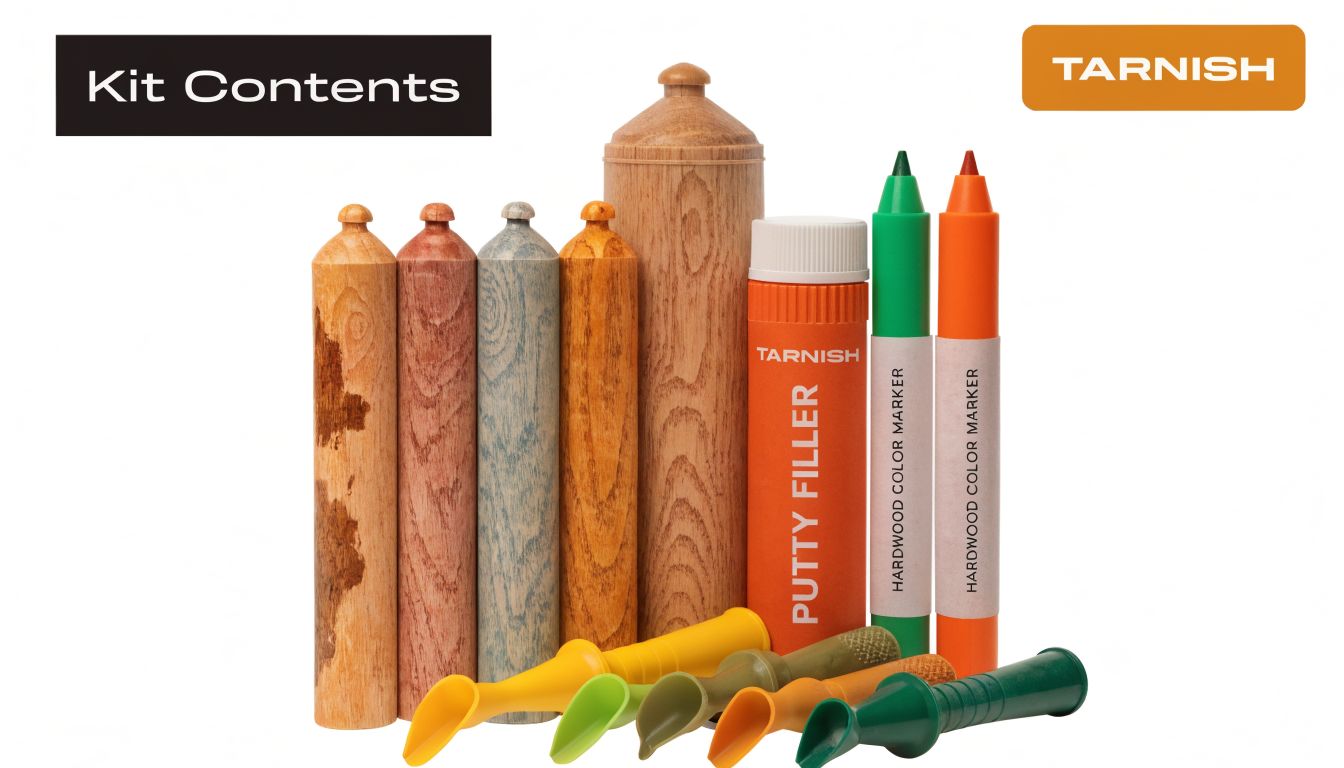
What each piece actually does
Most hardwood repair kits include a few standard tools and materials:
- Touch-up markers for light scratches in the finish
- Wax sticks for shallow chips and color blending
- Putty or filler for small gouges and dents
- Plastic scrapers or applicators for pressing material into the defect
- Blending tools for leveling and smearing color so the patch doesn't look like a dot on the floor
Products like the CalFlor FloorFix Wood and Laminate Floor Repair Kit and ROBERTS Universal Repair Kit are built around that idea. They're not miracle kits. They're blending kits.
What buyers usually misunderstand
A marker doesn't rebuild missing wood. A wax stick doesn't strengthen a loose board. A squeak kit addresses movement under the floor, not finish wear on top. The product has to match the problem.
That's where homeowners often get frustrated. They buy one kit expecting it to solve every issue in the room, then realize they're dealing with several different kinds of damage at once.
If your floor needs color correction, fill work, sheen matching, and structural tightening, that's not one repair. That's several repairs stacked together.
A Pro's Guide to DIY Hardwood Floor Repair
The difference between a decent DIY fix and a bad one usually comes down to prep, restraint, and color control. If you rush any of those, the patch stands out.
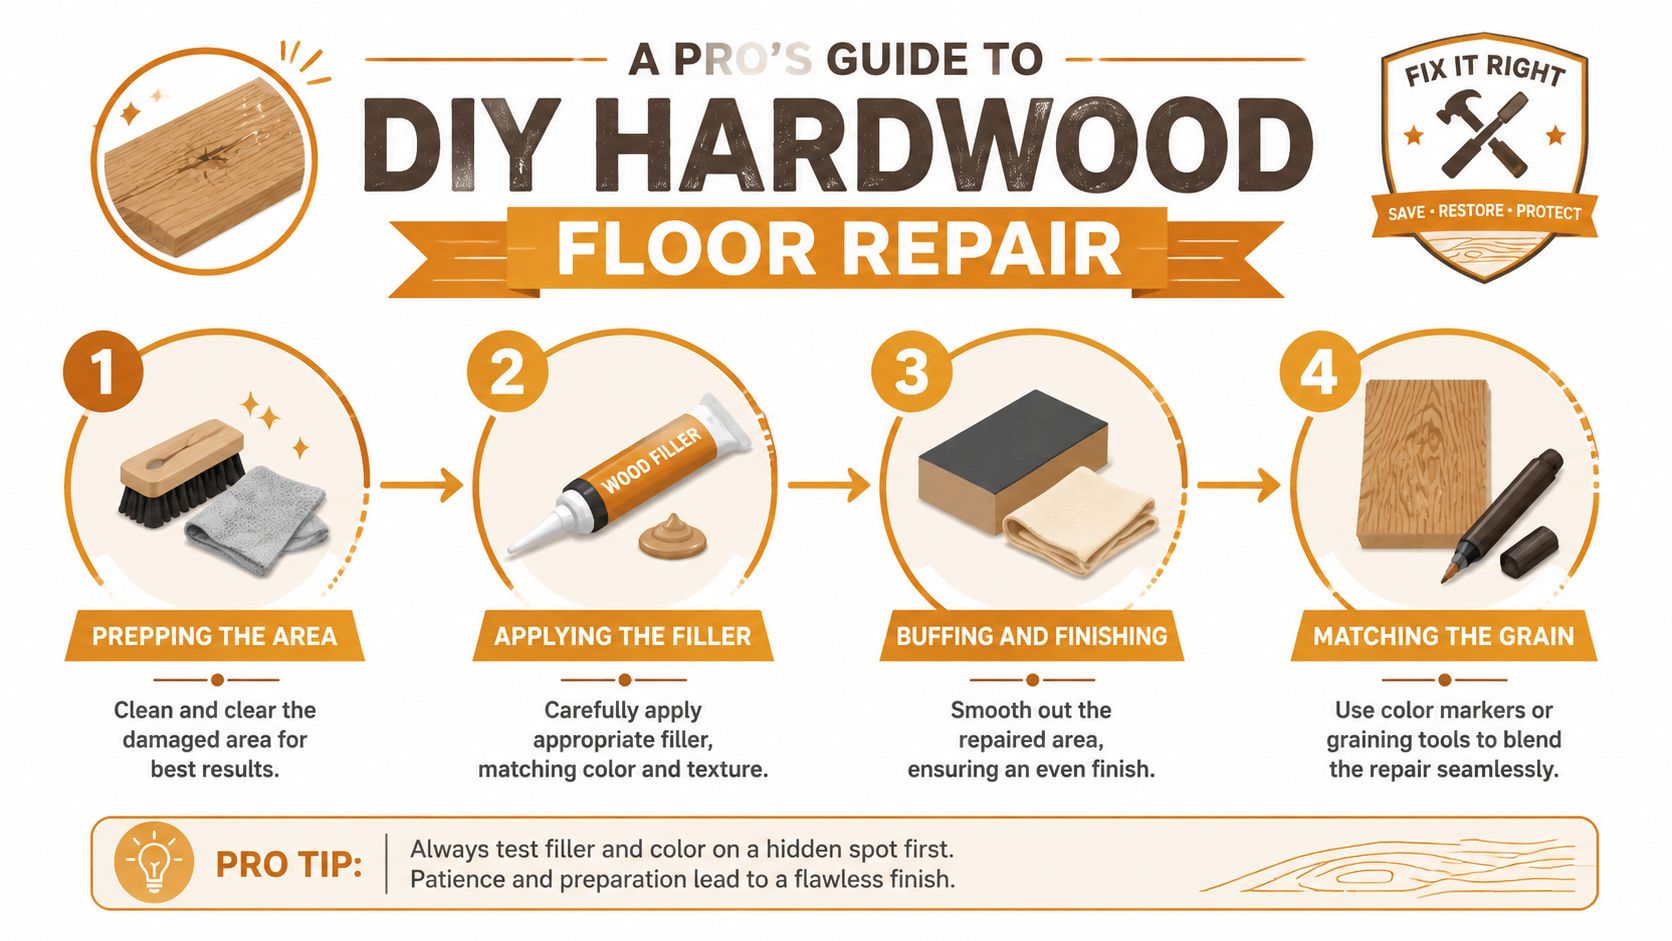
Prepping the area for a lasting bond
Start by cleaning the damaged spot thoroughly. Dust, polish residue, and oily cleaners interfere with filler and wax. Denatured alcohol works well for cleaning the repair area before you do anything else.
Tape off the edges if the gouge is near intact finish. That keeps your repair tighter and avoids smearing filler where it doesn't belong. In one Parker oak floor repair, the difference between a clean patch and a messy one came down to keeping the damaged area small and controlled from the start.
A lot of homeowners also skip the test board step. Don't. Try the color on scrap wood or in a hidden corner first.
Filling the gouge without creating a crater
Here's the single most important technique. For a superior repair, professionals recommend overfilling gouges with wood filler by about 20% to account for shrinkage as it cures. After letting it cure for 15-30 minutes, sand it flush with 220-grit sandpaper. This method prevents the divot that appears in 40% of DIY repairs due to under-filling, as noted in Home Depot's wood filler guidance.
That overfill matters. If you level it too soon or don't add enough material, the patch sinks and leaves a little dish in the middle. You'll see it in side light every time.
A good repair sequence looks like this:
- Clean first with alcohol so the filler bonds
- Apply slightly proud of the surface rather than trying to hit exact level wet
- Let it cure fully before sanding
- Sand lightly with 220-grit until it sits flush
For dent-specific issues, this guide on hardwood floor dent repair helps sort out what can be filled and what needs a more involved correction.
Before moving to color, it helps to see the process in action:
Matching color without making a dark spot
Color matching is where most DIY repairs go sideways. Don't chase the darkest stripe in the board. Match the overall field color first, then add a little grain effect if the kit allows it.
Use light layers. If you're working with wax sticks, warm them slightly so they flow better. Press them in, scrape flat, then buff gently. If the board has variation, blend two tones rather than using one heavy color.
Build color slowly. You can always deepen a repair. You usually can't make an over-dark patch disappear without starting over.
Blending the sheen
The final mistake is ignoring sheen. Even if the color is close, a dull patch inside a satin floor looks wrong. A glossy patch inside a low-sheen floor looks wrong too.
Buff the repair carefully and stop as soon as it blends. Overworking the area can burn through surrounding finish and make the repair wider than the original damage.
When a DIY Kit Won't Cut It Signs You Need a Pro
A hardwood floor repair kit home depot can help with a small mark. It won't solve a floor that's failing across the room.
The biggest issue in Colorado is durability. Customer data for DIY repair kits shows a 35-50% failure rate within 6-12 months under normal foot traffic, particularly for wax-based fillers which can chip and fail in dry climates like Colorado's where humidity often drops below 30%. This often leads to needing a professional refinishing within a year, based on customer data summarized from Home Depot product feedback.
Signs the repair is bigger than a kit
- Widespread pet scratches across walk paths, doorways, or around food bowls
- Deep gouges into raw wood where color and sheen are both gone
- Black staining or water marks that signal moisture penetration
- Loose, cupped, or separating boards that move underfoot
- A dull room-wide finish where one patch will only make the rest of the floor look more worn
Pet damage deserves special attention. Surface scratches are one thing. Repeated accidents are another. If urine gets into joints or low spots, odor and staining can remain below the finish. For a practical cleaning perspective, these Rubber Ducky Rug Cleaning pet stain insights are worth reading alongside any floor repair plan.
Why Parker hardwood floor refinishing makes more sense here
Once damage is spread out, spot repairs start to look like patches. In homes with active dogs, kids, or dry indoor air, that's usually the point where Parker hardwood floor refinishing gives a cleaner and longer-lasting answer. If the finish layer is generally tired, a reset beats repeated touch-ups.
DIY Repair vs Professional Parker Hardwood Floor Refinishing
A repair kit earns its keep when the problem is small and isolated. One dog claw mark by the back door, a light scrape under a dining chair, a nick from moving a plant stand. That is good DIY territory. Once the wear spreads across traffic lanes, the conversation shifts from hiding damage to restoring protection.
Cost is part of that decision, but lifespan matters more. A kit is inexpensive and useful for touch-ups. Professional refinishing costs more up front, yet it usually holds up longer because the old, failing finish is addressed instead of being covered in spots. Bob Vila's overview of hardwood flooring costs and refinishing ranges gives a more reliable baseline than bargain numbers you may see on random sites.
DIY kit and pro options side by side
| Metric | DIY Repair Kit | Professional Screen & Recoat | Professional Full Refinishing with UV-Cure |
|---|---|---|---|
| Best for | Isolated scratches, tiny nicks, small gouges | Floors with light wear and an intact finish layer | Heavier wear, deeper damage, and a full appearance reset |
| Typical cost | Usually the lowest-cost option for a small fix | Mid-range service for floors that still have finish to bond to | Higher initial cost, but often the longest-lasting repair path |
| Time | Fast spot repair, but touch-ups may need to be repeated | Shorter than full sanding | More labor, but a more complete result |
| Durability | Fair in low-traffic areas | Good if the existing finish is still sound | Best long-term option for busy homes, large dogs, and dry indoor air |
| Visual outcome | Improves the defect, but may still show in certain light | More even appearance across the room | The closest thing to a reset without replacing the floor |
Colorado's climate changes the math. In Parker homes, dry air, sharp sun, and big temperature swings make weak spot repairs show up faster. Add dogs running the same hallway every day, and filler sticks or touch-up markers usually wear out well before a properly bonded finish does.
What pros can do that kits can't
A pro is not just selling labor. A pro is correcting the surface as a system.
- Screen and recoat works when the floor still has enough finish left to accept a new protective layer
- Full sanding removes worn finish and shallow surface damage so the new coat bonds to clean wood
- Sheen correction helps the repaired area match the rest of the room instead of flashing dull or glossy
- Board repair or replacement solves movement, edge damage, and localized failures a kit cannot stabilize
- UV-cured finishing gets the floor back into service faster and tends to outperform soft spot fixes in active homes
For some homeowners, it helps to look at other coated surfaces. The same basic rule applies whether you are protecting hardwood or trying to transform your Melbourne garage. Prep and finish choice decide how long the result lasts.
Where professional refinishing pulls ahead
The biggest difference is consistency. DIY kits treat symptoms one mark at a time. Professional refinishing resets the wear layer across the area, so the floor looks and performs like one surface again.
That matters in pet-owning households. I see plenty of Parker floors where the first touch-up looked fine for a month, then the patched spots dried out, dulled down, or stood out after routine cleaning. UV-cure systems and properly applied commercial-grade finishes hold up better in those conditions because they form a harder, more uniform film.
If the damage has moved past a one-board or one-scratch fix, this guide to hardwood floor repair services in Denver and Parker area homes is the better next step.
A kit helps with a blemish. Refinishing restores the floor's protection and buys you more years before replacement.
Trust Your Floors to Parker's Hardwood Experts
A hardwood floor repair kit home depot can absolutely earn its place in the garage shelf. For one scratch, one dent, or one small gouge, it's a practical tool. Used carefully, it can make damage far less noticeable.
But if you want the floor to look consistent, hold up in active rooms, and stop collecting one patch after another, the better move is usually Parker hardwood floor refinishing with the right process for the floor's condition. In many Parker homes, that means choosing between a screen and recoat for salvageable finish or a full sand and refinish with a UV-Cure System when the wear is more advanced.
If your floor has reached the point where spot fixes aren't enough, this page on hardwood floor repair in Denver CO is a solid next step.
J.R. Hardwood Floor Refinishing & Cleaning helps homeowners who want more than a temporary patch. Whether you need screen and recoat, dust-free full sanding, wood floor cleaning, wax removal, floor installation, or an Instant UV-Curable Finish, the goal is the same. A floor that looks right and lasts.
Homeowners on Parker trust J.R. Hardwood Floor Refinishing & Cleaning to restore the natural beauty of their hardwood floors with our dust-free sanding system and advanced UV-curable finishes. Unlike traditional methods, our UV technology cures instantly, so you can move furniture back the same day with no lingering odor or downtime. Choose the perfect refinishing service to match your needs and home traffic. Our dust-free process ensures a clean, beautiful finish every time.
📞 Phone: 720-327-1127
🌐 Website: jrhardwoodfloorrefinishingandcleaning.com
📍 Service Area: Parker, Castle Rock, Highlands Ranch, Centennial, and Aurora
▶️ YouTube: Watch J.R. Hardwood on YouTube