 Skip to content
Pulling up old carpet and finding original hardwood floors underneath is like striking gold. But that initial excitement can quickly turn into a "Now what?" moment. Restoring those old floors can seem like a massive undertaking, but it really boils down to a few key stages: figuring out what you're working with, prepping the surface, tackling the sanding, and finally, applying that perfect stain and finish.
This guide provides actionable insights to walk you through the whole process, helping you decide if this is a weekend warrior project you can handle or if it's time to call in the pros.
Bringing Your Old Hardwood Floors Back to Life
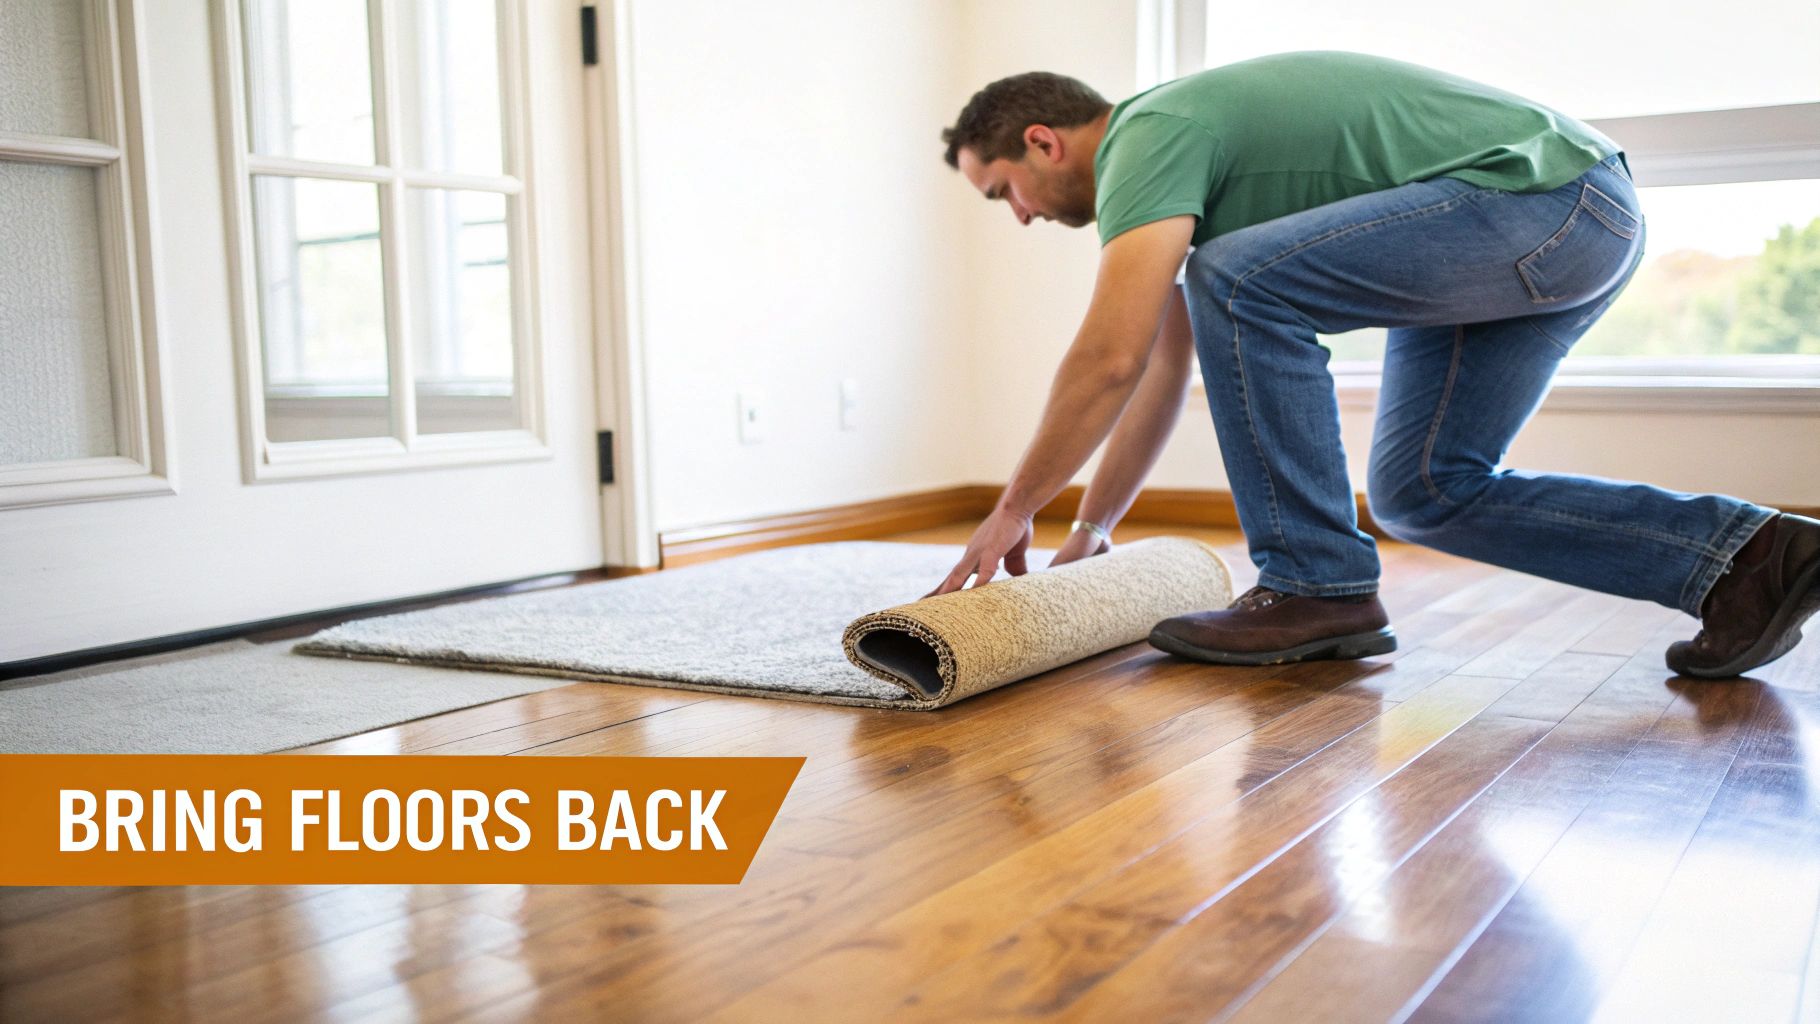
Bringing vintage hardwood back from the brink is about more than just home improvement; it's about reviving a piece of your home's history. So many Denver homeowners are shocked to discover gorgeous old oak or fir planks hiding under dated carpet, just begging for a second chance. The great news? Most of those solid hardwood floors were built to last and can absolutely be restored to their former glory with the right game plan.
This isn't just a fleeting trend. Choosing to restore old hardwood is a huge part of the residential remodeling sector, which makes up 57.36% of all hardwood flooring revenue worldwide. People are realizing that restoration, which typically runs $3.50-$6 per square foot, can save them 40-60% compared to a full replacement. It’s a smart investment.
Understanding the Restoration Journey
Embarking on a floor restoration project involves a few critical steps, and skipping any of them can torpedo your results. Whether you're dealing with decades of old wax buildup or just a sea of surface scratches, a methodical approach is your best friend. If you're tackling older floors, our guide on modernizing your vintage hardwood floors has some specific tips for dealing with old-school finishes.
Here’s a quick overview of what the process looks like:
- Initial Assessment: This is where you play detective. You'll need to carefully inspect the wood for deep gouges, pet stains, water damage, and warping to see if refinishing is even possible.
- Thorough Preparation: This covers all the dirty work—making repairs, replacing any boards that are beyond saving, filling gaps, and getting the entire surface squeaky clean and ready for sanding.
- Sanding and Finishing: This is the transformative part. You'll sand off the old, tired finish and apply a fresh, protective coat that makes the wood’s natural beauty pop.
The goal isn't just to make the floors look brand new. It's about enhancing their unique character while making sure they're tough enough to handle modern life, especially in Denver's dry climate.
To give you a clearer picture, here's a simple breakdown of the journey.
Hardwood Floor Restoration Quick Summary
This table provides a quick look at the main stages of hardwood floor restoration, the key goals for each, and common challenges you might face.
| Restoration Stage | Primary Goal | Common Challenges |
|---|---|---|
| Assessment & Inspection | Determine the floor's condition and viability for restoration. | Identifying wood type, discovering hidden damage, checking finish thickness. |
| Preparation & Repair | Create a clean, stable, and uniform surface for sanding. | Replacing damaged boards, filling gaps, removing old staples and nails. |
| Sanding | Remove the old finish and surface imperfections completely. | Avoiding drum marks, sanding evenly, managing dust. |
| Staining & Finishing | Apply new color (optional) and protective topcoats. | Achieving even stain application, preventing bubbles in the finish. |
Each step of this process requires real patience and a sharp eye for detail. Everything from choosing the right sandpaper grit to applying stain without leaving lap marks will directly impact how your floors turn out in the end.
Thinking about a professional touch? For a personal consultation or a quote right here in the Denver area, just give us a call at 720-327-1127. You can also check out our team's work from start to finish on our YouTube channel to see what's possible.
Assessing Your Floor and Preparing for Success
Before you even think about renting a sander, the very first step is to play detective. You need to get up close and personal with your floors to understand their story and figure out if they’re even a good candidate for refinishing. While most solid hardwood floors in older Denver homes are built like tanks, not every old floor can be saved.
So, get down on your hands and knees and give them a thorough inspection. I’m talking about looking at every single board. Are you seeing signs of serious damage beyond normal wear and tear? Deep gouges from where the old upright piano sat for 50 years? Dark, stubborn pet stains that have soaked deep into the wood? These clues tell you how aggressive your sanding will need to be.
Look out for subtle water damage, too, which often shows up as ugly gray or black discoloration. If that kind of damage is all over the place, it might be signaling a bigger problem beneath the surface. For a more detailed look at what to watch for, check out our guide on the top signs your hardwood floors need refinishing.
Determining Your Floor’s Sanding Potential
This is the most critical question you'll ask: "Is there enough wood left to sand?"
Every time a floor gets refinished, a thin layer of wood is shaved off. If your floors have been through this process a few times already, you could be dangerously close to hitting the tongue and groove—the very thing holding the planks together. Sanding into that is a disaster.
Here’s a simple trick we call the “dime test”:
- Find a gap between two floorboards.
- Stand a regular dime on its edge and try to slide it in.
- If the wood above the tongue is thinner than the dime (less than 2.35 mm), you probably don't have enough material left for a full, aggressive sanding. Pushing it could splinter the wood and ruin the floor for good.
If you pass the dime test, you're likely in the clear for at least one more full restoration. This little check can save you from a massive, costly mistake.
Essential Prep Work for Flawless Results
Listen up, because this is important: Proper preparation is 90% of the work. It's the single biggest factor in getting a professional-looking finish. Rushing this stage is a guaranteed recipe for disappointment. Here in Denver's dry climate, old floors often develop squeaks and gaps, and you've got to deal with those before a sander ever touches the wood.
First, fix any loose or squeaky boards. A few well-placed, counter-sunk trim-head screws can work wonders to anchor a board to the subfloor without being obvious. Next, tackle the gaps. While some small seasonal gaps are normal, larger ones should be filled with a high-quality, color-matched wood putty. Applying it before you sand ensures it gets perfectly level with the wood surface.
Remember, the sander will only flatten what’s there. It won't fix structural issues. A squeaky board will still squeak, and a loose plank will still be loose after you're done.
One of the most overlooked steps is letting the room acclimate. Old floors, especially in pre-1970 homes, often cup or warp from moisture changes over the years. It's absolutely critical to get the room to a stable relative humidity of 35-55% and keep it there for at least 72 hours before you start. This simple step helps prevent new gaps from forming after the job is done—an issue that plagues an estimated 25% of improperly prepped projects.
Finally, don't ignore that one terribly damaged plank. Replacing it now is way easier than trying to work around it later. A single compromised board can throw off your entire project.
If you're feeling unsure about any of these assessment or repair steps, just give our team a call at 720-327-1127. A quick chat can give you the clarity and confidence to move forward.
Mastering the Sanding Process
Sanding is the moment of truth in any floor restoration. This is where years of scratches, dings, and faded finish get erased, revealing the gorgeous, raw wood hiding underneath. But it's also where one wrong move—like pausing for a second with a heavy drum sander—can leave a permanent divot in your floor.
Getting this right is everything. The goal isn't just to strip the old finish; it's to create a perfectly flat, smooth surface that will drink up stain evenly and bond beautifully with the new topcoat. Think of it like creating a blank canvas. Any little swirl or uneven patch left behind now will be magnified ten times over once the new finish is on.
Choosing Your Sanding Weapon
Your first big decision is what kind of sander to rent. This choice will make a huge difference in the speed, difficulty, and final look of the job. For a full-scale restoration, you’re looking at two main contenders.
- The Drum Sander: This is the heavy-duty workhorse of the industry. It's powerful, aggressive, and can chew through old finish and a layer of wood in a hurry. It’s the go-to for floors with deep scratches, layers of old shellac, or uneven boards. But that power is a double-edged sword—it will gouge your floor in a heartbeat if you don’t keep it moving.
- The Orbital Sander: This machine is much more forgiving and way easier for a beginner to handle. It moves in a random pattern, which makes it nearly impossible to create the deep, directional scratches or stop marks a drum sander can leave. It takes a lot longer to strip a floor, but it's a much safer bet if this is your first rodeo restoring old hardwood floors.
For most DIY projects, starting with a random orbital sander is the smart move. While professionals still handle about 75% of floor refinishing jobs, the number of DIY kits sold has jumped by 21%. A big reason for that is the accessibility of user-friendly orbital sanders. They let you get great results without the terrifying learning curve of a drum sander. You can dig into more stats about the floor refinishing market at Business Research Insights.
The Critical Grit Progression
Sanding isn’t a one-pass job. It’s a methodical process where you use progressively finer grits of sandpaper to first level the wood, then smooth it out to perfection. Skipping a grit is a classic rookie mistake, and it always leaves behind tiny swirl marks that you won't see until you apply the stain—and then they're everywhere.
Your grit sequence should look something like this:
- Coarse Grit (36-40): This is your first, aggressive pass. Its job is to rip off the old finish and flatten out any minor unevenness in the boards. The floor will look rough when you're done, and that’s exactly what you want.
- Medium Grit (60-80): This pass erases the deep scratches left by the coarse grit. You’ll really start to see the floor smooth out here.
- Fine Grit (100-120): This is your final pass with the big sander. It buffs the floor to a silky-smooth finish, making it ready for stain. Don't even think about skipping this step if you want a professional look.
A proper sanding progression is vital, especially for vintage floors. In the US, where 55 million homes have original hardwood from the 1920-1960 era, a careful move from coarse to fine grit preserves 95% of the plank's thickness and extends its life for decades.
For a deeper dive into the nitty-gritty, check out our guide on the sanding and refinishing steps for floors.
Pro Techniques for a Seamless Finish
Once the main area of the floor is sanded, you have to deal with the edges and corners where the big sander couldn't reach. This is where an edger comes in. It’s a smaller, powerful handheld sander, and you'll need to use the same grit progression to make sure the perimeter of the room blends perfectly with the center.
Here's a key pro trick: feather your starts and stops. Never let a drum sander touch down or lift off while it's sitting still on the floor. You have to tilt it back as you start walking forward, gently lowering it onto the wood, and then lift it just before you stop moving. This prevents the machine from digging in and creating those tell-tale depressions.
Before you even plug in the sander, make sure your prep work is solid.

This just shows that a great sanding job starts way before the machine gets turned on. Proper assessment and repairs are the foundation for a flawless finish.
And don't forget about the dust. Modern sanders have pretty good collection bags, but they are not 100% perfect. Seal off doorways with plastic sheeting, cover your vents, and wear a good dust mask. When you think you're done, vacuum everything—walls and windowsills included—before you even think about staining.
Feeling a bit overwhelmed? That’s totally normal. Sanding is a tough, physical job. If you're in the Denver area and would rather have a perfect finish without the stress and sawdust explosion, give us a call at 720-327-1127 for a free quote. You can also see our sanding pros in action over on our YouTube channel.
Choosing and Applying Stains and Finishes
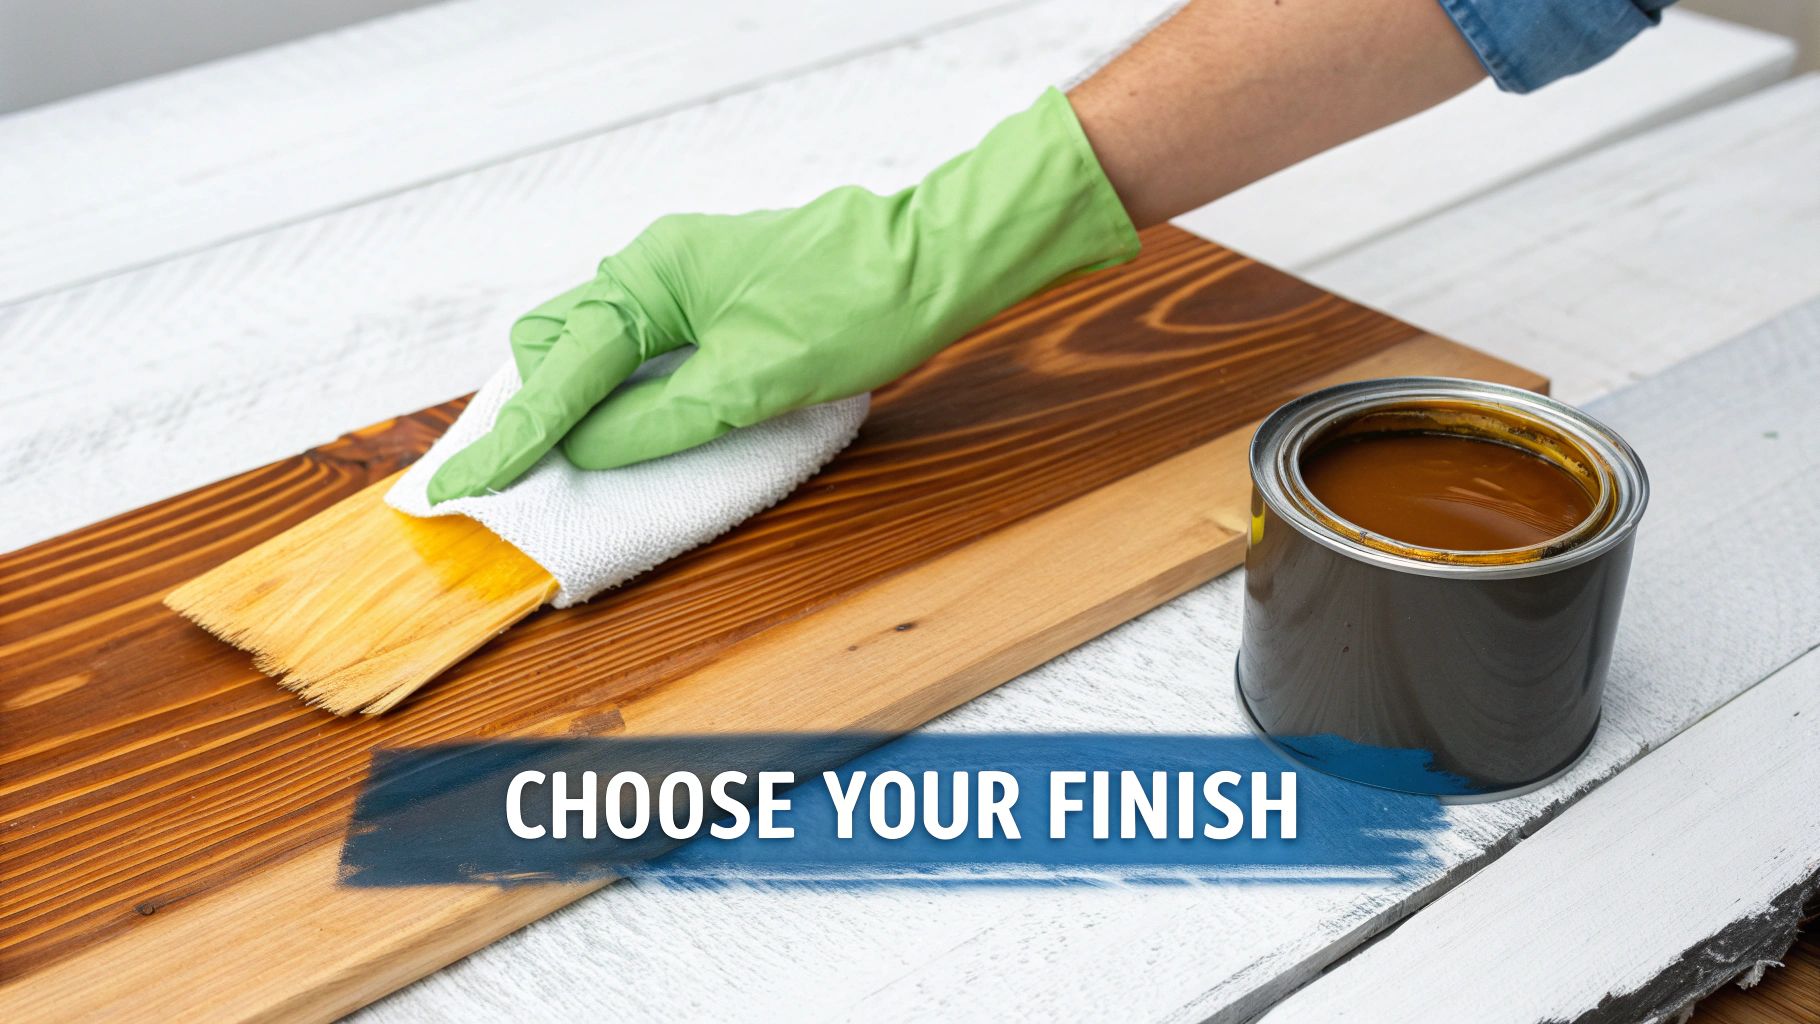
Alright, the dust has settled from sanding, and now we’re at the fun part. This is where you get to stamp your personality onto your floors and lock in that beauty for years. Choosing the right stain and finish isn’t about chasing trends; it’s about finding what feels right for your home, your wood, and the way you live.
The color you land on will completely change the vibe of a room. A dark, rich stain like Jacobean or Ebony can feel formal and classic, while keeping it natural with a clear coat makes a space feel bigger and brighter. Imagine the same red oak floor—it can look warm and traditional with a medium stain or modern and crisp with a light gray wash. It really all comes down to what you love.
Achieving a Deep and Even Stain Color
Before you even think about committing to a color, you absolutely must test it. Find a spare board or a hidden spot in a closet and see how the stain actually looks on your wood. This step is non-negotiable. Stain takes differently to every species; a color that looks great on a sample chip might turn blotchy on an old fir floor or pull weird pink undertones from red oak.
To get that rich, professional-grade color, we use a trick called water popping. After the final round of sanding, we lightly dampen the floor with distilled water on a cloth. This opens up the wood grain, allowing the pores to soak up the stain more deeply and evenly. It's the secret to dodging a blotchy finish, especially on tricky woods like maple or pine.
Water popping is a simple step that separates a good DIY job from a great one. It ensures the stain penetrates uniformly for a more consistent and vibrant color.
When you start applying the stain, work in small, manageable sections, always moving with the grain of the wood. Use a clean rag or an applicator pad, let it sit for the recommended time, and then wipe off all the excess. The key is to carefully overlap your sections to prevent "lap marks"—those ugly dark lines that can ruin an otherwise perfect job.
Selecting the Right Protective Finish
The finish, or topcoat, is your floor's armor. It’s what stands between your beautiful wood and scratches, spills, and UV rays. In the flooring world, the two main players are oil-based and water-based polyurethane. Each one has its own personality, and it's crucial to know the difference.
For a much deeper dive into the pros and cons of different topcoats, check out our ultimate guide to hardwood floor finishes—it'll help you narrow down the choices.
Here’s a quick rundown of the most common options:
| Finish Type | Appearance | Durability & Dry Time | Best For |
|---|---|---|---|
| Oil-Based Polyurethane | Gives a warm, amber glow that deepens with age. | Highly durable but takes forever to cure (24-48 hours between coats) and comes with strong fumes. | Traditional looks and homeowners who can afford to be patient. |
| Water-Based Polyurethane | Dries crystal-clear, preserving the natural wood color without yellowing over time. | Exceptionally durable, dries fast (2-4 hours between coats), and has low VOCs. | High-traffic areas, homes with pets and kids, and anyone who wants their life back quickly. |
For most Denver homeowners we work with, especially those with kids and pets, a high-quality water-based finish is the way to go. Products like Bona Traffic HD deliver incredible durability without the nasty fumes or the yellowing that comes with oil-based poly.
Mastering the Application for a Flawless Topcoat
Applying the finish is all about smooth, even strokes. We use a T-bar applicator, which lets you pull the finish across the floor in a steady, consistent layer—a technique we call "snowplowing." This method is fantastic for preventing bubbles and streaks, giving you that glass-smooth look everyone wants.
You’ll need to apply at least three thin coats for solid protection. Between each coat, you have to lightly abrade, or "screen," the floor with a very fine-grit abrasive pad. This little bit of scuffing gives the next coat something to grab onto, creating a much stronger bond and a smoother final product.
Once that final coat is down, you have to be patient. Even though a water-based finish feels dry in a few hours, it needs time to fully cure. We tell our clients to wait at least 24 hours before walking on it in socks, and up to 7 days before dragging heavy furniture back into the room.
If you're on a tight schedule or just want the toughest finish money can buy, ask us about UV-curable finishes. We have special equipment that cures the floor instantly with UV light, letting you walk on it and move everything back the very same day. For a quote on this or any part of your restoration project, give us a call at 720-327-1127.
Deciding Between DIY and a Denver Professional
There’s a certain pride that comes with restoring old hardwood floors with your own two hands, but it’s so important to know what you’re getting into. This isn’t just a weekend paint job. We’re talking about a physically demanding, multi-day process where one wrong move with a sander can leave a permanent mark.
So, before you load up that rental truck, let’s have an honest conversation about the real costs, time, and risks of the DIY route versus bringing in a pro.
Weighing the True Costs
Most people assume DIY is the slam-dunk cheaper option, but the numbers add up faster than you’d think. Renting a drum sander and an edger for a weekend will set you back a few hundred dollars right away. Then you’ve got to buy the sandpaper—and you’ll need several different grits, which aren’t cheap.
Tack on the cost of stain, a high-quality polyurethane finish, applicators, plastic sheeting, and a good dust mask, and your material bill can easily climb. Beyond the money, your biggest investment is your time. For a simple, moderately sized room, a first-timer should plan on spending a full weekend, or even longer, just on the sanding part. That doesn't even account for repairs, staining, and applying multiple coats of finish, each with its own drying time.
Let's make this real. Say you’re tackling a 15×15 foot (225 sq ft) bedroom in your Denver Wash Park bungalow.
- DIY Cost: The equipment rental, sandpaper, stain, and a good water-based finish could easily run you $500-$700.
- DIY Time: You’ll also likely sink 20-30 hours of your personal time into the project, from start to finish.
Now, let's compare that to hiring a professional team in the Denver area for the same room. You're probably looking at a cost between $900 and $1,350, based on an average of $4-$6 per square foot. Yes, the upfront cost is higher, but what you're really buying is expertise, top-tier equipment, efficiency, and peace of mind. A pro crew can often knock out the same job in just 2-3 days with a far superior result and way less disruption to your life.
We dive deeper into this in our article exploring the DIY vs. professional hardwood floor refinishing debate.
The biggest risk of a DIY project isn't just a slightly imperfect finish. It's causing permanent damage—like deep sander divots—that costs more to fix than hiring a professional from the start would have.
To help you see it all laid out, here’s a quick comparison:
Cost and Time Comparison: DIY vs Professional
Deciding whether to tackle your floor restoration yourself or hire it out involves more than just the initial price tag. This table breaks down what you can realistically expect in terms of cost, time, and the quality of the final result.
| Factor | DIY Approach | Professional Service |
|---|---|---|
| Estimated Cost | $2 – $4 per sq ft (rentals & materials) | $4 – $8+ per sq ft (labor, materials & equipment) |
| Project Timeline | 3-5 days for a standard room (plus learning curve) | 1-3 days for the same room |
| Equipment | Rental-grade sanders (heavy, less efficient) | Professional-grade, dustless sanding systems |
| Skill & Risk | High risk of errors (sander marks, uneven finish) | Low risk, guaranteed results, and insured work |
| Final Result | Can be good, but often shows minor imperfections | Flawless, even, and durable professional finish |
| Best For | Small, simple rooms with light wear; experienced DIYers | Large areas, valuable floors, complex layouts, or busy homeowners |
Ultimately, choosing a professional service means you're investing in a guaranteed outcome without sacrificing your weekend (or your back).
When DIY Makes Sense
Going it alone can be a fantastic, rewarding experience in the right situation. If you’re confident and your project fits the bill, go for it!
- You've got a small, square room: A guest bedroom or home office without tricky closets or angles is a great place to start.
- The floors have minor wear: If you're mainly dealing with surface scuffs and a dull finish, a less aggressive orbital sander can do the trick.
- You are patient and detail-oriented: Great floor restoration requires a slow, methodical approach. You can’t rush this.
When to Call a Denver Professional
There are definitely times when calling in an expert is the smartest, safest, and—in the long run—most cost-effective move. The biggest pitfall we see is homeowners mishandling a heavy drum sander. It can easily leave behind "chatter marks" (a washboard-like texture) or gouges that are almost impossible to fix.
Hiring a pro is the best path forward if:
- You have valuable antique floors: Those original floors in a historic Denver Victorian are irreplaceable. Don't risk them on your first attempt.
- There's extensive damage: Deep gouges, dark pet stains, or water damage need an expert's touch to repair and blend seamlessly.
- The layout is complex: Multiple closets, angled walls, and especially stairs are incredibly difficult to sand evenly with clunky rental equipment.
The decision really comes down to an honest look at your skills, your budget, and what your time is worth. If you’re on the fence, the safest bet is always to get a professional opinion. Give us a call at 720-327-1127 for a transparent, no-pressure quote. We can help you figure out the true condition of your floors and make the best choice for your home.
Still Have Questions? Let's Talk Specifics.
Even after mapping out a whole project, a few lingering questions always pop up. That’s completely normal. Getting clear, practical answers is what separates a confident start from feeling stuck in the planning phase.
We get calls all the time from homeowners around Denver with these exact same questions. So, let's tackle them head-on.
How Can I Tell if My Hardwood Floors Can Be Restored?
Most solid hardwood floors were built like tanks and can be sanded down multiple times. The make-or-break factor is how much wood is left above the tongue and groove. An old-school trick that still works is the "dime test." Try to slide a dime into a gap between two boards. If the top layer of wood is thicker than the dime, you almost certainly have enough material for another full sanding.
But some damage is a deal-breaker. Widespread warping from a past leak, deep pet stains that have soaked into the wood fibers, or any sign of termites are all red flags. And if you have engineered floors, you'll need to check the manufacturer’s specs to see how thick that top veneer of real wood actually is.
If you’re on the fence, the best move is to get a professional opinion. Give us a call at 720-327-1127—we’re happy to provide a free, honest evaluation for our fellow Denver-area homeowners.
What Is the Difference Between Screening and Sanding?
This is a fantastic question because knowing the difference can save you a ton of time and money. It really boils down to this:
- Sanding is the heavy-duty option. It’s an aggressive process that uses coarse-grit sandpaper to take off the entire top layer of wood. You do this to erase deep scratches, get rid of that old, yellowed finish, and remove surface stains for a total reset.
- Screening, which you might hear called a "buff and recoat," is much gentler. We use a fine abrasive screen to lightly scuff up the existing polyurethane topcoat. This creates just enough texture for a fresh coat of finish to grab onto, but it never touches the actual wood or stain underneath.
Screening is the perfect fix for floors that are just looking a bit dull and have some minor surface scuffs. It cannot fix deep gouges, get rid of stains in the wood, or change your floor’s color.
How Long Does the Restoration Process Take?
Patience is a virtue here, as the timeline is almost entirely dictated by drying times. For a standard 300 sq ft room, you should budget about 3-5 days from start to finish. That covers prep, sanding, staining, and finishing. The biggest variable? The type of finish you choose.
An oil-based polyurethane, for instance, needs 8-12 hours to dry between coats and at least 24-48 hours before you can even think about walking on it in socks. Water-based finishes speed things up a lot, letting you recoat in just 2-4 hours and allowing light foot traffic in 4-6 hours.
No matter what finish you pick, the curing process is what really counts. We always tell clients to wait a full 7 days before moving heavy furniture back. This lets the finish harden completely to achieve its maximum durability.
Can I Spot-Repair One Area Without Refinishing the Whole Floor?
Ah, the spot repair. It's one of the trickiest things to pull off in this business, and honestly, getting a perfect blend is nearly impossible for a DIYer. The biggest challenge is matching the exact color and sheen of the rest of the floor, which has naturally aged and changed color over years of sun exposure. A new patch of stain and finish will almost always stick out like a sore thumb.
For a tiny surface scratch, you might get away with a stain-matching pen to make it less noticeable. For anything deeper, the best route is usually to carefully replace the damaged board (or boards). After that, doing a "buff and recoat" on the entire room helps create a uniform sheen that makes the repair blend in so much better.
We've got some great videos showing board replacements and other repairs over on our YouTube channel if you want to see it in action.
Ready to bring your old hardwood floors back to life with professional results you can count on? The team at J.R. Hardwood Floor Refinishing & Cleaning is here to help. We combine expert craftsmanship with modern, durable finishes to deliver a floor you'll love for years.
Visit us at https://jrhardwoodfloorrefinishingandcleaning.com to learn more, or just call 720-327-1127 for your free quote today.
Article created using Outrank