 Skip to content
Most American homes with hardwood floors will eventually face visible wear or damage, yet nearly 80 percent of owners delay repairs until problems worsen. Understanding the condition of your floor is the critical first move toward a beautiful, lasting finish. Whether you are restoring a turn of the century American bungalow or updating a modern space, clear steps for assessment and repair ensure your investment keeps its value and charm.
Table of Contents
- 1. Assessing Floor Condition and Repair Needs
- 2. Clearing and Prepping the Room Effectively
- 3. Choosing the Right Sanding Equipment
- 4. Proper Sanding Techniques for Smoothness
- 5. Thorough Cleaning Between Sanding Stages
- 6. Selecting Durable, Eco-Friendly Finishes
- 7. Applying Finish Coats for Lasting Protection
Quick Summary
| Key Insight | Explanation |
|---|---|
| 1. Assess Floor Condition First | Conduct a thorough visual inspection to identify visible damages and repair needs before refinishing your hardwood floor. |
| 2. Thoroughly Prepare the Room | Clear all furniture, cover air vents, and maintain low humidity levels for optimal refinishing results. |
| 3. Choose Appropriate Sanding Equipment | Select sanding tools based on floor conditions, damage level, and your own skill level for the best outcomes. |
| 4. Clean Between Sanding Stages | Always clean dust and debris using dry methods between sanding phases to ensure proper finish adhesion. |
| 5. Apply Multiple Thin Finish Coats | Use high-quality applicators to apply several thin coats for better protection and achieve a professional finish. |
1. Assessing Floor Condition and Repair Needs
Before diving into floor refinishing, understanding your hardwood floor’s current condition is crucial. Just like a doctor performs a checkup, you need to conduct a thorough assessment to diagnose potential issues and determine the best treatment plan.
Starting with a comprehensive visual inspection, look for telltale signs of wear and damage. Evaluating wood floor conditions requires careful examination of species specific properties and potential defects, which can impact your refinishing strategy.
Key Signs Your Floor Needs Repair:
- Visible deep scratches or gouges
- Discolored or faded wood patches
- Warped or uneven surface areas
- Creaking or soft spots when walking
- Gaps between wooden planks
Pay special attention to moisture related damage, which can compromise your floor’s structural integrity. Warning Zones to Inspect Closely:
- Areas near windows and doors
- Spaces adjacent to bathrooms and kitchens
- Regions under houseplants or near potential water sources
Professional floor assessment helps identify whether you need minor repairs or a full refinishing project. Some damage might seem superficial but could indicate deeper structural problems requiring expert intervention.
Using a bright light and getting down to eye level will help you spot subtle imperfections. Run your hand gently across the surface to feel for uneven spots or hidden damage that visual inspection might miss. Remember that early detection can save significant time and money in long term floor maintenance.
2. Clearing and Prepping the Room Effectively
Preparing your space for hardwood floor refinishing is like setting up a perfect workspace simple steps can make a massive difference in your project’s success. Professional floor refinishing experts recommend thorough room preparation to ensure optimal results.
Room Clearing Checklist:
- Remove all furniture completely
- Take out area rugs and floor coverings
- Relocate wall hangings and delicate items
- Cover air vents to prevent dust circulation
- Seal doorways with plastic sheeting
Preparation Steps:
- Clean the floor thoroughly with a microfiber dust mop
- Vacuum corners and hard to reach areas
- Check for and repair any loose or damaged boards
- Ensure room temperature is between 65 and 75 degrees Fahrenheit
- Maintain low humidity levels
Protect adjacent rooms by creating dust barriers with plastic sheeting and painters tape. This prevents fine wood dust from spreading throughout your home and creating additional cleanup work.
Professional tip: Label boxes or containers where you store furniture and decor items to make reassembly easier after the refinishing process. Taking photographs of room layouts can also help you quickly restore your space to its original configuration.
Take your time with preparation. A meticulously prepped room will result in a smoother refinishing experience and a more professional final result.
3. Choosing the Right Sanding Equipment
Selecting the appropriate sanding equipment can make or break your hardwood floor refinishing project. Professional floor restoration experts recommend choosing sanders based on specific floor conditions and desired finishing outcomes.
Types of Sanders to Consider:
- Drum sanders for aggressive initial sanding
- Orbital sanders for fine detail work
- Edge sanders for hard to reach areas
- Belt sanders for medium level refinishing
- Handheld sanders for precision touch ups
Key Considerations When Selecting Sanders:
- Floor wood species
- Current floor condition
- Size of the room
- Level of existing damage
- Your personal skill level
For most residential hardwood floor projects, a combination of drum and orbital sanders provides the most comprehensive approach. Professional grade drum sanders remove significant surface imperfections while orbital sanders help create a smooth final finish.
Rental centers often provide equipment recommendations based on your specific floor type. Always request a brief tutorial on equipment usage and safety practices to ensure optimal results.
Pro tip: Invest time in learning proper sanding techniques. Uneven pressure or incorrect movement can cause permanent damage to your beautiful hardwood floors. Practice on a small inconspicuous area first to build confidence and skill.
4. Proper Sanding Techniques for Smoothness
Sanding hardwood floors is an art form that requires precision, patience, and understanding of wood grain dynamics. Professional wood restoration experts emphasize the critical importance of systematic sanding techniques to achieve a flawless surface.
Sanding Progression Strategy:
- Start with coarse grit sandpaper (36 to 40 grit)
- Move to medium grit sandpaper (50 to 60 grit)
- Finish with fine grit sandpaper (80 to 100 grit)
Critical Sanding Techniques:
- Always sand with the wood grain
- Maintain consistent and even pressure
- Keep sander moving to prevent gouges
- Overlap each pass by several inches
- Check surface frequently for smoothness
The key to professional looking results is understanding wood grain directionality. Sanding against the grain can create permanent scratches that will be visible in your final finish. Think of sanding like giving your floor a smooth massage follow the natural lines and patterns.
Pro tip: Wear a dust mask and safety glasses. The fine wood particles can be hazardous to your respiratory system. Proper ventilation and protection are as important as the sanding technique itself.
Remember that patience transforms an average floor refinishing project into an extraordinary home improvement experience. Take your time and focus on precision over speed.
5. Thorough Cleaning Between Sanding Stages
Between each sanding stage, cleaning is not just recommended it is absolutely essential. Professional wood restoration experts highlight the critical importance of removing dust and debris to ensure optimal finish adhesion.
Cleaning Toolkit Essentials:
- Industrial vacuum with fine particle filter
- Microfiber tack cloths
- Soft bristle brush
- Clean white rags
- Denatured alcohol
Cleaning Process Steps:
- Vacuum entire surface thoroughly
- Wipe with microfiber tack cloth
- Check for remaining dust particles
- Use soft brush for hard to reach areas
- Inspect surface under bright lighting
Important note: Never use water or wet cleaning methods between sanding stages. Moisture can raise wood grain and potentially ruin your smooth surface. Stick to dry cleaning techniques that remove fine dust without introducing additional moisture.
Pro tip: Work systematically and methodically. Start from one corner of the room and move incrementally to ensure you do not miss any spots. Think of cleaning like a military operation precision and thoroughness are your best allies.
The goal is to create an immaculate surface that will allow your finish to bond perfectly. A few extra minutes of careful cleaning can make the difference between a good and an exceptional floor refinishing result.
6. Selecting Durable, Eco-Friendly Finishes
Choosing the right floor finish is like selecting armor for your hardwood floors a protective layer that enhances beauty while defending against daily wear and tear. Professional wood restoration experts recommend finishes that balance durability with environmental responsibility.
Eco Friendly Finish Options:
- Water based polyurethane
- Low VOC finishes
- Natural oil based treatments
- Ceramic infused coatings
- UV curable finishes
Key Selection Criteria:
- Low chemical emissions
- Sustainable manufacturing process
- Minimal environmental impact
- Long lasting protection
- Quick curing times
Water based polyurethane offers an excellent combination of durability and environmental consciousness. These finishes release fewer harmful chemicals and provide a crystal clear protective layer that showcases your wood’s natural beauty.
Pro tip: Look for finishes with third party environmental certifications. These guarantee that the product meets strict standards for sustainability and indoor air quality.
Remember that a quality finish is like sunscreen for your floors it protects against damage while allowing the natural material to breathe and maintain its intrinsic character. Your choice today impacts both your home’s appearance and the broader environmental landscape.
7. Applying Finish Coats for Lasting Protection
Applying finish coats is the grand finale of your hardwood floor restoration journey a transformative process that seals and protects your meticulously prepared surface. Professional wood restoration techniques emphasize precision and systematic application for optimal floor protection.
Finish Application Essentials:
- Use high quality synthetic applicator
- Apply thin uniform coats
- Work in same direction as wood grain
- Maintain consistent stroke pattern
- Allow adequate drying time between coats
Pro Application Techniques:
- Maintain room temperature around 70 degrees
- Ensure excellent ventilation
- Use long smooth strokes
- Avoid overloading applicator
- Watch for drips and bubbles
Think of finish application like painting a masterpiece. Each stroke contributes to the final aesthetic and protective quality. Patience and attention to detail separate amateur attempts from professional results.
Wear clean socks and move slowly to prevent introducing dust or debris during application. Multiple thin coats provide better protection than one thick inconsistent layer.
Remember that your finish is the floor’s armor. A carefully applied protective coat can extend your hardwood’s life by years transforming your refinishing project into a lasting home improvement investment.
Below is a comprehensive table summarizing the essential steps and considerations for hardwood floor refinishing detailed in the article.
| Main Step | Key Points & Actions | Benefits/Outcomes |
|---|---|---|
| Assess Floor Condition | Conduct thorough inspection: look for scratches, discoloration, moisture damage; evaluate wood species and defects. | Identifies repair needs and potential structural issues. |
| Prepare the Room | Remove furniture, rugs; cover vents; repair loose boards; ensure proper temperature/humidity. | Ensures a clean and efficient workspace, aids in high-quality refinishing results. |
| Choose Sanding Equipment | Select appropriate sanders: drum, orbital, edge; consider floor condition and personal skill level. | Tailors sanding approach to floor needs, enhances final finish quality. |
| Apply Sanding Techniques | Sand with the grain using varying grit; maintain even pressure and movement. | Achieves a smooth, professional surface with minimal damage. |
| Clean Between Sanding Stages | Use vacuum and tack cloth; avoid water; check for dust under bright light. | Prepares surface for optimal finish adhesion, avoiding imperfections. |
| Select Eco-Friendly Finishes | Choose water-based or low VOC options with environmental certifications. | Provides long-lasting protection with minimal environmental impact. |
| Apply Finish Coats | Use synthetic applicator, apply thin coats, maintain proper temperature and ventilation. | Protects and enhances floor appearance, extends floor life. |
Restore Your Floors with Expert Sanding and Refinishing Solutions
Hardwood floor sanding and refinishing can feel overwhelming when facing challenges like deep scratches, uneven surfaces, or choosing the right sanding equipment and eco-friendly finishes. This article highlights the essential steps to achieve a smooth, durable, and beautiful floor but mastering these techniques takes experience and precision. If you want to avoid costly mistakes and ensure lasting protection for your floors, professional help is the key.
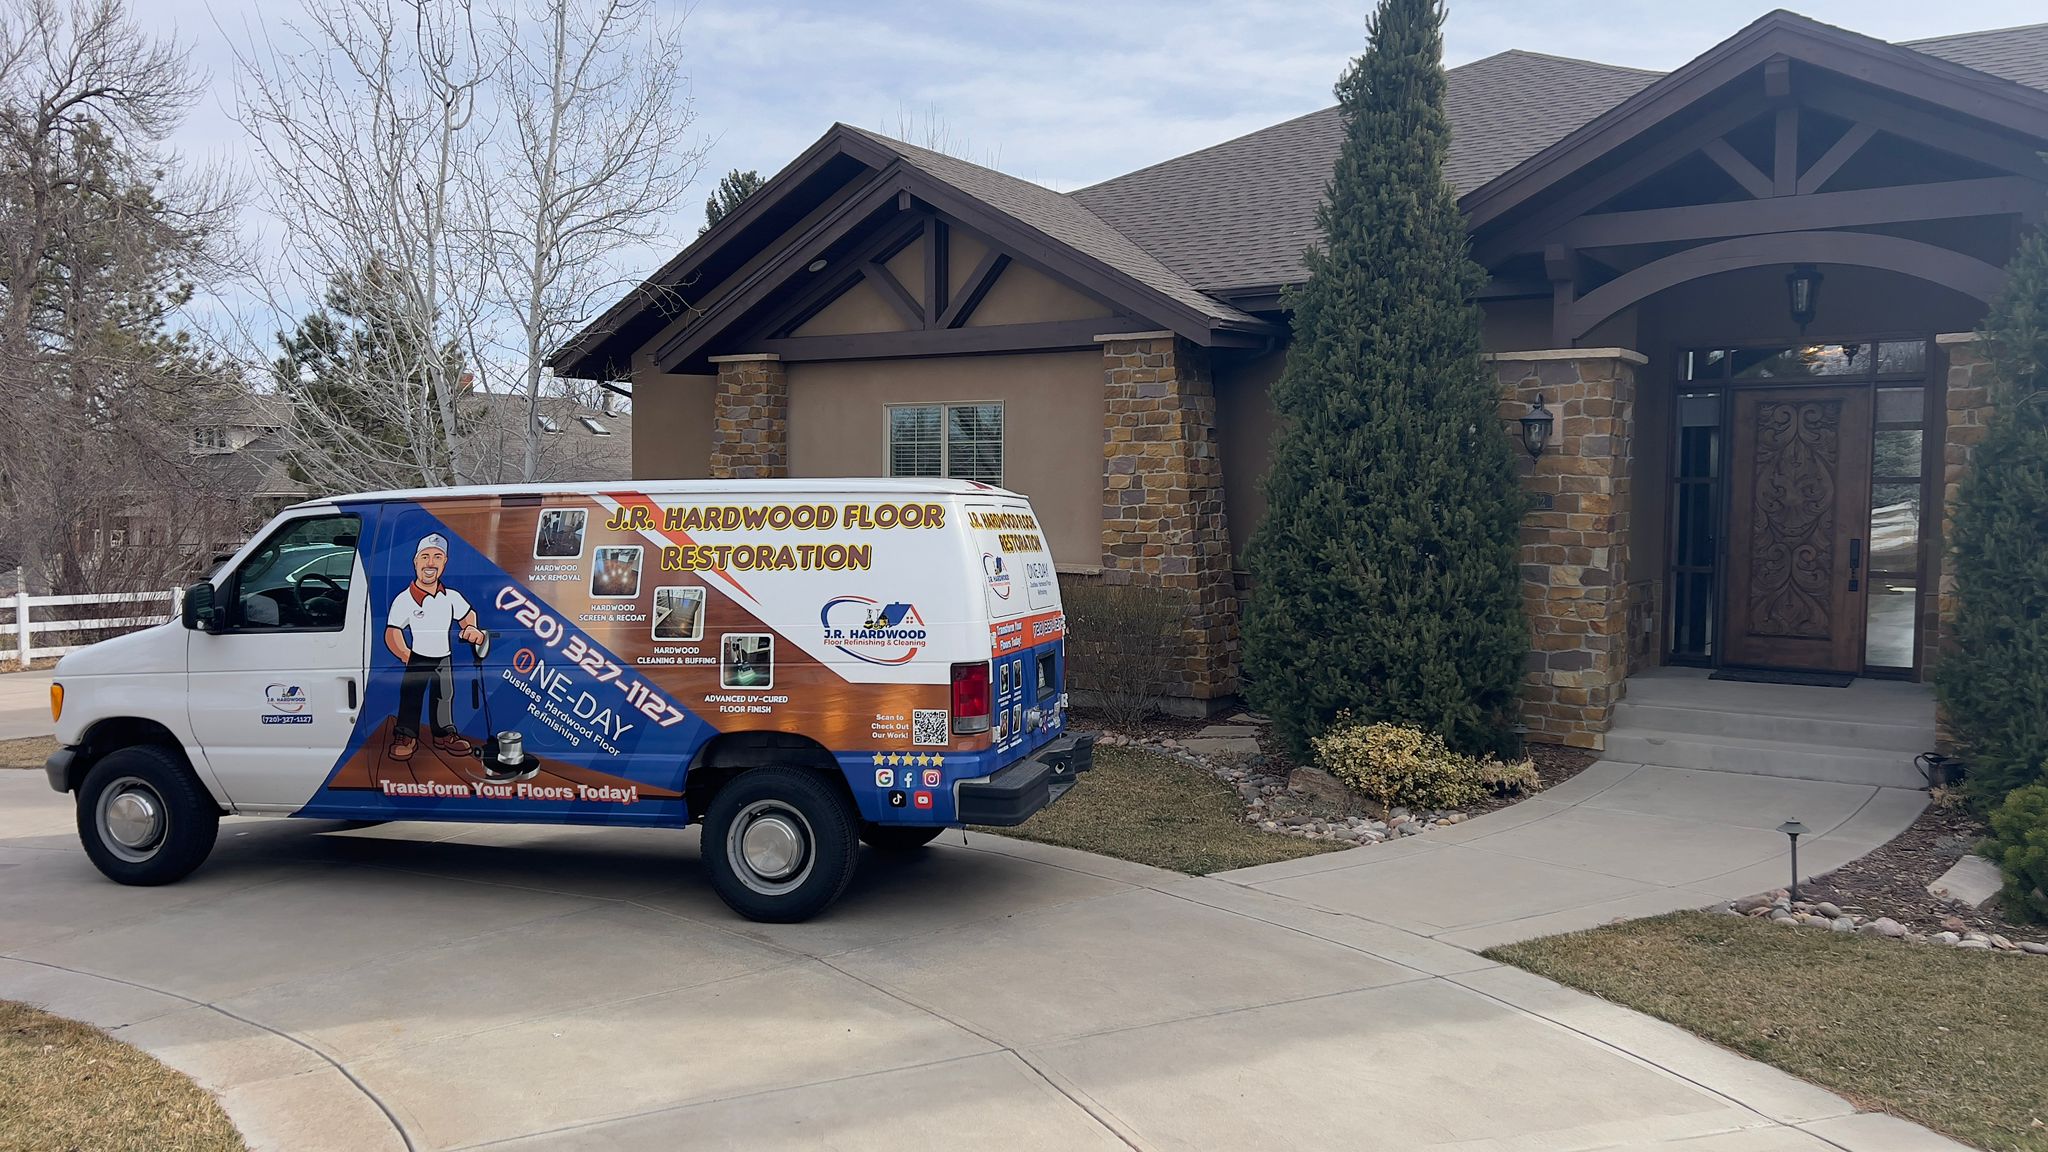
Discover how J.R. Hardwood Floor Refinishing & Cleaning transforms worn floors into stunning focal points across Colorado communities. Our team combines award-winning craftsmanship with modern technology to deliver flawless sanding and refinishing tailored to your floor’s unique condition. From assessing damage and proper sanding methods to applying eco-friendly finishes, we handle every step with care so you don’t have to worry about gaps, dust, or finish imperfections. Visit our Uncategorized Archives – J.R. Hardwood Floor Refinishing & Cleaning for expert tips and customer stories. Ready for a floor that looks and feels like new? Contact us now for a free over-the-phone quote and expert advice that fits your schedule and budget.
Frequently Asked Questions
What are the signs that my hardwood floor needs refinishing?
Visible deep scratches, discolored patches, warped areas, and gaps between planks are indicators that your hardwood floor may need refinishing. Check for creaking or soft spots as well, especially around high-moisture areas like bathrooms. Inspect your floor closely to identify the extent of damage before starting the refinishing process.
How do I properly prepare a room for hardwood floor refinishing?
To effectively prepare your room, clear all furniture, remove area rugs, and cover air vents. Seal doorways with plastic sheeting to minimize dust spread. Take the time to clean the floor thoroughly and ensure that the room temperature and humidity are within optimal levels before refinishing begins.
What type of sanding equipment is best for hardwood floors?
For hardwood floor refinishing, a combination of drum and orbital sanders typically yields the best results. Select your equipment based on floor condition and the extent of damage, ensuring you have the right tools for areas that need detailed work, such as edges. Rent equipment from a local center if necessary, and request a brief tutorial to familiarize yourself with usage.
What steps should I follow for sanding hardwood floors?
Follow a systematic sanding progression beginning with coarse grit sandpaper (36 to 40 grit), transitioning to medium (50 to 60 grit), and finishing with fine grit (80 to 100 grit). Always sand in the direction of the wood grain, maintaining even pressure as you work. Regularly check for smoothness to achieve a flawless finish.
How can I ensure a clean surface between sanding stages?
It is essential to clean between sanding stages by thoroughly vacuuming the surface and wiping it down with a microfiber tack cloth. Avoid using moisture, as it can raise the wood grain and damage your work. Use a soft bristle brush for hard-to-reach areas to ensure an immaculate surface for finishing.
What are the best eco-friendly finishes for hardwood floors?
Consider options like water-based polyurethane and low VOC finishes for a durable yet environmentally responsible choice. Look for finishes that provide long-lasting protection while having minimal environmental impact. Research and choose products certified for sustainability to ensure your floor finish is both safe and effective.