
So, you're looking at your hardwood floors and thinking, "Maybe I can tackle this myself." It's a tempting thought! Refinishing is the process of sanding away the old, tired finish, fixing up any dings and scratches, and then applying a fresh stain and protective coat. Done right, it's incredibly rewarding. But let’s be honest, it's also a serious undertaking that requires the right tools, a good chunk of your time, and a whole lot of patience to get that professional sheen. For homeowners in Parker, understanding the process helps you decide whether to DIY or to seek professional Parker hardwood floor refinishing services that utilize advanced options like our UV-Cure System.
Should You Refinish Your Hardwood Floors Yourself?
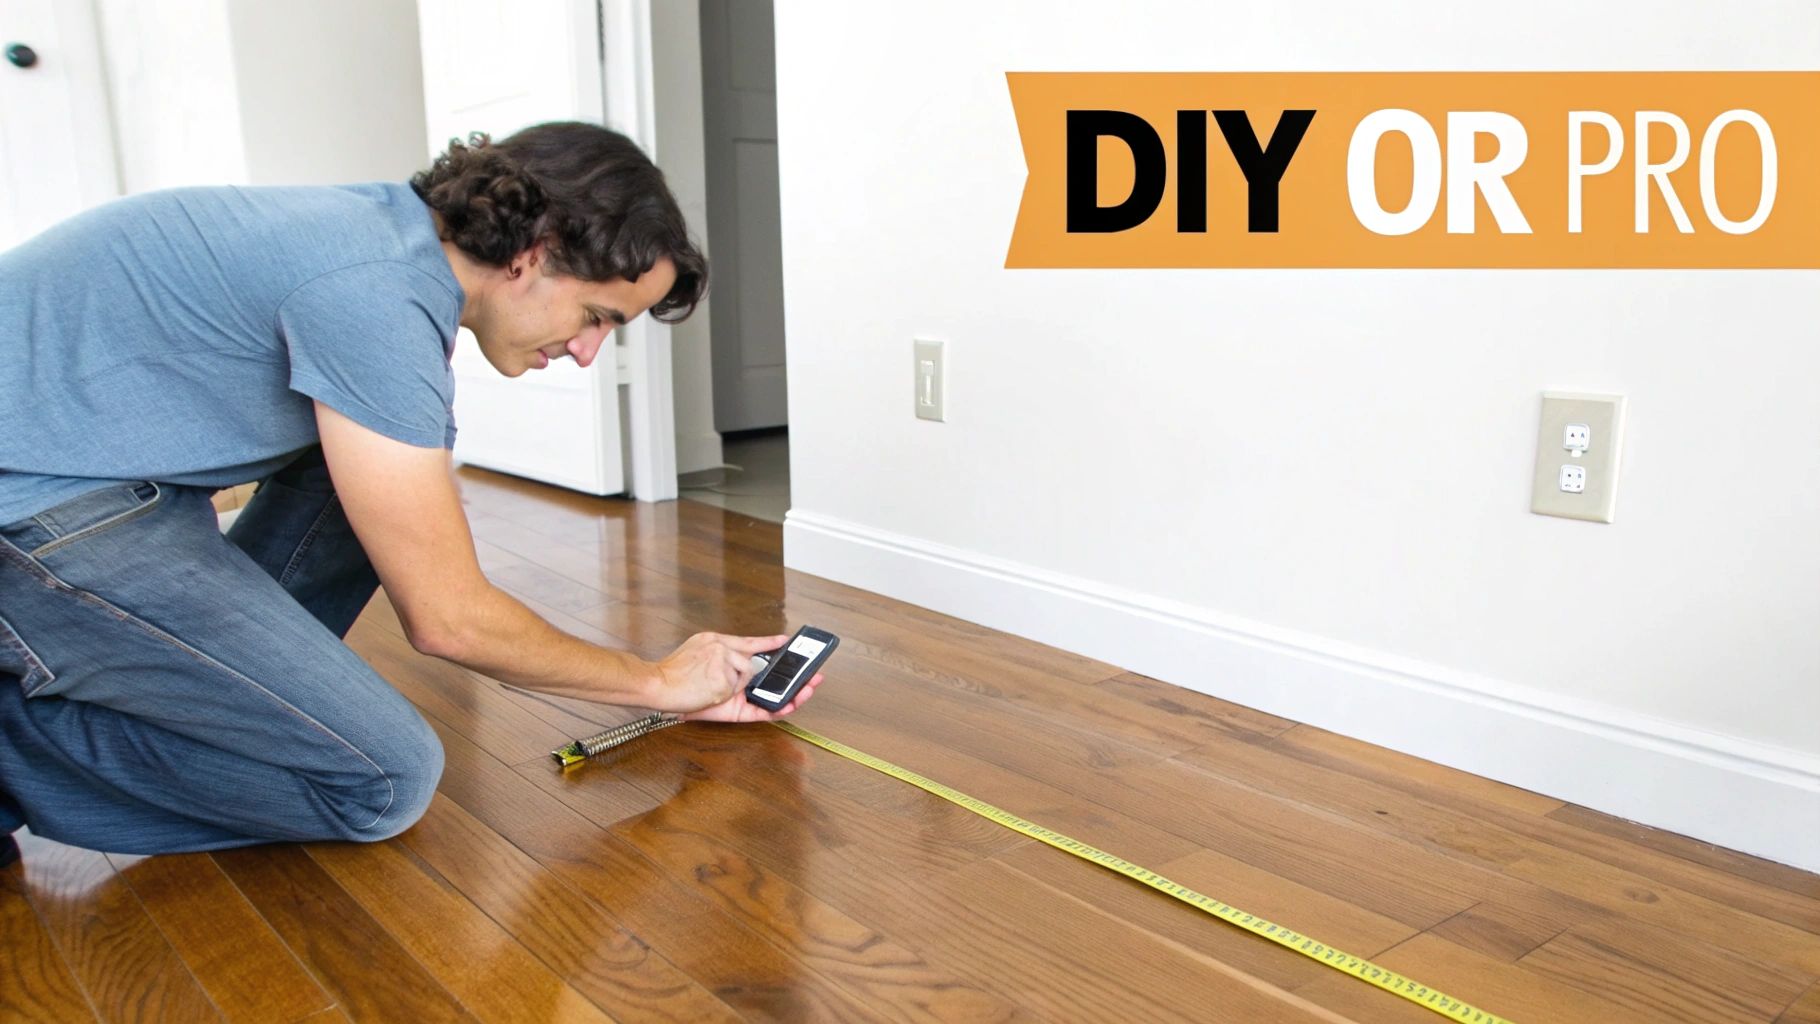
Before you even think about renting a sander, let's have a real heart-to-heart about whether this project is a good fit for you. The line between a stunning DIY success and a costly, irreversible mistake is finer than you might imagine. A great outcome always starts with a realistic look at your floors, your skills, and your schedule.
Assessing Your Floor's Current Condition for Parker Hardwood Floor Refinishing
First things first, get down on your hands and knees and take a close look at what you’re working with. Are you just dealing with surface-level scuffs and a bit of fading, or are there deeper problems lurking?
Keep an eye out for these red flags that scream "call a professional":
- Deep Gouges or Scratches: Can you catch your fingernail in it? If a scratch is deep enough to have gone through the finish and into the wood itself, it's going to need aggressive sanding that can be really tricky for a first-timer.
- Pet Stains or Water Damage: Those dark, black, or grey stains are bad news. They signal that moisture has soaked deep into the wood fibers, and you often can't sand them out completely. This usually means a board replacement is in order.
- Warped or Cupped Boards: If your floorboards aren't lying flat, refinishing isn't the answer. That's a sign of a bigger moisture issue that needs to be addressed first.
- Previous Sanding: Check in a closet or along a baseboard to see how much wood is left above the tongue and groove. If a floor has been sanded too many times, there might not be enough wood left for another round.
From restoring historic red oak floors in Denver’s Capitol Hill to reviving modern builds in Parker, we’ve seen it all. Trust me, the most common DIY regret comes from underestimating just how bad the existing damage really is.
Evaluating Your Skills and Commitment
Refinishing hardwood floors isn't your average weekend project. It’s a physically demanding job that requires patience and a sharp eye for detail.
Ask yourself these questions:
- Do you have any experience with big power tools, especially a heavy piece of equipment like a drum sander?
- Can you realistically block off several days in a row for this? You have to account for sanding, applying multiple coats of finish, and all the drying time in between.
- Are you truly prepared for the sheer amount of dust and the disruption it will cause in your home?
The appeal of saving money is powerful, but the risks are very real. A drum sander in inexperienced hands can easily leave permanent dips, divots, and chatter marks all over your floor. A sloppy stain job or a bubbly topcoat can ruin the entire look.
For a really detailed breakdown of the pros and cons, check out our guide on DIY vs. professional hardwood floor refinishing.
DIY vs Professional Refinishing: A Quick Comparison
To make the decision a little easier, we've put together a table that breaks down the key differences between going it alone and hiring a team like ours.
| Factor | DIY Refinishing | Professional Service |
|---|---|---|
| Cost | Lower upfront cost for materials and rentals. | Higher initial investment, but includes all labor, tools, and expertise. |
| Time | Can take 3-5 days or more, depending on your experience and room size. | Usually 1-3 days for a much faster turnaround. |
| Skill Level | High. Requires patience and skill with heavy machinery. Big risk of errors. | None required from you. Pros have years of experience. |
| Equipment | Rental equipment (drum sander, edger), plus purchase of materials. | Professional-grade, dustless sanding systems and advanced finishes. |
| Results | Varies widely. Can be great, but a high chance of visible mistakes. | Guaranteed smooth, even, and durable finish with a warranty. |
| Hassle | You handle everything: furniture moving, prep, cleanup, and disposal. | We handle it all, minimizing disruption to your home. |
At the end of the day, a DIY project can save you money if everything goes perfectly. But a professional service saves you time, stress, and the risk of costly mistakes, ensuring your floors look flawless for years to come.
Homeowners today clearly value their existing floors. The residential sector accounts for over 66% of wood flooring sales, showing a strong preference for restoration over replacement. This trend is driven by a desire for durable, sustainable, and beautiful home features.
Ultimately, the decision to refinish hardwood floors yourself comes down to a clear-eyed view of the work involved. While DIY has its appeal, a professional Parker hardwood floor refinishing service guarantees a flawless result with advanced tools, like our dust-free sanding and UV-Cure System, protecting your home’s biggest asset.
Gathering Your Tools and Materials for a Flawless Finish
A stunning hardwood floor finish doesn’t just happen. It’s born from having the right gear in your hands before you even think about starting. Think of it this way: you wouldn't try to bake a gourmet cake with a toaster oven. The quality of your tools directly translates to the quality of your finished floor—it’s that simple.
Before you jump into your DIY project, you need a solid game plan for your equipment. If you're just building your general toolkit, this guide on essential tools for homeowners is a great place to start. But floor refinishing? That calls for a much more specialized arsenal.
Choosing Your Sander: The Drum vs. Orbital Debate for Your Parker Project
The sander is the MVP of this whole operation, and it’s the most important piece of equipment you'll rent. You’ve got two main choices, and they are worlds apart.
-
Drum Sander: This is the beast the pros use. It's incredibly powerful and chews through old finish and ugly imperfections in no time. But that power comes with a major catch: it’s aggressive. Stop moving for even a split second, and it will carve a permanent trench into your floor. It’s the right tool for floors with thick, stubborn finishes or serious damage, but it demands a steady hand and constant motion. No daydreaming allowed.
-
Orbital Sander: Now, this machine is far more forgiving and the one I’d recommend for most first-timers. It moves in a random circular pattern, which drastically reduces the risk of creating those dreaded divots and gouges. It’s slower and will probably eat up more sandpaper, but for a DIYer tackling a floor in a Parker home, it’s the safer bet by a long shot.
Don't forget the corners and edges! The big floor sander can't get flush against the wall, so you’ll also need to rent an edging sander. It's a powerful handheld machine designed to work right alongside the main sander.
The Sandpaper Progression Plan
You can’t just grab a random piece of sandpaper and hope for the best. The secret to a ridiculously smooth floor is a methodical grit progression. Get the sequence wrong, and you'll be left with ugly swirl marks and a surface that just won't take stain evenly.
Here’s a typical progression that works for most floors:
- Coarse Grit (36-40): This first pass is all business. It aggressively strips off the old polyurethane finish and grinds down minor scratches and dings.
- Medium Grit (60-80): Once the old finish is gone, this pass smooths out the rough marks left by the coarse grit and starts to really level the raw wood.
- Fine Grit (100-120): This is your final sanding pass. It polishes the wood grain to a silky-smooth surface, getting it perfectly prepped for stain and finish.
Insider Tip: When you rent your sanding gear in the Denver area, always have the shop show you exactly how to load the sandpaper. If it's not secured properly, it can tear and, on a drum sander, fly off at high speed. Trust me, you don’t want that hitting your walls or you.
Your Complete Shopping and Rental Checklist
Beyond the sanders, getting that flawless finish depends on a whole host of other supplies. Don’t try to cut corners here. Quality materials make a huge difference in how your floors look and how long they last.
Essential Rentals & Purchases:
- Floor Sander (Drum or Orbital)
- Edging Sander
- Shop Vacuum (your household vacuum won't stand a chance against this much dust)
- Sandpaper/Discs in various grits (36, 60, 80, 100)
- High-Quality Respirator with P100 cartridges
- Safety Goggles & Hearing Protection
- Wood Filler & Putty Knife
- Painter's Tape
- Plastic Sheeting (for sealing off doorways)
- Tack Cloths
- Applicators (Lambswool for oil-based, synthetic pads for water-based)
Having every single item on this list before you begin is non-negotiable. A mid-project run to the hardware store isn't just an annoyance; it can throw off drying times and totally compromise your finish. Taking the time to gather everything first ensures your Parker hardwood floor refinishing project—whether you're using a traditional finish or a modern UV-Cure System—goes as smoothly as possible.
Mastering the Art of Sanding Your Hardwood Floors
Sanding is where the real magic happens, but let’s be honest—it’s also the most intimidating part of refinishing your floors yourself. Get it right, and you’re creating a perfectly smooth canvas for a stunning finish. Get it wrong, and you risk leaving permanent dips, gouges, or swirl marks in the wood. This is the moment that truly defines the outcome of your project.
The golden rule of sanding is simple yet critical: always keep the sander moving. Whether you’ve rented a powerful drum sander or a more forgiving orbital sander, letting it sit in one spot for even a second can create a divot that’s nearly impossible to fix. Think of it like mowing a lawn—you need to maintain a steady, consistent pace to get an even result.
This visual breaks down the essential tools you'll need for the refinishing process.
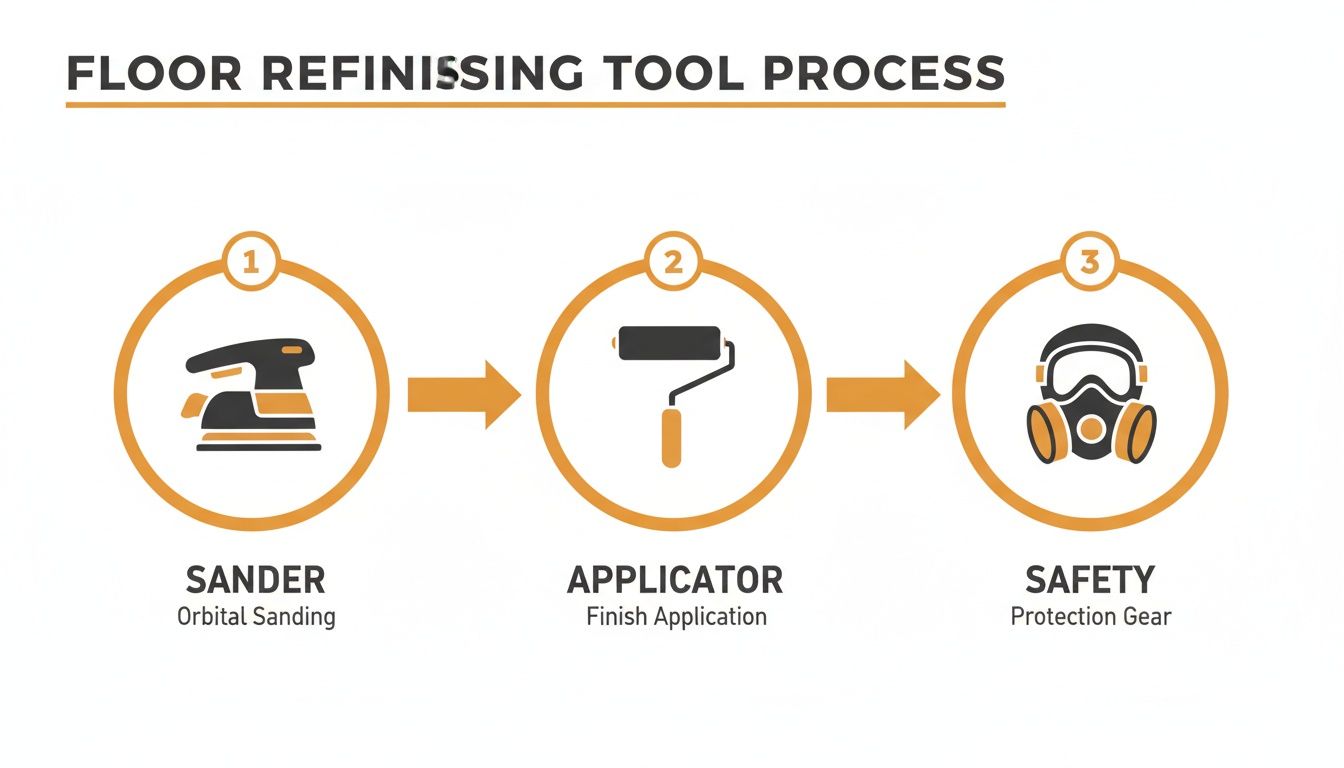
From the initial sanding to the final application and crucial safety gear, each element plays a vital role in achieving a professional result.
The Correct Grit Sequence for a Silky Smooth Surface
Sanding isn’t a one-and-done pass. It’s a methodical process of using progressively finer grits of sandpaper to erase the old finish and then polish the wood itself. Skipping a grit level is a common rookie mistake that leaves behind deep scratches that will show up glaringly once you apply stain.
Follow this progression for the best results:
- First Pass (36-Grit): This is your workhorse. The coarse grit is designed to aggressively remove the old polyurethane and flatten minor imperfections. Your goal here isn't beauty; it's brute-force removal.
- Second Pass (60-Grit): Now you're in the refinement stage. This medium grit smooths out the coarse scratches left by the 36-grit paper, preparing the wood for its final polish.
- Final Pass (100-Grit): This final pass with fine-grit paper is what gives your floor that silky, touchable smoothness. It erases any remaining swirl marks and closes the wood grain, getting it ready for stain.
Before applying any finish, it's crucial to properly prepare the wood surface, which includes meticulous cleaning after sanding to ensure the best adhesion and appearance.
Tackling Tricky Corners and Edges
No matter how skilled you are with the large floor sander, it simply can’t reach the edges of the room or get into tight corners. This is where the edging sander and hand scrapers come in. The edger is a powerful handheld machine that sands right up to the baseboards, but it requires a firm grip and a similar "keep it moving" approach to avoid creating dips.
For the absolute tightest spots—like around radiator pipes or in sharp corners—a sharp hand scraper is your best friend. This manual tool allows you to carefully shave away the remaining finish, ensuring every square inch of your floor is perfectly prepped. Meticulous work in these areas is what separates an amateur job from a professional one. You can learn more about the specifics of the process in our guide where hardwood floor sanding is explained.
Remember, the final sanded surface should feel uniformly smooth to the touch everywhere. Run your hand (carefully!) over different areas to check for any roughness before you even think about cleaning up the dust.
The Battle Against Dust and the Advantage of a UV-Cure System
Sanding creates an incredible amount of fine wood dust. It will get everywhere if you don't control it. Start by sealing off the room with plastic sheeting over doorways and vents. Wear your respirator at all times during this phase—this isn't optional.
After your final sanding pass, the cleanup must be meticulous.
- First, use a shop vacuum with a brush attachment. Go over the entire floor, including the edges and corners, multiple times.
- Next, use a tack cloth. This is a sticky piece of cheesecloth designed to pick up the finest dust particles that the vacuum leaves behind. Wipe the entire floor down.
- Finally, vacuum one last time. This might seem like overkill, but any speck of dust left on the floor will get trapped in your finish, creating a rough, gritty texture.
While these DIY methods are effective, they can't compare to professional equipment. For projects in Parker, our hardwood floor refinishing service uses a powerful dust-free sanding system that connects directly to our sanders, capturing up to 98% of dust as it's created. This not only keeps your home dramatically cleaner but also ensures a purer, smoother final coat—which is especially important when applying advanced finishes like our UV-Cure System.
Applying Stain and Finish Like a Professional
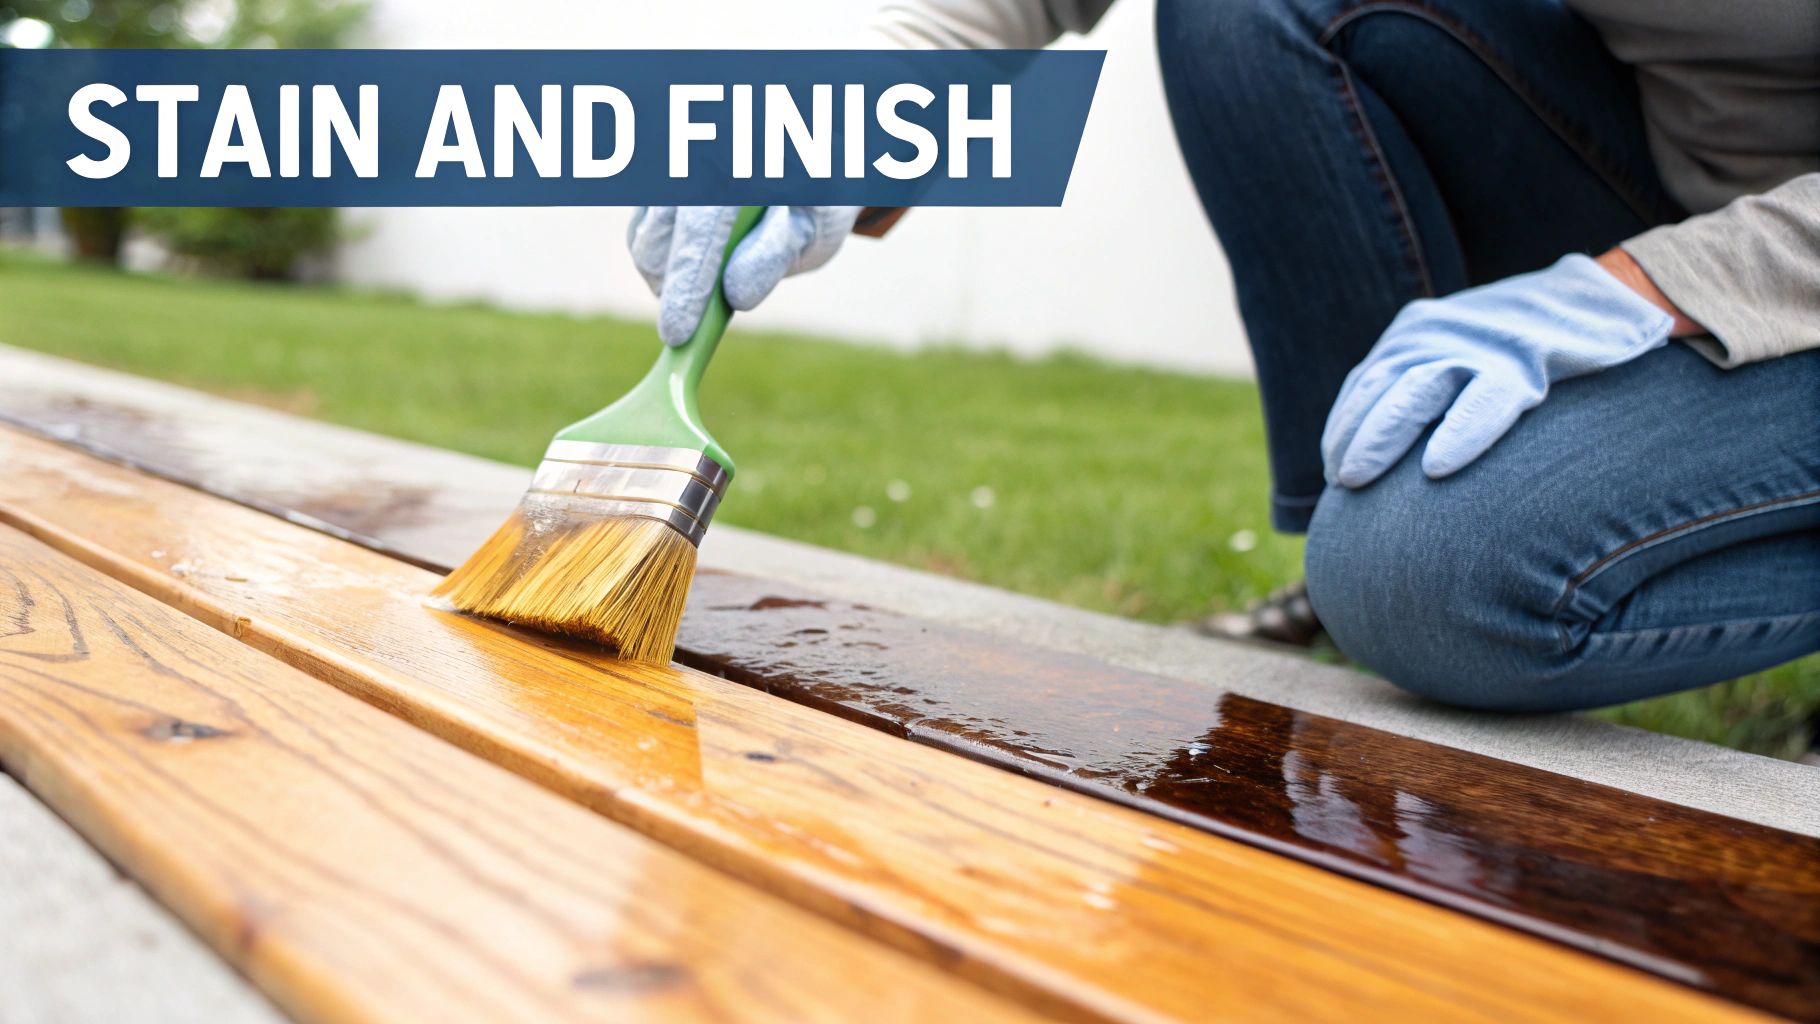
Alright, the heavy lifting of sanding is behind you. Now comes the part where you see all that hard work pay off—the transformation. This is where your floors really come to life, but don't rush it. A common DIY mistake is getting impatient here, but the stain and finish are what everyone will see. Patience and good technique are everything.
Before you even think about opening a can of stain, here's a pro tip for getting that deep, rich color you see in magazines: water popping. After your final vacuum and wipe-down, you lightly dampen the floor with a rag and distilled water. As it evaporates, the wood grain raises just slightly, opening up the pores to soak in more stain. The result is a more dramatic and uniform color.
Achieving a Consistent Stain Application
Applying wood stain can be nerve-wracking. You’re aiming for consistent color without ugly lap marks, blotches, or drips. The trick is to work in small, manageable sections—think three to four feet wide—and always follow the length of the boards.
Here are a few best practices to get it right:
- Use a rag or an applicator pad. Brushes tend to leave streaks, but a clean, lint-free rag lets you really work the stain into the wood grain.
- Apply, then wipe. Don't let the stain sit for too long. Work it in, let it penetrate for just a few minutes (check the manufacturer's directions), then wipe off the excess with a clean rag. Blend your edges as you move to the next section.
- Always maintain a "wet edge." This is critical. You always want to be working from the wet edge of your last section into a fresh, unstained area. This is how you prevent those dreaded lap marks where two sections overlap and create a darker line.
This level of detail is exactly what homeowners are looking for these days. In fact, the demand for flawless results is why the North American floor sanding services market is expected to grow at a steady 5.5% annually. People want it done right, and with a careful technique, you can get pretty close. You can read more about the floor refinishing services market trends if you're curious.
Choosing and Applying Your Protective Topcoat
The topcoat is your floor's suit of armor. This clear protective layer is what stands between your beautiful wood and scratches, spills, and daily life. This is easily the most important choice you'll make for the long-term health of your floors. For a DIY project, you're generally choosing between oil-based and water-based polyurethane.
- Oil-Based Polyurethane: The traditional choice. It gives the wood a warm, amber glow and is known for being super durable. The downside? It has a very strong smell, takes a long time to dry between coats, and even longer to fully cure.
- Water-Based Polyurethane: A more modern option that dries much faster, has a low odor, and provides a crystal-clear coat that won't yellow over time. It's also better for the environment, though some formulas aren't quite as tough as their oil-based cousins.
For a much deeper dive into the pros and cons of different topcoats, check out the ultimate guide to hardwood floor finishes. No matter which you pick, always apply thin, even coats and lightly sand with very fine 220-grit sandpaper between coats to ensure the next one sticks perfectly.
Professional Advantage: Here's one of the biggest challenges for any DIYer: cure time. A traditional finish can take anywhere from 7 to 30 days to fully harden. That means you have to be incredibly careful with furniture, rugs, and even heavy foot traffic for weeks. A professional Parker hardwood floor refinishing service just has access to better technology.
We use an advanced UV-Cure System with a special finish that is hardened instantly by a powerful UV light machine. This means your floors are 100% cured and ready for furniture the moment we walk out the door. No toxic fumes, no waiting period, and you get a finish that's significantly more durable than anything you can buy at a big-box store. It’s a complete game-changer.
Common DIY Mistakes and When to Call a Pro
Even with the best intentions, a DIY floor project can take a wrong turn. Fast. Knowing the common pitfalls is half the battle, but recognizing when a small slip-up is spiraling into a real problem is just as crucial. Sometimes, the smartest move you can make is putting the tools down and calling for backup.
We’ve been called in to rescue plenty of projects across the Denver Metro Area, from Parker to Highlands Ranch, where a homeowner's weekend warrior dream turned into a refinishing nightmare. Learning from those situations can save you a ton of stress, money, and heartache.
Chatter Marks and Divots from the Sander
One of the most frequent and soul-crushing mistakes we see comes from the drum sander. These machines are workhorses, but they are incredibly unforgiving in inexperienced hands.
- Chatter Marks: These are tiny, rippling waves that run across the grain of the wood. They happen when the sander vibrates or bounces just slightly, often from an unbalanced drum, old subfloors, or simply moving the machine too quickly.
- Divots and Gouges: This is the big one. It happens when you stop moving the sander, even for a split second, while the drum is still spinning. It will instantly carve a deep depression into the wood that’s almost impossible to fix without expert help.
Once these marks are etched into your floor, the only way to fix them is with aggressive, professional-level sanding to level the entire surface all over again. If you start seeing these patterns, it's a clear sign to stop and get a professional opinion. Trying to sand them out yourself usually just makes the problem deeper and wider.
Uneven Stain and Lap Marks
After spending an entire weekend meticulously sanding, there's nothing more devastating than a botched stain job. Getting a perfectly even, beautiful color is way harder than it looks, and a few common issues trip up most DIY-ers.
Lap marks are those dark, ugly lines that show up where you've overlapped sections of stain. They happen when you let one area start to dry before blending the next section into it—you have to maintain a "wet edge" at all times. Blotchiness is another killer, where the stain soaks into the wood unevenly, creating a patchy, splotchy look. This is especially common on woods like maple and pine.
We once had a client in Parker who tried to fix lap marks on his beautiful red oak floor by just adding more stain over the top. It only made the lines darker and more obvious. We had to come in and sand the entire floor back down to bare wood to correct it.
If your stain job looks uneven, do not apply a topcoat. A clear finish will only lock that mistake in forever. At this point, your only real option is to sand it all off and start from scratch, which is a massive red flag that it’s time to call in a pro for your Parker hardwood floor refinishing project.
Bubbles and Blemishes in the Finish
You're on the home stretch, rolling on that final protective coat, and then you see them: tiny bubbles, specks of dust, or maybe even a stray hair permanently entombed in your brand-new finish. What went wrong?
These little imperfections are almost always caused by one of three things:
- Contamination: A single speck of dust you missed, or debris falling from the ceiling onto the wet finish.
- Technique: Shaking the can of polyurethane or rolling it too vigorously introduces air into the liquid, creating bubbles.
- Environment: Applying the finish in a room that's too hot, too cold, or has a draft will mess up how it dries.
While you might be able to lightly sand out one or two minor blemishes between coats, a widespread issue of bubbles or debris means the whole coat has to go. If this happens on your final coat, the only fix is to screen and recoat the entire floor—a delicate process best left to experts who can guarantee that flawless, glass-smooth surface. Our guide on when to refinish hardwood floors can help you decide if your floor's condition warrants a professional touch right from the start.
To help you on the fly, here’s a quick troubleshooting table for those "uh-oh" moments.
DIY Troubleshooting Guide
| Problem | Common Cause | Potential DIY Fix | When to Call a Pro |
|---|---|---|---|
| Chatter Marks | Sander vibration, moving too fast | Stop sanding immediately. These can't be spot-fixed. | Immediately. Continuing will only make it worse. |
| Sander Divots | Pausing the sander while the drum is down | None. The wood is physically removed. | Right away. The entire floor needs to be leveled. |
| Blotchy Stain | Uneven wood porosity (e.g., pine, maple) | Apply a pre-stain wood conditioner before staining. | If stain is already applied, it must be completely re-sanded. |
| Lap Marks in Stain | Letting an edge dry before blending | Maintain a "wet edge"; work in smaller, manageable sections. | If marks have already dried, the floor needs to be re-sanded. |
| Bubbles in Finish | Over-brushing, shaking the can, rolling too fast | Gently "tip off" with a high-quality brush; avoid shaking the can. | If bubbles are widespread and dried, the coat needs a pro screen & recoat. |
| Dust in Finish | Poor cleaning, airborne particles | Thoroughly vacuum and tack cloth; turn off HVAC during application. | For a flawless final coat, a professional screen & recoat is the only fix. |
At the end of the day, knowing how to refinish hardwood floors also means knowing your own limits. When a mistake risks permanent damage to your home’s biggest asset, calling a pro isn’t admitting defeat—it’s making a smart investment in a perfect result.
FAQ: Questions About Refinishing Hardwood Floors Yourself
Thinking about a DIY floor refinishing project is exciting, but it also opens up a ton of questions. Getting straight, honest answers is the only way to know if this is a job you should tackle yourself or if it’s time to call in a pro for your Parker hardwood floor refinishing project. Let's dig into the most common questions we hear from homeowners just like you.
How Long Does This Really Take to Do Myself?
Let’s be real: this is not a simple weekend project. That’s probably the biggest misconception out there. For a standard-sized room—think 150-200 sq. ft.—a dedicated DIYer should clear their schedule for at least 3 to 5 full days.
That timeline covers everything: moving all the furniture out, prepping the room, multiple rounds of sanding (each with a different grit), cleaning up all that dust, and then applying several coats of stain and finish. And don't forget the drying time needed between every single step.
If you hit a snag like an equipment issue or discover a board that needs repairing, that timeline can easily stretch even longer. A professional crew, on the other hand, can usually knock out the same job in 1-2 days because we have more efficient gear and have done this hundreds of times.
One of the biggest time-sucks for a DIYer is the final cure. A traditional polyurethane finish can take up to 30 days to fully harden. Until then, your brand-new floors are surprisingly vulnerable to damage.
Can I Just Recoat My Floors Instead of Sanding Everything?
This is a fantastic question, and the answer comes down to one thing: the current condition of your floors. A "screen and recoat" is a maintenance job, not a full-blown restoration. It involves lightly buffing (or screening) the existing top layer of finish just enough to rough it up, then applying a fresh coat on top.
A screen and recoat is a great option, but only if your floors meet these criteria:
- The damage is all on the surface—think light scuffs and minor scratches.
- The finish is looking dull, but it hasn't completely worn through to the bare wood anywhere.
- Your floors have never been cleaned with products that contain wax, silicone, or oil soaps. Those products leave a residue that will prevent the new finish from sticking properly.
If you’re dealing with deep gouges, pet stains, water damage, or any areas where the finish is gone and you see bare wood, a full sand-and-refinish is the only way to fix it.
How Much Does It Actually Cost to Refinish My Own Floors?
Saving money is usually the main reason people go the DIY route, but you'd be surprised how quickly the costs can add up. You’ll need to open your wallet for:
- Tool Rentals: A drum or orbital sander plus an edger for the corners will run you $100-$150 per day.
- Materials: Sandpaper in multiple grits, stain, a high-quality polyurethane, brushes, rollers, and safety gear can easily cost another $200-$400 for a single room.
All in, you can expect to spend $400-$650 or more for a typical room. While that’s less than hiring a pro, it doesn’t factor in the value of your own time or the very real financial risk of making a mistake. A deep gouge from the sander could cost more to fix than hiring us in the first place. Our professional services, including the game-changing UV-Cure System, come with guaranteed results that protect your investment.
What’s the Absolute Hardest Part of Refinishing Hardwood Floors?
Hands down, the two parts that trip up beginners the most are running the drum sander and applying that final topcoat.
That drum sander is a beast. It’s incredibly powerful and can carve a permanent dip into your floor in a split second if you don't keep it moving with a steady, confident motion. There’s no undo button for that.
Getting a perfectly smooth, bubble-free final coat is just as tricky. You need an almost sterile, dust-free room, the right application technique, and perfect temperature and humidity—all things that are tough to control in a regular home. These two steps are where a pro’s experience really shines. And if you're curious about the most advanced finishing options, we break it all down in our guide covering your top 10 questions about instant UV-curable finish.
Homeowners on Parker trust J.R. Hardwood Floor Refinishing & Cleaning to restore the natural beauty of their hardwood floors with our dust-free sanding system and advanced UV-curable finishes. Unlike traditional methods, our UV technology cures instantly, so you can move furniture back the same day with no lingering odor or downtime. Choose the perfect refinishing service to match your needs and home traffic. Our dust-free process ensures a clean, beautiful finish every time.
📞 Phone: 720-327-1127
🌐 Website: jrhardwoodfloorrefinishingandcleaning.com
📍 Service Area: Parker, Lone Tree, Castle Rock, Highlands Ranch, and surrounding areas.
🎥 YouTube: Watch Our Process in Action!