 Skip to content
Every busy Denver household knows the struggle of keeping hardwood floors looking their best in high-traffic rooms. Constant foot traffic can dull the shine and wear down protective layers long before you want a full refinish. That is where a screen and recoat service using eco-friendly products comes in, offering a smart way to restore beauty and durability without the mess or long wait times of traditional sanding. Discover how carefully assessing, preparing, and treating your floors can deliver lasting results while supporting a healthier Colorado home.
Table of Contents
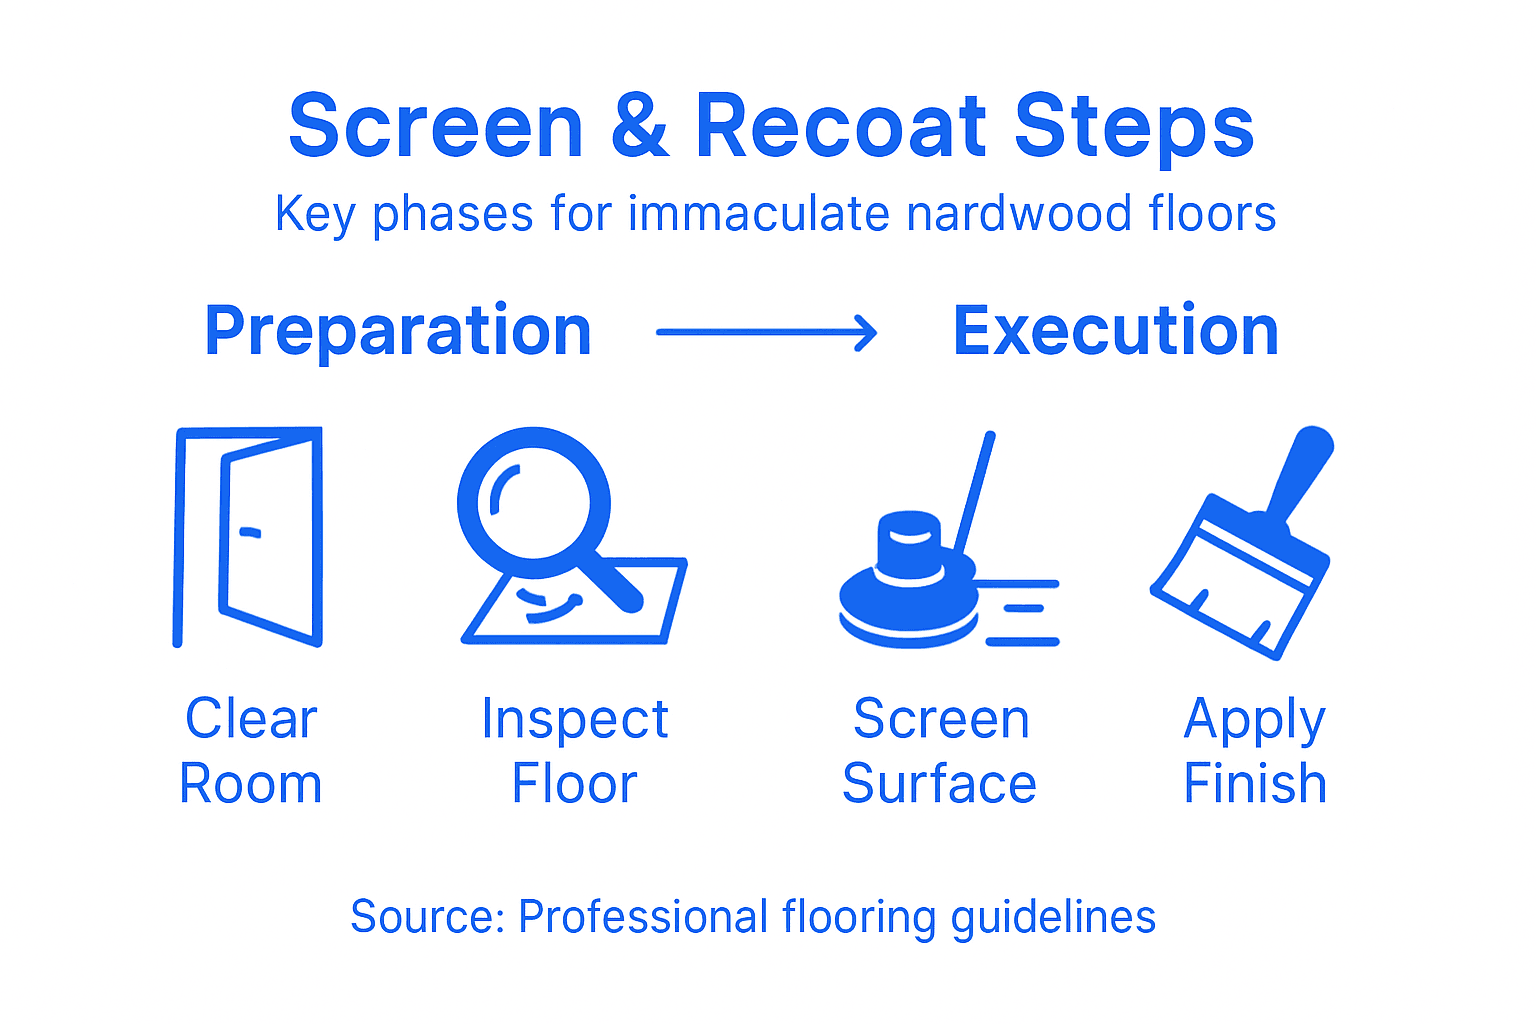
- Step 1: Assess Floor Condition For Suitability
- Step 2: Prepare The Area And Choose Eco-Friendly Products
- Step 3: Perform Dustless Screening Of Hardwood Floors
- Step 4: Apply The Desired Finish Coat Evenly
- Step 5: Verify Cure And Inspect For Quality
Quick Summary
| Main Takeaway | Explanation |
|---|---|
| 1. Assess Floor Condition Before Maintenance | Check for light scratches, wear patterns, and intact finishes to decide if screening and recoating are suitable. Avoid if structural damage is present. |
| 2. Prepare Area and Select Eco-Friendly Products | Clear the space and choose low-VOC materials to enhance indoor air quality while restoring your hardwood floors. |
| 3. Execute Dustless Screening Properly | Use a vacuum system and maintain even pressure during screening to minimize dust and ensure an even surface for new finish application. |
| 4. Apply Finish Evenly for Best Results | Use appropriate tools to ensure uniform application of the finish. Allow adequate drying time and lightly sand between coats for optimal adhesion. |
| 5. Verify Finish Curing Quality Thoroughly | Check hardness, sheen, and consistency of the finish and ensure it cures fully before allowing heavy foot traffic or returning furniture. |
Step 1: Assess Floor Condition for Suitability
Evaluating your hardwood floors for a screen and recoat service requires a systematic and careful inspection. Understanding the wood’s mechanical properties helps determine whether your floors are suitable for this maintenance technique.
Begin by thoroughly examining your hardwood surface for specific indicators that signal readiness for screening and recoating. Look for these critical signs:
- Light surface scratches across the finish
- Diminished floor sheen or luster
- Minimal wear patterns without exposed wood grain
- No significant gouges or deep structural damage
- Polyurethane layer still intact and functional
Careful visual assessment determines whether your floors qualify for this cost-effective restoration method. Avoid proceeding if you notice deep scratches, water damage, or areas where the wood itself appears compromised. These conditions typically require more extensive refinishing techniques.
A professional evaluation can confirm whether your floors are candidates for screen and recoat services.
To perform a comprehensive assessment, gently run your hand across the floor surface, feeling for texture changes and identifying areas of uneven wear. Test the existing finish by placing a few drops of water on different sections – if the water beads up, your polyurethane layer remains functional. If it immediately absorbs or leaves a dark mark, your floor likely needs more extensive treatment.
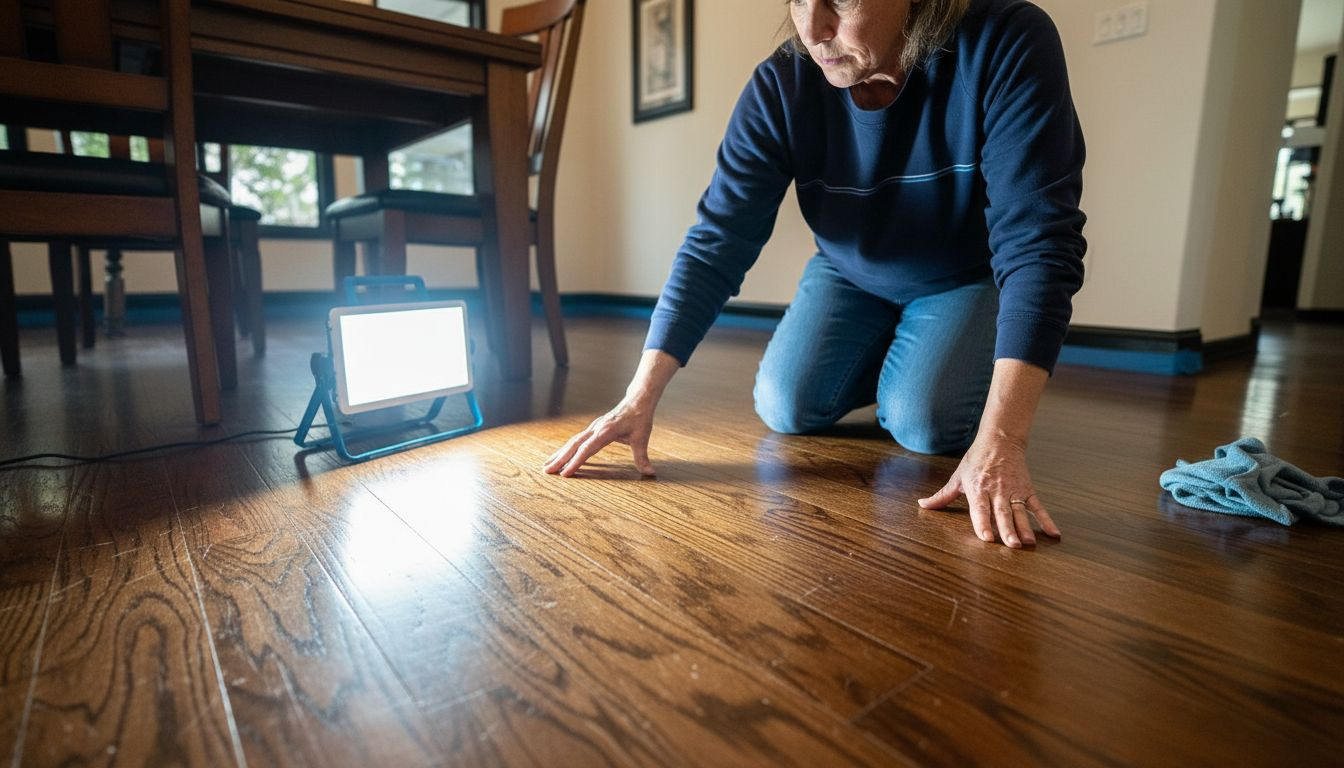
Pro tip: Keep a bright light source nearby during inspection to help reveal subtle surface imperfections that might be difficult to detect under normal lighting conditions.
Step 2: Prepare the Area and Choose Eco-Friendly Products
Preparing your space for a screen and recoat service involves careful area protection and selecting environmentally responsible materials. Sustainable hardwood management practices guide our approach to minimizing environmental impact during floor restoration.
Start by completely clearing the room of furniture, rugs, and movable items. Create a clean, dust-free workspace by following these essential preparation steps:
- Remove all small objects and furniture
- Cover air vents and electrical outlets with painter’s tape
- Place protective drop cloths around the work area
- Ensure proper ventilation by opening windows
- Vacuum and thoroughly clean the floor surface
Select eco-friendly products that minimize volatile organic compounds (VOCs) and support indoor air quality. Look for water-based polyurethane finishes with low chemical emissions and third-party environmental certifications. These products not only protect your floors but also contribute to a healthier home environment.
Choosing sustainable products demonstrates environmental responsibility while achieving exceptional floor restoration.
Carefully inspect your selected products for environmental credentials. Check manufacturer labels for VOC content, biodegradability, and sustainable manufacturing processes. Prioritize products that balance performance with ecological considerations.
Use this quick reference for choosing eco-friendly products during floor restoration:
| Product Aspect | What to Look For | Benefit to Home |
|---|---|---|
| VOC Content | Low or zero level | Better indoor air |
| Certification | Third-party eco labels | Proven sustainability |
| Manufacturing Process | Use of renewable resources | Lower carbon footprint |
| Disposal Practices | Easily recyclable or biodegradable | Less landfill waste |
Pro tip: Wear protective breathing equipment and work gloves when handling floor finishing products to ensure personal safety during the application process.
Step 3: Perform Dustless Screening of Hardwood Floors
Dustless screening transforms your hardwood floor’s appearance by carefully abrading the existing finish with minimal dust production. Wood mechanical properties guide our precision approach to maintaining floor integrity during this critical restoration step.
Prepare your dustless screening equipment and follow these essential techniques:
- Attach a vacuum system to your screening machine
- Select the appropriate screening pad grit (120-150 recommended)
- Maintain consistent, even pressure across the floor surface
- Work in systematic parallel lines to ensure uniform treatment
- Overlap each pass slightly to prevent missed spots
Operate the screening machine with smooth, controlled movements. Start in the corner farthest from the door and move systematically across the room. Keep the machine level and maintain steady forward momentum to prevent uneven abrasion or accidental gouging of the wood surface.
Precision and patience are key to achieving a perfectly prepared floor surface.
Carefully inspect the floor after screening, checking for any remaining finish or uneven areas. The goal is to create a lightly abraded, clean surface that provides optimal adhesion for the new finish coat. Remove all screening dust completely using a microfiber cloth or specialized vacuum attachment.
Pro tip: Test your screening technique in an inconspicuous area first to ensure you’re comfortable with the machine’s handling and pressure requirements.
Step 4: Apply the Desired Finish Coat Evenly
Applying the finish coat is a critical moment in your hardwood floor restoration that determines the final appearance and protection. Hardwood management techniques emphasize the importance of uniform application to ensure long-lasting durability and aesthetic appeal.
Choose your preferred finish type and prepare your application tools:
- Select a high-quality synthetic or natural bristle applicator
- Use a lambswool pad or microfiber roller for even distribution
- Work in a temperature-controlled room (between 65-75 degrees)
- Maintain good ventilation without creating dust
- Keep a wet edge to prevent lap marks
Begin in the farthest corner from the door, working systematically toward the exit. Pour a small amount of finish along the grain and use long, smooth strokes to spread it evenly. Avoid overloading the applicator, which can cause pooling or uneven coverage. Apply thin, consistent layers that will dry quickly and create a smooth, protective surface.
Patience and precision transform a good floor refinishing into an exceptional restoration.
Allow each coat to dry completely according to the manufacturer’s instructions. Typically, water-based finishes require 2-3 hours between coats, while oil-based finishes need 24 hours. Lightly sand between coats with a fine-grit screening pad to ensure maximum adhesion and a glass-smooth final finish.
Here’s a summary of common hardwood finish types and their key characteristics:
| Finish Type | Drying Time | Durability | Environmental Impact |
|---|---|---|---|
| Water-Based | 2-3 hours | Moderate to high | Low VOCs, eco-friendly |
| Oil-Based | 24 hours | Very high | Higher VOCs, less green |
| Natural Oils | 6-12 hours | Moderate | Biodegradable, low toxins |
| Wax | 1-2 hours | Lower | Minimal chemicals |
Pro tip: Use a work light positioned at a low angle to help identify and eliminate any potential uneven spots or missed areas during application.
Step 5: Verify Cure and Inspect for Quality
Ensuring your hardwood floor’s finish has cured properly is the final critical step in achieving a professional-grade restoration. Wood strength properties play a crucial role in understanding how the finish will set and perform over time.
Conduct a comprehensive quality inspection using these essential techniques:
- Check surface hardness by gently pressing with your fingernail
- Verify uniform color and sheen across the entire floor
- Listen for consistent sound when tapping the surface
- Examine for any bubbling, streaking, or uneven areas
- Confirm no residual tackiness remains
Test the finish’s durability by performing a series of gentle assessments. Drop a small bead of water on different areas of the floor – it should bead up and not immediately absorb. Observe how the finish responds to light pressure and subtle environmental interactions.
Quality verification is the final guardian of your floor’s long-term performance and appearance.
Allow the floor to cure completely before returning furniture or experiencing heavy foot traffic. Depending on the finish type, this may take 24-72 hours. Monitor the floor’s surface carefully during the initial curing period, watching for any unexpected changes or imperfections that might require professional attention.
Pro tip: Maintain consistent room temperature and humidity levels during the final curing phase to ensure optimal finish development and prevent potential adhesion or drying issues.
Restore Your Hardwood Floors with Expert Screen and Recoat Services
If you have noticed light surface scratches, diminished sheen, or minimal wear on your hardwood floors the detailed workflow in “Hardwood Screen and Recoat Workflow for Immaculate Floors” can help you understand whether a screen and recoat service is the right solution to bring back that fresh look. J.R. Hardwood Floor Refinishing & Cleaning specializes in this precise and eco-friendly process designed to protect and enhance your wood floors while maintaining their natural beauty and durability.
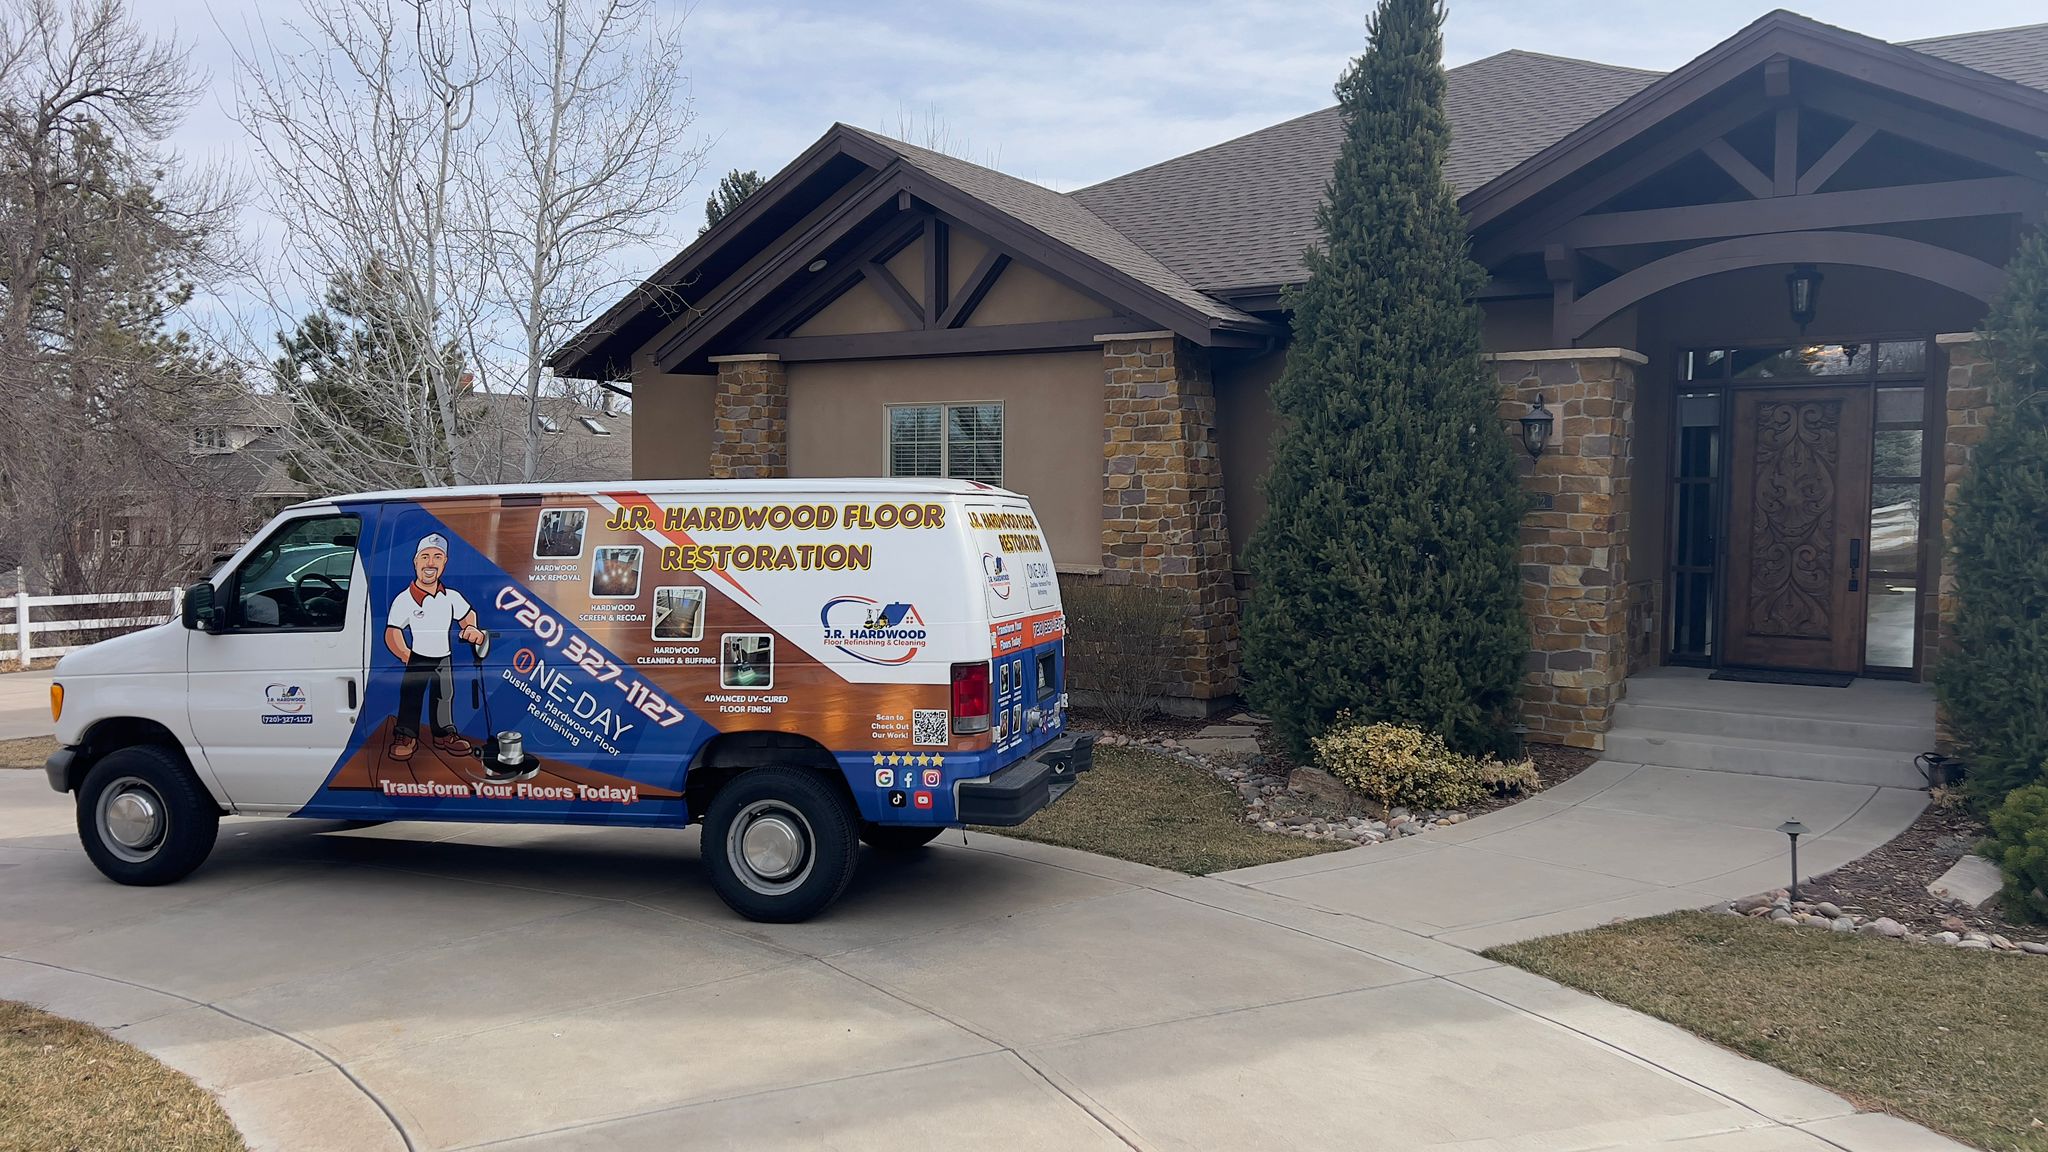
We use low-VOC products and dustless screening techniques to ensure your home stays safe and clean during restoration. Whether you are located in Denver, Boulder, or Colorado Springs, our expert team combines craftsmanship with modern technology to deliver flawless, long-lasting results. Do not wait for deeper damage that requires costly refinishing. Visit our Uncategorized Archives to learn more about our services and schedule your assessment today. Get your free quote by contacting us now at J.R. Hardwood Floor Refinishing & Cleaning and step into floors that shine like new.
Frequently Asked Questions
How do I assess my hardwood floors for suitability for a screen and recoat?
Evaluating your hardwood floors involves checking for light scratches, reduced sheen, and minimal wear patterns. Ensure the polyurethane layer is intact and functional; water should bead up on the surface. Conduct this visual inspection before deciding to proceed with the service.
What steps should I take to prepare the area for a screen and recoat?
Begin by removing all furniture and small items from the room. Protect air vents, cover outlets, and create a clean workspace by vacuuming the floor. This setup will help facilitate a smooth and efficient recoat process.
How do I perform dustless screening on hardwood floors?
Use a dustless screening machine connected to a vacuum system, maintaining consistent pressure and working in parallel lines. Select the appropriate grit for the screening pad (between 120-150 recommended) for even abrasion. Complete the process by thoroughly removing all dust using a microfiber cloth.
What type of finish should I apply after screening?
Choose between water-based, oil-based, or natural oil finishes based on your durability and environmental preferences. Apply the finish using long, smooth strokes to achieve an even coat, and allow sufficient drying time between layers. Ensure a wet edge while working to prevent lap marks.
How can I verify the quality of the finish after it has cured?
Check for surface hardness, consistent color, and sheen across the floor. Conduct a water drop test to ensure it beads up and does not absorb, which indicates a proper finish. Inspect for bubbling or uneven areas, and monitor the floor for 24-72 hours during the curing period.
Why is it important to select eco-friendly products during restoration?
Using eco-friendly products minimizes volatile organic compounds (VOCs), contributing to better indoor air quality. Selecting sustainable materials reduces environmental impact while still providing effective protection for your hardwood floors. Prioritize options with low VOC content and third-party certifications.
Recommended
- Screen and Recoat Meaning: Fast Floor Renewal Benefits
- The Ultimate Guide to Hardwood Floor Finishes – J.R. Hardwood Floor Refinishing & Cleaning
- How to Refinish Hardwood Floors Without Sanding
- Hardwood Floor Screen & Recoat Services | J.R. Hardwood Floor
- Cozee Bay – Step by Step Bamboo Cleaning for a Lasting Shine