
Scratches on your hardwood floors can feel like a permanent eyesore, but most damage is fixable without hiring professionals. This guide walks Colorado homeowners through proven repair techniques for surface scratches, moderate damage, and deeper gouges. You’ll learn how to assess scratch severity, select the right materials, and apply effective DIY methods that restore your floors’ appearance while protecting your investment.
Table of Contents
- Prerequisites And Preparation
- Assessing Scratch Severity
- Core Scratch Repair Methods
- Common Mistakes And How To Avoid Them
- Expected Results And Timelines
- Alternative Approaches And When To Call Professionals
- Restore Your Hardwood Floors With J.R. Hardwood Floor Refinishing & Cleaning
Key takeaways
| Point | Details |
|---|---|
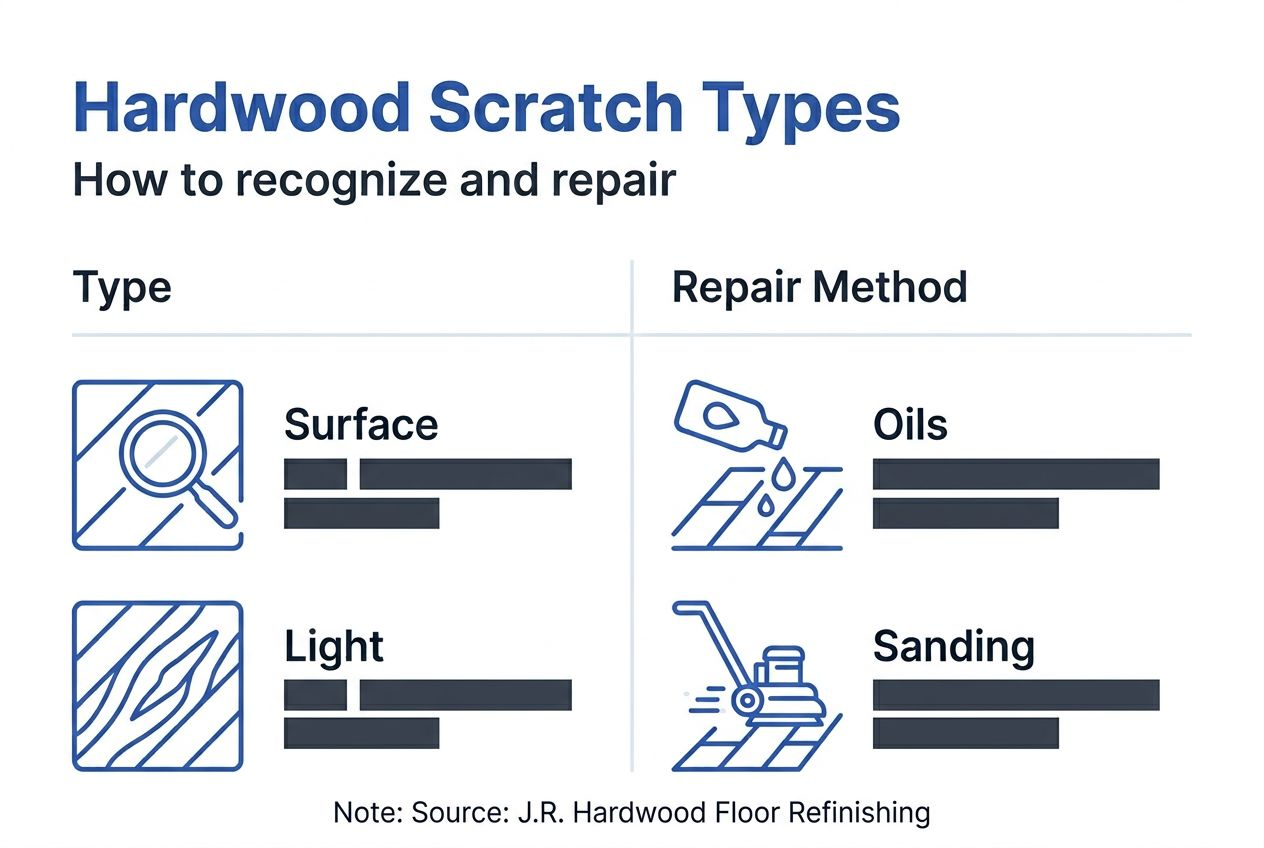
| Scratch depth determines repair method | Surface scratches need oils or markers, deep gouges require wood filler and sanding |
| Proper cleaning is essential | Thoroughly clean with pH-neutral cleaner before repairs to improve adhesion and results |
| DIY repairs save money and time | Light scratches take 30 minutes, deeper damage requires 2 to 4 hours |
| Avoid common mistakes | Never use harsh cleaners or drag furniture without pads to prevent further damage |
| Know when to call professionals | Extensive or deep scratches often need expert refinishing for durable restoration |
Prerequisites and preparation
Successful scratch repair starts with proper preparation and the right materials. Rushing into repairs without cleaning or gathering supplies leads to poor adhesion and disappointing results.
Start by cleaning the scratched area thoroughly before repair to minimize the appearance of very light scratches and prepare for further treatment. Use a pH-neutral hardwood floor cleaner and soft microfiber cloth to remove dust, dirt, and residue. Let the area dry completely before proceeding.
Gather these essential materials before starting:
- Soft microfiber cloths for cleaning and buffing
- Natural oils like olive oil or vegetable oil for light scratches
- Wood stain markers in matching floor colors
- Wood filler for deep scratches and gouges
- Fine-grit sandpaper (220-grit or higher)
- Clean water and mild pH-neutral cleaner
- Protective gloves and ventilation for staining work
Create a safe workspace by clearing furniture and opening windows for ventilation. Good lighting helps you see scratch details clearly. Colorado’s dry climate means you may need slightly less drying time than humid regions, but always follow product instructions.
| Material | Purpose | When to Use |
|---|---|---|
| Natural oils | Blend and reduce visibility | Surface scratches only |
| Stain markers | Color matching and concealment | Light to moderate scratches |
| Wood filler | Fill and rebuild damaged areas | Deep scratches and gouges |
| Fine sandpaper | Smooth filled areas | After filler dries completely |
Pro Tip: Test any stain or marker on a hidden area like inside a closet before applying to visible scratches. This prevents color mismatches that stand out worse than the original damage.
Review our hardwood floor restoration guide for additional cleaning and preparation advice specific to Colorado homes and climate conditions.
Assessing scratch severity
Accurate scratch depth assessment is critical to choose correct repair methods and avoid further damage. Misidentifying scratch type wastes time and materials while potentially making damage worse.
Surface scratches affect only the protective finish layer. Run your fingernail gently across the scratch. If it feels smooth and doesn’t catch, you’re dealing with surface damage. These scratches appear as light lines that change appearance under different lighting.
Light scratches penetrate the finish slightly and may show a subtle color change. Your fingernail will catch slightly when passing over them. The wood grain remains protected, but the finish is compromised enough to allow dirt accumulation.
Deep scratches or gouges expose the actual wood beneath the finish. You’ll feel a definite indentation, and the raw wood color contrasts with the surrounding stained finish. These require more intensive repair to prevent moisture damage and further splintering.
Use this simple classification system:
- Surface level: Finish only, feels smooth, reflects light differently
- Light penetration: Slight catch to touch, minor color variance visible
- Moderate depth: Clear indentation, wood grain partially exposed
- Deep gouge: Raw wood visible, significant depth, splinters possible
Examine scratches under bright natural light near a window. Shadows reveal depth better than overhead lighting. Take photos from multiple angles to track repair progress.
Colorado’s low humidity can make scratches appear more pronounced as wood contracts slightly. What looks severe in winter may be less noticeable in summer. Review our scratch assessment techniques for seasonal considerations and scratch assessment guidance tailored to different hardwood species.
Core scratch repair methods
Once you’ve identified scratch severity, match your repair method to the damage level. Using the wrong technique wastes effort and may worsen appearance.
For surface scratches, natural oils effectively blend and reduce visibility while revitalizing hardwood:
- Apply a small amount of olive oil or vegetable oil to a soft cloth
- Rub gently along the scratch following the wood grain
- Let sit for 5 minutes to penetrate the finish
- Buff away excess oil with a clean microfiber cloth
- Repeat if scratch remains visible after first application
Moderate scratches benefit from wood stain markers that provide customizable color matching to conceal damage. Test marker color on hidden flooring first. Apply marker along scratch, wipe excess immediately with a cloth, and let dry for 30 minutes. Buff gently to blend with surrounding finish.
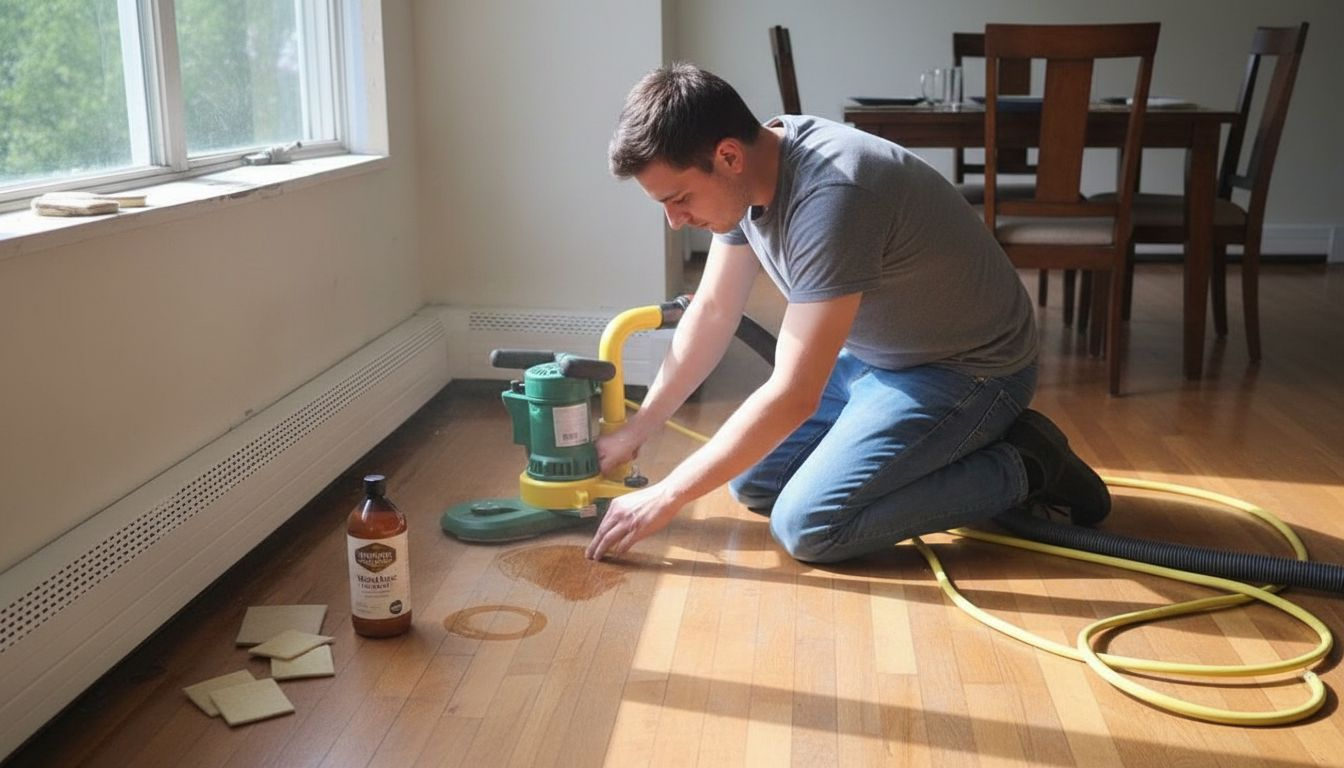
Deep scratches require wood filler for deeper scratches and small gouges with sanding and staining afterward:
- Clean scratch thoroughly and let dry completely
- Press wood filler into gouge using a putty knife
- Overfill slightly as filler shrinks when drying
- Let dry according to product instructions (typically 2 to 4 hours)
- Sand flush with surrounding floor using 220-grit sandpaper
- Apply matching stain marker or touch-up stain
- Seal with clear polyurethane if finish is damaged
| Scratch Type | Best Method | Materials Needed | Time Required |
|---|---|---|---|
| Surface | Natural oils | Olive oil, soft cloth | 15 to 30 minutes |
| Light | Stain markers | Matching marker, cloth | 30 to 45 minutes |
| Moderate | Markers plus light sanding | Marker, 220-grit paper, cloth | 1 to 2 hours |
| Deep gouge | Wood filler and refinishing | Filler, sandpaper, stain, finish | 3 to 4 hours |
Pro Tip: Apply oils and stains sparingly. You can always add more, but removing excess is difficult and may spread the problem to undamaged areas.
Work in small sections and check your progress frequently. Natural light reveals blending issues artificial lighting might hide. For comprehensive repair guidance, explore our hardwood maintenance tips and detailed instructions for natural oils for scratch repair plus wood stain markers usage.
Common mistakes and how to avoid them
Even well-intentioned DIY repairs fail when homeowners make these frequent errors. Learning what not to do saves money and protects your floors from additional damage.
Using harsh cleaners removes floor finish and increases scratch susceptibility. Ammonia-based products, vinegar in high concentrations, and abrasive scrubbers strip protective layers. Stick to pH-neutral hardwood cleaners specifically formulated for finished floors.
Dragging furniture without pads causes deep hardwood floor scratches requiring costly repairs. Even light furniture creates gouges when dragged across hardwood. Always lift furniture or use felt pads under legs. Colorado’s dry air makes wood slightly more brittle, increasing gouge risk.
Applying stain without testing causes irreversible color mismatches. Wood species, age, and existing finish affect how stain absorbs. What works on oak may look terrible on maple. Test every product on inconspicuous areas first.
Skipping proper cleaning before repairs prevents adhesion. Dust and oils create barriers between repair materials and wood. Fillers and finishes won’t bond properly, leading to peeling or flaking within weeks.
Key mistakes to avoid:
- Using too much filler or oil, creating raised spots or sticky residue
- Sanding against the grain, which creates new scratches
- Applying finish before stain fully dries, trapping moisture
- Ignoring manufacturer drying times, compromising bond strength
- Attempting repairs in high-traffic areas without protecting them during drying
“The biggest mistake homeowners make is using whatever cleaner is under the sink. Harsh chemicals destroy the finish you’re trying to repair, creating a cycle of damage that only gets worse.”
Review common scratch repair mistakes specific to Colorado conditions and common hardwood floor mistakes to protect your repair investment and avoid repeating errors.
Expected results and timelines
Understanding realistic timeframes helps you plan repairs and set appropriate expectations for DIY outcomes versus professional services.
DIY scratch repair typically takes 30 minutes for light scratches and 2 to 4 hours for deeper gouges with sanding and finishing. Surface scratches show immediate improvement after oil application. You’ll notice reduced visibility and better light reflection right away.
Moderate scratches require more patience. Stain markers need 30 minutes to dry before buffing. Multiple applications may be necessary for complete color matching. The repair improves appearance significantly but may not eliminate scratches entirely under close inspection.
Deep scratch repairs demand multiple steps spread over several hours. Wood filler needs 2 to 4 hours to cure depending on depth and humidity. Sanding, staining, and finishing add another hour or more. Results vary based on your skill level and how well you match existing floor color.
Realistic outcome expectations:
- Surface scratches: 80 to 90% improvement, often invisible from standing height
- Light scratches: 70 to 85% improvement, noticeable only under direct light
- Moderate scratches: 60 to 75% improvement, visible close up but blended from distance
- Deep gouges: 50 to 70% improvement with DIY, may still show texture differences
Average DIY Repair Duration: Surface scratches average 30 minutes per area, while deep gouges requiring wood filler, sanding, and refinishing typically need 3 to 4 hours of active work plus drying time between steps.
Professional refinishing provides the most durable, long-lasting results but costs significantly more. Pros achieve near-original appearance because they sand the entire floor to uniform depth and apply commercial-grade finishes. Compare options in our DIY vs professional hardwood refinishing guide and check scratch repair timeframes for detailed process videos.
Alternative approaches and when to call professionals
DIY methods work well for isolated scratches, but extensive damage or poor DIY results signal it’s time to consult professionals. Knowing your limits prevents wasted effort and additional floor damage.
Deep gouges often require professional sanding and refinishing for durable restoration. Pros use drum sanders that remove damaged wood uniformly across entire rooms. This eliminates texture differences DIY spot repairs can’t fix. They also have access to commercial stains and finishes unavailable to homeowners.
Professional refinishing restores floors to near original condition and prolongs finish durability. The process typically involves complete sanding through all finish layers, staining to match or update color, and applying multiple coats of commercial-grade polyurethane. Results last 7 to 10 years with proper maintenance.
Professional services offer advantages DIY cannot match. Industrial equipment removes material evenly without creating waves or dips. Dustless sanding systems protect your home from fine particles. Expert color matching ensures uniform appearance across repairs and existing floors.
Signs you should hire a professional:
- Scratches cover more than 25% of floor area
- Previous DIY repairs failed or made appearance worse
- Scratches expose raw wood across multiple boards
- Floor finish is worn thin throughout the room
- You lack time or physical ability for extensive sanding
- Scratches accompany other issues like cupping or gaps
Colorado’s altitude and climate create unique hardwood challenges. Professionals understand how dry air affects wood movement and finish adhesion. They adjust techniques and products accordingly for lasting results.
Explore professional hardwood floor refinishing options to compare costs and timelines. Learn about the benefits of professional refinishing for Colorado homes and review comprehensive professional hardwood refinishing guide resources for realistic expectations.
Restore your hardwood floors with J.R. Hardwood Floor Refinishing & Cleaning
While DIY repairs handle minor scratches effectively, extensive damage demands professional expertise. J.R. Hardwood Floor Refinishing & Cleaning brings 5-star service to Denver Metro Area homeowners seeking lasting floor beauty.
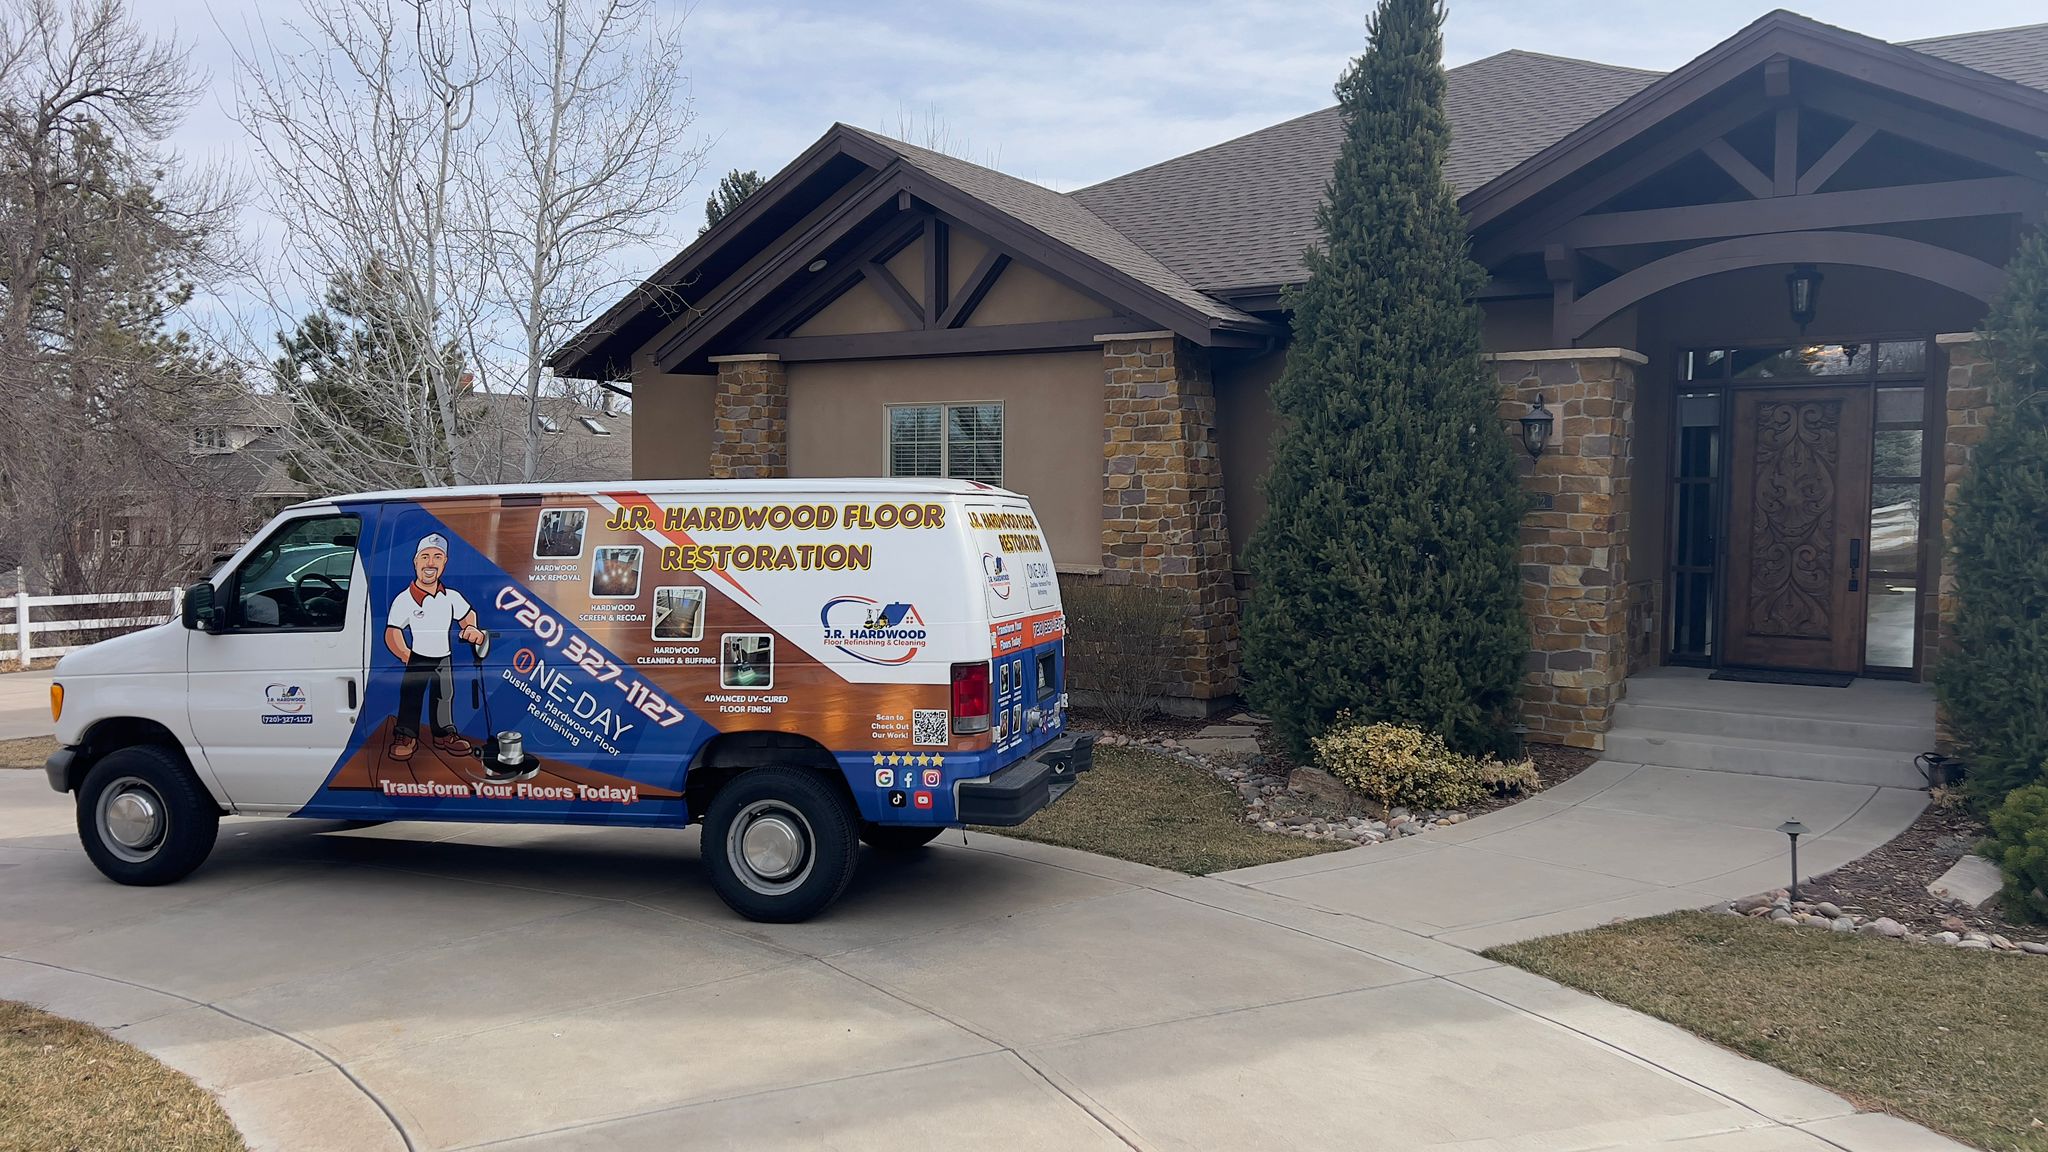
Our team specializes in comprehensive hardwood floor refinishing services including full sanding, screen and recoat, and Instant UV-curable finishing. We use eco-friendly products and premium finishes that protect surfaces while extending floor life. From Parker and Castle Rock to Boulder and Colorado Springs, we deliver predictable, high-quality results.
Receive free over-the-phone quotes based on photos and floor details. Our experts assess your specific situation and recommend the most cost-effective solution, whether that’s targeted repairs or complete refinishing. Explore our professional hardwood floor refinishing and cleaning services to see how we transform worn floors into like-new surfaces built to last.
FAQ
How do I identify the difference between surface and deep scratches on hardwood floors?
Surface scratches affect only the finish layer and feel smooth when you run your fingernail across them. Deep scratches expose raw wood grain, create a visible indentation you can feel, and often show color contrast with surrounding stained finish.
Can I use any cleaning product before repairing hardwood scratches?
No, use only mild pH-neutral hardwood floor cleaners to protect the existing finish. Harsh chemicals like ammonia or high-concentration vinegar strip protective layers and increase future scratch susceptibility. Proper cleaning with appropriate products prepares the surface for better repair adhesion.
How long does it typically take to repair moderate scratches myself?
Moderate scratch repairs using stain markers usually require 30 to 45 minutes including drying time. Time varies based on scratch size, your experience level, and whether multiple applications are needed for complete color matching.
When should I call a professional for hardwood floor scratch repair?
Call a professional when scratches are deep, cover more than 25% of your floor area, or when DIY repairs fail to improve appearance. Professional refinishing extends floor durability, maintains home value, and achieves uniform results DIY spot repairs cannot match.