 Skip to content
New hardwood is exciting right up until serious questions start. You’re standing in a Parker home in Stonegate or The Pinery, looking at samples, wondering what will hold up to dogs, dry winter air, muddy spring shoes, and a schedule that doesn’t leave much room for mistakes.
Most homeowners focus on color and plank width first. The floor’s long-term performance usually comes down to something less glamorous: installation quality. If the boards aren’t acclimated, if the subfloor is out of tolerance, or if the layout starts off slightly wrong, those problems show up later as gaps, squeaks, cupping, or movement.
That’s why I always treat installation as the beginning of a complete floor lifecycle, not just a one-time project. A properly installed floor gives you a better result today and a better candidate for future Parker hardwood floor refinishing with a UV-Cure System if the surface ever needs renewal. If you want a sense of the company behind this approach, you can review J.R. Hardwood Floor Refinishing & Cleaning's background.
The Foundation of Flawless Hardwood Floors in Parker
You pick a floor on Saturday, schedule the install for next week, and by Monday night the dog needs a path through the house again. That timeline is possible, but only if the installation plan accounts for Parker’s dry air, the condition of the home, and the finish schedule from day one.

Why installation matters more than homeowners expect
Homeowners usually start with species, color, and plank width. The better question is how the whole floor system will perform after one Parker winter, one muddy spring, and a few years of dogs running the same hallway.
That answer comes from the installation, not the sample board.
In Colorado, I pay close attention to movement, schedule, and finish compatibility before the first plank is set. A good install has to do three jobs at once. It has to sit flat, stay quiet, and leave you with a surface that can be protected properly without turning the house into a construction zone for days.
That last part gets missed in a lot of hardwood guides. If a homeowner wants minimal downtime, the finishing plan should be part of the installation conversation early, especially if a UV-cured finish system may be the right fit for the home. For families in Parker with pets, that can change the entire workflow and shorten the period where the floor is off-limits.
What a strong foundation really includes
A hardwood floor is only as reliable as the layers under and around it. That means the subfloor, the moisture conditions in the house, the fastening or adhesive strategy, and the underlayment choice all need to work together. Homeowners comparing assemblies can get a clearer sense of those trade-offs in this guide to the best underlayment options for hardwood floors.
The trade-offs are real. Wider planks can look cleaner and more current, but they demand tighter control over moisture and flatness. Site-finished floors give more design flexibility and a uniform look, but they can add cure time unless the finish schedule is planned well. Prefinished material speeds up occupancy, but board-to-board bevels and repair options should be discussed upfront.
Beautiful wood does not cover bad prep. It only makes the mistakes easier to see later.
What homeowners in Parker usually care about
The practical concerns come up fast once the project is on the calendar:
- Pets and traffic call for a floor and finish system that can handle scratches, cleanup, and daily wear.
- Quick turnaround matters when furniture is stacked in other rooms and the home still has to function.
- Low disruption matters for families living on-site during the work.
- Long-term serviceability matters if you want the floor to be a good candidate for future recoating or refinishing instead of early replacement.
A well-built hardwood floor should look right on day one and still make sense years from now. In Parker, that means installing for the house where you live, not for ideal conditions from a generic national checklist.
Site Prep and Subfloor The Non-Negotiable First Steps
A hardwood floor can fail before the first board is nailed or glued. In Parker, I see that happen when the house is too dry, the slab is still giving off moisture, or the subfloor is out of flat and nobody wants to slow the job down long enough to correct it. Fast turnaround matters, especially if you have pets or you need rooms back in service quickly. Prep still sets the schedule.
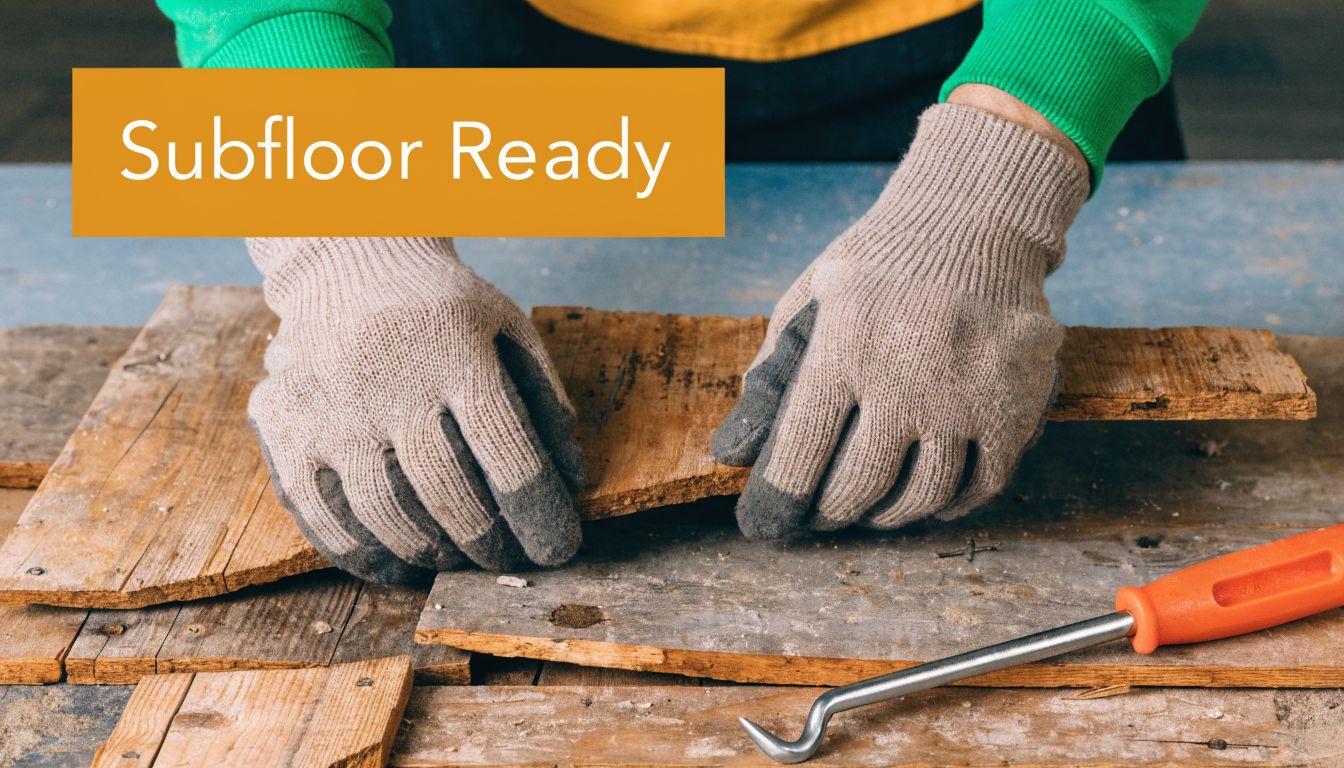
Start with the room, not the flooring bundles
The jobsite needs to be ready before the wood comes inside. That means the room is cleared, old flooring is removed where needed, and details like baseboards, transitions, appliance heights, and door clearances are checked early. If those items get ignored, the floor installation itself may go fine and the finish carpentry still looks sloppy at the end.
Then I inspect the subfloor. Loose panels, squeaks, soft spots, old water staining, high seams, and low areas all matter. Hardwood follows the surface under it. If the base is uneven, the finished floor will show that with movement, noise, gaps, or boards that never sit quite right.
Acclimation has to match Colorado conditions
Parker homes deal with dry air for a big part of the year. Wood reacts to that. The goal is not to make hardwood stop moving. The goal is to bring the flooring into the house long enough for its moisture condition to get closer to the space where it will live.
That process depends on the product, the season, and the indoor environment. Some engineered floors need less acclimation than solid hardwood, but neither should be installed blind. Moisture readings from the flooring and the subfloor tell you more than a delivery date ever will.
I tell homeowners this all the time. A floor can look perfect on install day and still open up later if the house is overly dry or the material went down too soon.
What a proper subfloor check includes
A serious prep phase usually covers four things before layout starts:
- Flatness correction with sanding, patching, or leveling compound where the floor is out of tolerance
- Moisture testing on the wood subfloor or concrete slab, plus moisture readings on the flooring itself
- Fastener and panel repair to tighten squeaks and secure any loose sections
- Underlayment or moisture barrier selection based on the subfloor and installation method. If you want a side-by-side breakdown, this guide to underlayment options for hardwood floors is a useful reference
Debris matters too. Dust, paint bumps, drywall mud, and old adhesive residue interfere with board seating and adhesive bond. Cleanup sounds basic because it is. It still gets skipped on rushed jobs.
Prep affects the finish schedule too
This section is about subfloors, but the prep decisions made here also affect how quickly you can live on the floor once installation is complete. A flatter subfloor and stable moisture conditions make the board installation cleaner, which helps the finishing phase go more smoothly. That matters if you are planning a site-finished floor with a UV-Cure system to cut downtime. The faster-curing finish is a real advantage for households with pets, but it works best when the floor under it was prepared correctly from the start.
Good prep is not the glamorous part of hardwood installation. It is the part that keeps the floor quiet, stable, and worth the investment.
Choosing Your Wood and Installation Method
Homeowners can make smart decisions instead of expensive guesses. Wood type and installation method should fit the house, the subfloor, and the way you live.
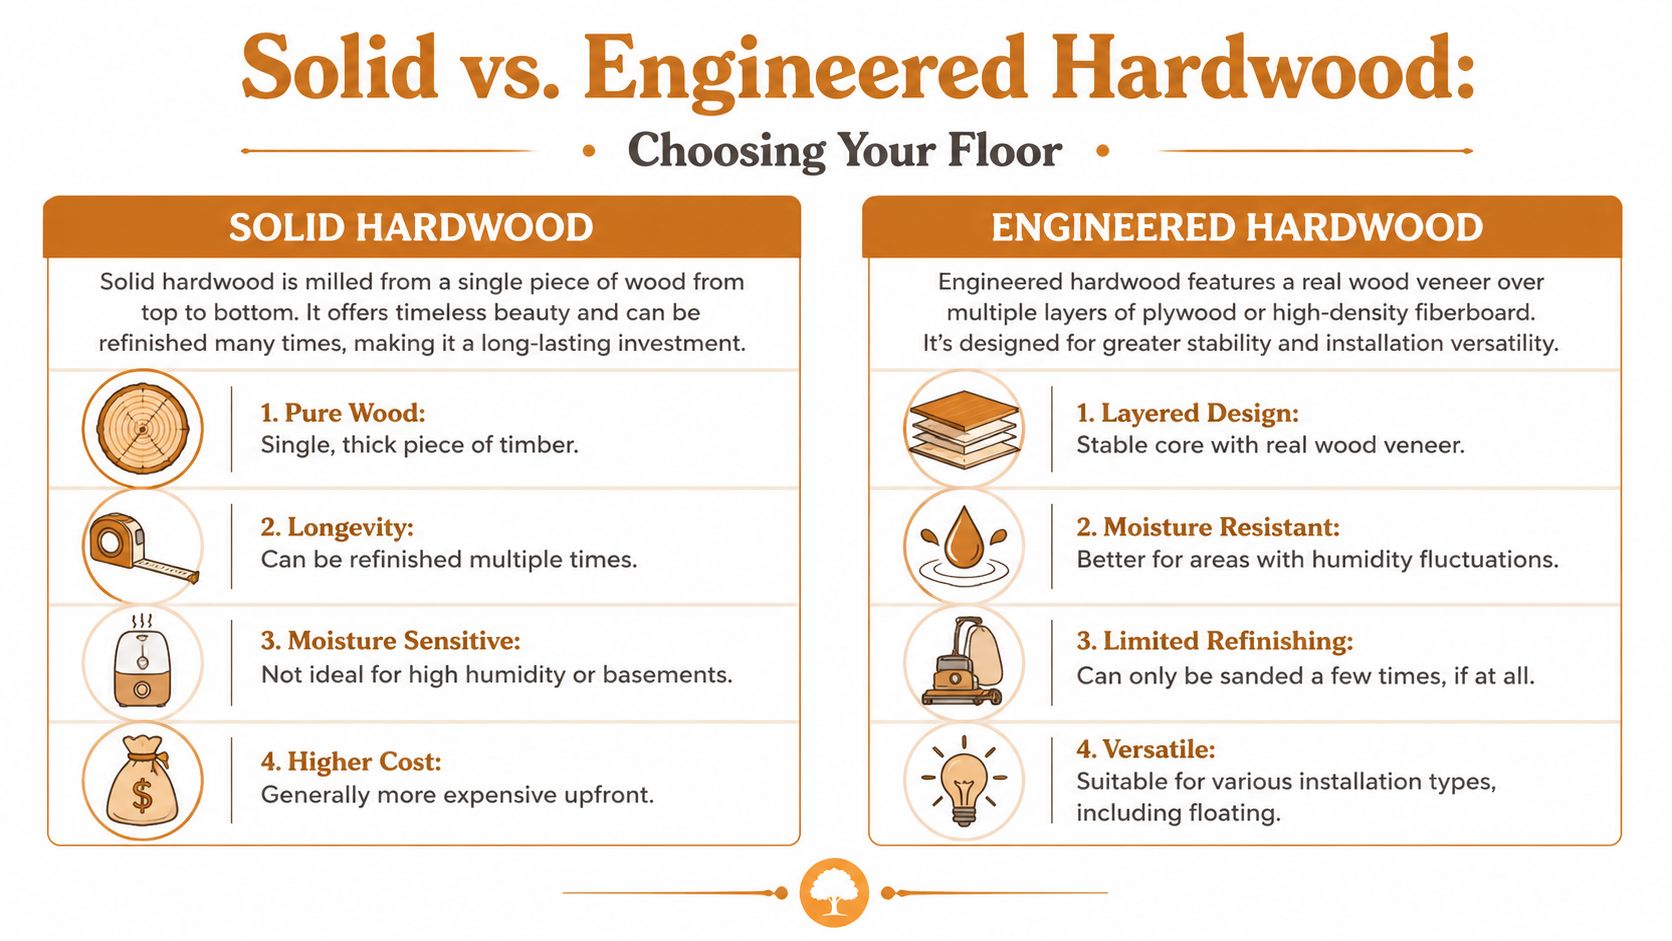
Solid hardwood or engineered hardwood
Solid hardwood is a classic choice for main-level living spaces over wood subfloors. It offers a traditional feel and can be sanded multiple times over its life. That makes it attractive if you care about long-term repairability.
Engineered hardwood has a real wood surface over a layered core. It’s often a better fit where humidity swings, concrete subfloors, or below-grade conditions make solid wood less forgiving. In Parker, that can matter in basements, slab-on-grade areas, or homes where indoor humidity isn’t kept consistent.
A few practical trade-offs:
- Choose solid hardwood when you want maximum refinishing potential and the structure supports it.
- Choose engineered hardwood when stability over concrete or in more variable spaces matters more.
- Choose based on room conditions first, not just sample-board appearance.
If you’re also deciding how the floor will look and wear over time, it helps to compare prefinished and site-finished hardwood floors.
Hardwood Installation Methods Compared
| Method | Best For | Pros | Cons |
|---|---|---|---|
| Nail-down or staple-down | Wood subfloors, especially solid hardwood | Traditional feel, strong mechanical hold, good fit for many main-floor installations | Requires wood subfloor, less suited to concrete |
| Glue-down | Concrete subfloors, many engineered products, some specialty layouts | Solid feel underfoot, good fit for slab homes, useful where nailing isn't possible | Demands very clean prep, adhesive work is less forgiving |
| Floating | Select engineered systems where manufacturer allows it | Faster installation in some situations, less invasive to subfloor | Product-dependent, can feel different underfoot, not right for every homeowner or every room |
What works on wood subfloors
Staple-down and nail-down methods remain common for solid hardwood over wood subfloors. The first rows have to be straight because every row that follows depends on that line.
One detail that matters more than people realize is seam placement. For staple-down installation over wood subfloors, staggering end joints by at least 6 inches is important for structural integrity, and the National Wood Flooring Association reports this practice can reduce failure rates by 40% in climates with variable humidity like Colorado, according to Lowe’s installation guidance citing NWFA.
What works on concrete
Glue-down is often the practical answer over concrete. It pairs well with many engineered products and gives a more monolithic feel when done correctly. The trade-off is that subfloor preparation has to be meticulous. High spots, residue, or moisture problems don’t disappear under adhesive.
If the slab isn’t ready, glue-down turns a hidden problem into a bonded problem.
Matching method to the home
For a Parker two-story with plywood subfloor on the main level, staple-down or nail-down solid hardwood often makes sense. For a basement finish or a slab-on-grade area, engineered with glue-down installation is usually the cleaner path.
The right answer isn’t the same for every room. It’s the one that respects the house you have.
Your Hardwood Floor Installation Walkthrough
You feel the pace of a hardwood job once the first board goes down. Up to this point, the planning happens on paper and with moisture readings. Now every cut, every row, and every correction is visible.
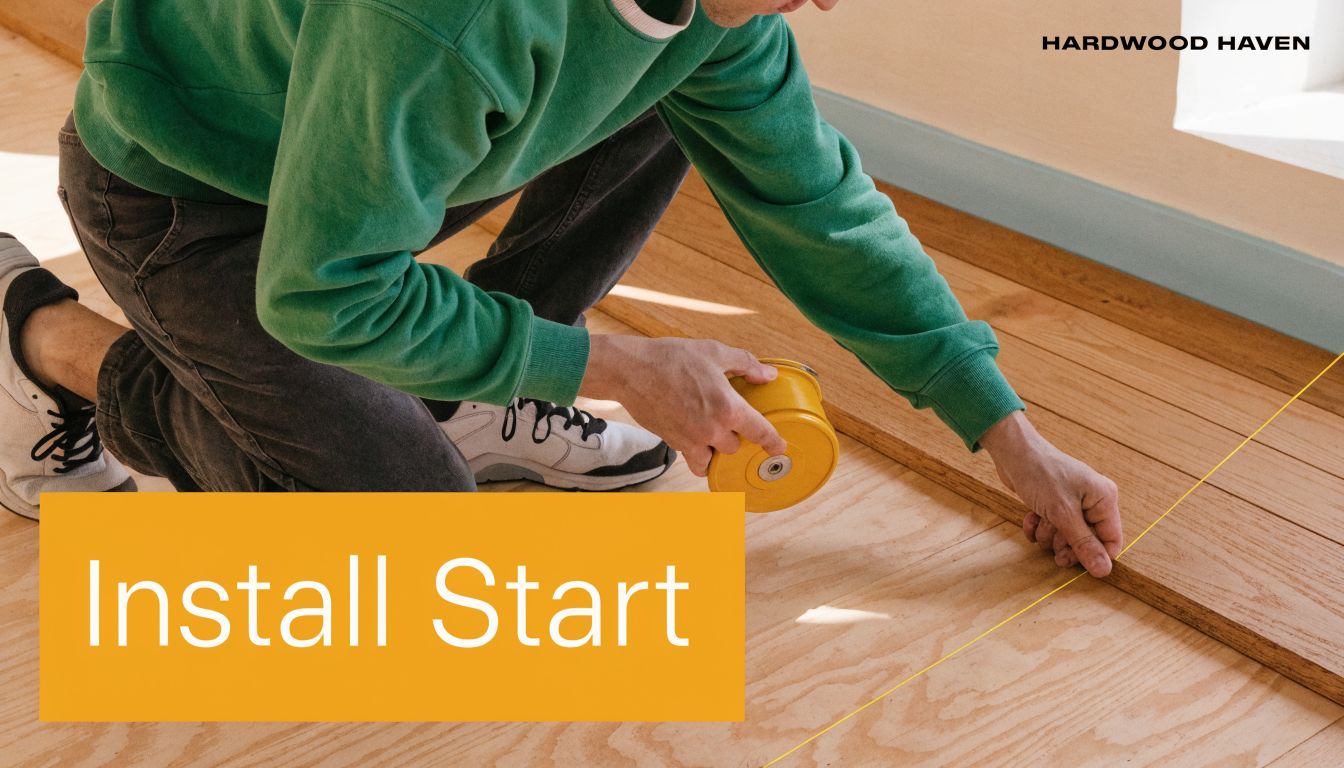
Layout first, then controlled progress
I start by snapping a clean reference line and checking the room for anything that will throw the layout off later, such as a long exterior wall that is slightly out of square or a kitchen run that makes crooked rows obvious. In Parker homes, I also keep an eye on humidity during installation because boards that look well-behaved in the morning can tighten up or open slightly as indoor conditions shift.
A dry layout solves a lot of problems before they become expensive ones. It helps balance the width of the first and last rows, avoids ugly slivers at the perimeter, and lets me place color variation where it looks intentional instead of random.
The first rows carry the whole floor
This part is slower on purpose.
The opening courses have to stay straight, hold the right expansion space, and lock together without forcing boards that want to fight the line. I use the straightest material here, then build out with attention to board length, end-joint spacing, and how the floor will read from the main entry points of the room.
Method changes the rhythm of the work. On nail-down or staple-down floors, the first rows often need to be fastened by hand before the flooring nailer has enough room to operate cleanly. On glue-down installations, adhesive spread rate, open time, and board placement all matter because once pieces bond, adjustments get harder fast.
Detail work is where craftsmanship shows
Open floor area goes quickly. The edges do not.
Door jambs get undercut so the flooring slips underneath for a cleaner look. Vents need planned cuts, not patched-together pieces. Around fireplaces, stair landings, and transitions to tile or carpet, the installer has to protect the flooring edge while keeping the profile low enough to feel natural underfoot.
Those are the spots homeowners notice for years. They are also the spots that squeak, chip, or look amateur if rushed.
Here’s a useful look at the process in action:
How the schedule works in a real home
The visible installation stage is only part of the job. A typical project can move quickly once the layout is set and the crew is in production, but the full schedule still depends on room count, cuts, transitions, repair work, and how much staging the home requires. That broader timing pattern is consistent with common installation guidance from Gaylord Hardwood Flooring, noted earlier in the article.
For homeowners with dogs, kids, or a tight move-back window, I plan the install with the finish stage in mind instead of treating it as a separate problem. If a fast return to service matters, it helps to understand how instant UV-curable hardwood floor finish works in real homes before the first board is installed. That choice affects sequencing, room access, and how long you have to keep paws, furniture, and daily traffic off the floor.
Finishing Touches and The UV-Cure System Advantage
A new floor isn’t done when the last board is installed. It’s done when the surface is protected in a way that fits the household.
Traditional finishing still has a place. Sanding, staining, and site-applied coatings can deliver a beautiful look, especially when homeowners want a custom sheen or color. The downside is disruption. Dry times, odor, and restricted access can turn the final stretch of a project into the hardest part of living through it.
Why fast-curing finish planning matters
This is especially important in homes with pets. Traditional installation content often misses the overlap between installation and finishing, yet that’s exactly where many families feel the stress most. Rapid-cure finishes such as UV systems can be integrated into the workflow to reduce disruption, which is a key concern for homeowners trying to avoid extended pet management and long cure windows, as discussed in guidance on pet-focused hardwood installation gaps.
Where a UV-Cure System fits
For busy Parker households, a UV-Cure System changes the conversation. Instead of treating finishing as a long waiting period, it turns the coating stage into a faster handoff back to normal life.
That matters when:
- Dogs need access to the home without days of rerouting.
- Furniture turnaround needs to happen quickly.
- Odor sensitivity is a concern.
- Project downtime has to stay tight.
One local option homeowners often research is the company’s Instant UV-curable hardwood floor finish guide, which explains how this finish type fits into floor work.
The finish should match the household, not just the wood.
Installation and finishing should be planned together
That’s the part many guides miss. If you know from the start that your household needs quick re-entry, low disruption, and a durable surface for pets, the installation plan should support that outcome. Board selection, scheduling, site conditions, and finishing method all work better when they’re coordinated instead of treated as separate decisions.
Conclusion DIY or Hire a Pro in Parker
A lot of Parker homeowners start with the same goal. Get the look of real hardwood without turning the house upside down for a week. That is possible, but installation is less forgiving than it looks once you factor in dry Colorado air, subfloor flatness, board movement, and finish timing.
DIY can make sense in a small, simple room if you already have solid trim carpentry experience and the right tools, including moisture testing equipment. It gets riskier fast when the project includes slab concrete, uneven subfloors, stair noses, tight transitions, floor vents, or a household that cannot tolerate long downtime.
I tell homeowners to make the decision based on consequence, not confidence. A crooked first rows can throw off the whole layout. A missed moisture issue can show up months later as gaps, cupping, or loose boards. If you have dogs, kids, or a tight move-back schedule, the finishing plan matters just as much as the install itself.
That is also where professional planning earns its keep. A good crew does not just put boards down. They coordinate acclimation, layout, fastening, sanding if needed, and finish selection so the floor works for daily life. In Parker, that often means choosing a process that supports a faster return to the room, including UV-Cure options for homeowners who want durability and minimal disruption.
For Parker homeowners, the key value is simple. Get the floor installed once, installed correctly, and finished with a system that fits how the home runs today and how the floor may be serviced later.
Homeowners in Parker trust J.R. Hardwood Floor Refinishing & Cleaning for dust-controlled sanding and UV-curable finish options that reduce downtime and odor. If you need a straightforward assessment of whether your project is a good DIY candidate or better handled by a crew, call 720-327-1127. Service area includes Parker and nearby Denver Metro communities. ▶️ YouTube: See our floor process videos