 Skip to content
TL;DR:
- Excessive wax buildup traps dirt, moisture, and allergens, damaging hardwood floors over time.
- Proper wax removal extends floor life and prepares surfaces for modern, durable finishes.
- Professional waxing and stripping are safer and more effective than DIY methods, especially for older floors.
Most homeowners think more wax means better protection. It’s an easy assumption to make. Wax goes on, floors shine, done. But here’s the thing: that logic breaks down fast once layers start stacking up. Over time, floor wax buildup traps dirt, dulls your finish, and can cause real damage beneath the surface. What looks like routine maintenance can quietly become a problem you didn’t see coming. This guide walks you through the hidden dangers of wax buildup, which floors need removal and which don’t, how to weigh DIY against professional help, and why getting this right protects your investment for years ahead.
Table of Contents
- The hidden dangers of floor wax buildup
- How wax removal protects and extends floor life
- Wax compatibility: Which floors must avoid wax removal?
- DIY risks versus professional wax removal
- A professional’s take: What most guides won’t tell you about wax removal
- Expert help for safer, better floor care in Denver
- Frequently asked questions
Key Takeaways
| Point | Details |
|---|---|
| Wax buildup harms floors | Too much wax traps dirt and moisture, causing dullness and damage. |
| Not all floors need wax | Polyurethane, bamboo, and engineered surfaces can be damaged by waxing and stripping. |
| Professionals prevent costly mistakes | Experts use safe methods to avoid incomplete removal and surface problems. |
| Routine care saves money | Removing old wax helps keep your floors clean and extends their lifespan. |
The hidden dangers of floor wax buildup
Let’s bust a common myth first: more wax does not equal more protection. In fact, once wax layers pile up, they start working against your floor instead of for it. Think of it like wearing three raincoats at once. You’re not drier. You’re just uncomfortable and overheated.
Wax buildup creates a surface that looks cloudy, hazy, or sticky rather than clean and shiny. Wax buildup traps dirt, grime, and contaminants that grind into your floor with every footstep. That gritty layer acts like sandpaper underfoot, slowly wearing away the wood surface you’re trying to protect.
The problems don’t stop at appearance. Old wax layers also trap allergens and moisture against the floor, which can affect indoor air quality over time. Families with young kids or pets crawling on the floor are especially exposed. You’re not walking on a protected surface. You’re walking on a sealed-in mess.
Here’s a quick look at what wax buildup actually does to your floor:
- Dull, cloudy, or hazy appearance even after cleaning
- Sticky surface that attracts more dirt and grime faster
- Uneven shine that makes floors look worn and patchy
- Trapped allergens including dust mites, pet dander, and mold spores
- Moisture sealed against the wood, creating conditions for warping
- Grit embedded in wax layers, scratching the surface with foot traffic
For homeowners who are already dealing with removing wax buildup from older floors, this pattern is familiar. The wax that once looked like a smart choice eventually becomes the reason the floor looks terrible.
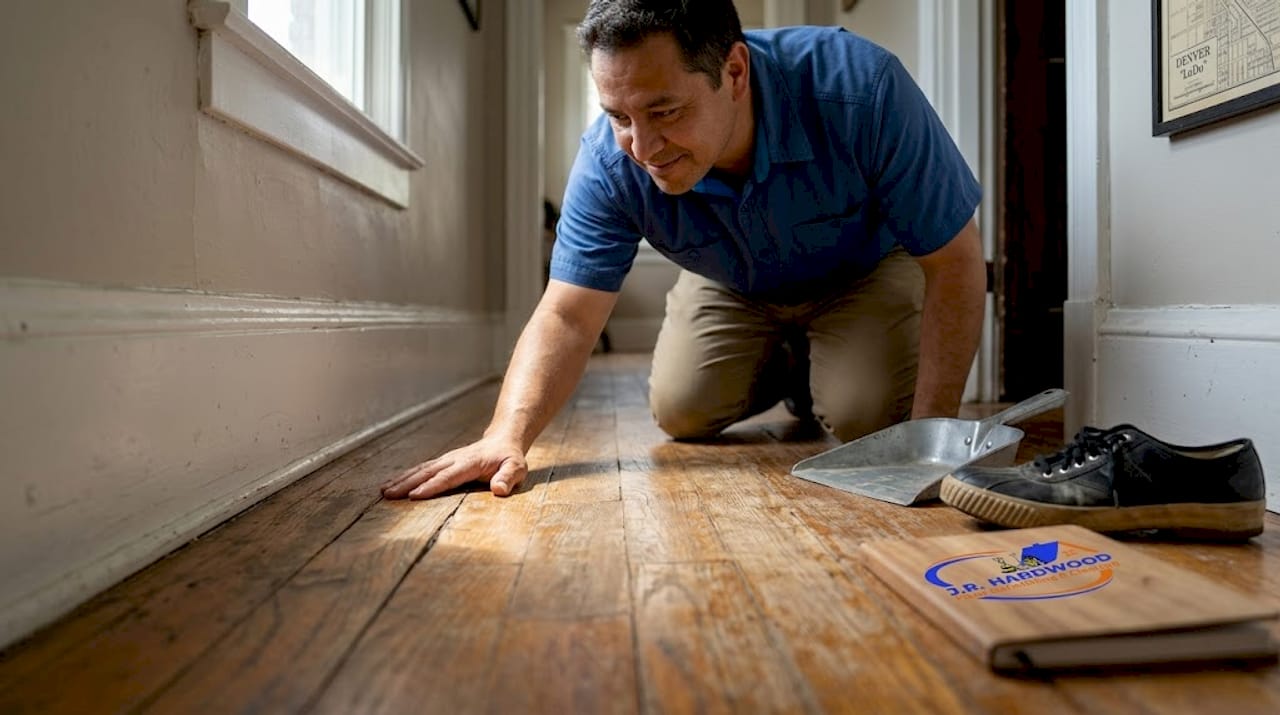
“The floor looked clean to us, but once we stripped the wax, we could see years of embedded grime and surface scratches. We had no idea that was happening underneath.”
This is exactly why understanding wax removal from wood floors matters so much, especially in Denver homes where foot traffic, dry air, and seasonal changes put extra stress on surfaces. Buildup isn’t just a cosmetic issue. It’s a ticking clock for your floor’s health.
How wax removal protects and extends floor life
Now that wax problems are clear, here’s how removing it actually protects your investment. Old wax doesn’t just sit on the surface looking bad. It actively traps moisture, allergens, and grit that cause scratches, warping, and in serious cases, permanent staining and damage that forces full replacement. Catching it early is what saves you money.
When moisture sits trapped under wax for months or years, it soaks into the wood fibers. That’s when boards start cupping, warping, or developing dark stains that no amount of refinishing can fully erase. By the time you see the damage, it’s already deep.
Here’s a comparison of what protected floors look like versus neglected ones:
| With wax removal | Without wax removal |
|---|---|
| Clear, consistent finish | Hazy, uneven appearance |
| Easier routine cleaning | Sticky surface attracts more dirt |
| Moisture reaches surface sealant | Moisture trapped under wax layers |
| Longer lifespan between refinishing | Premature scratching and warping |
| Modern finish applied cleanly | New coatings won’t bond properly |
The cost difference is significant. Proper wax removal and refinishing can extend floor life by years, pushing back the need for full board replacement, which runs far higher per square foot than routine care. That’s real money saved.
Pro Tip: Walk your floors every few months and crouch down at an angle to look across the surface in natural light. Haziness, uneven sheen, or sticky patches are early signals. Catching these signs early means removing buildup before damage sets in rather than after.
Wax removal also opens the door to modernizing vintage hardwood floors with today’s high-performance finishes. Modern polyurethane and UV-curable coatings bond directly to clean wood and last far longer than wax ever did. You’re not just fixing a problem. You’re upgrading the entire floor system.
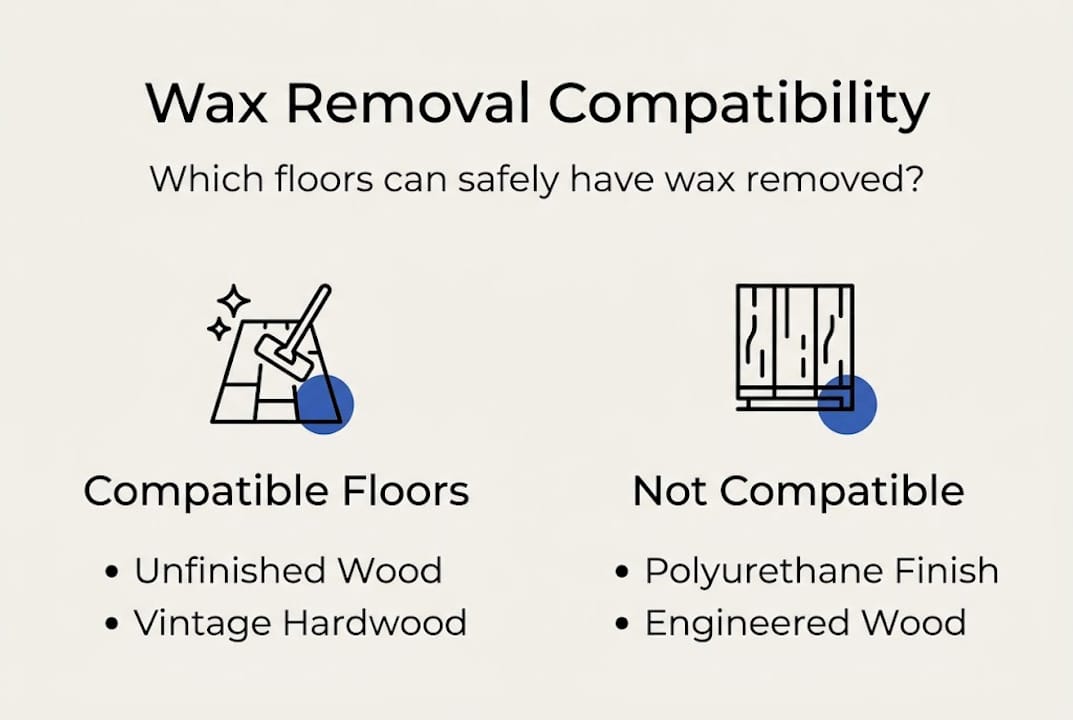
Wax compatibility: Which floors must avoid wax removal?
Removing wax isn’t always right. Understanding compatibility is key before you pick up any products or schedule a service call. Not every floor was designed to work with wax, and stripping the wrong surface can cause damage that’s worse than the original buildup.
Here’s a quick look at how common floor types handle wax:
| Floor type | Wax compatible? | Notes |
|---|---|---|
| Unfinished solid hardwood | Yes | Classic wax application, removal needed over time |
| Vintage wax-finished hardwood | Yes | Requires proper stripping before modern finish |
| Polyurethane-finished hardwood | No | Wax dulls the finish, removal can damage it |
| Engineered hardwood | No | Top layer too thin, stripping risks damage |
| Bamboo | No | Wax incompatible, traps moisture |
| Natural stone (tile, marble) | No | Wax clogs pores, causes long-term surface issues |
| LVP or laminate | No | Synthetic surface, wax causes buildup and haze |
For wax compatibility questions, the general rule is simple: if your floor has a factory or professionally applied polyurethane coating, wax has no place on it. Many Denver homeowners discover this after a previous owner applied paste wax to a floor that was never meant to receive it.
Wax removal for vintage hardwood floors before switching modern finishes typically runs around $2 to $5 per square foot depending on layer thickness and floor condition. That’s a fraction of the cost of replacing damaged boards.
Pro Tip: Not sure what finish is on your floor? Pour a few drops of water on a low-traffic area. If it beads up, you likely have polyurethane. If it soaks in or flattens quickly, you may have a wax-finished floor. Denver floor care pros use this simple test, among others, to assess before any treatment begins.
Knowing when to buff vs. wax is also part of this equation. Sometimes a floor just needs buffing to restore shine without any chemical stripping at all.
DIY risks versus professional wax removal
With compatibility clear, it’s essential to weigh your removal options carefully. DIY wax removal sounds straightforward but carries real risks that aren’t obvious until something goes wrong.
The most common DIY mistake is using the wrong product at the wrong concentration. Harsh chemical strippers can lift the wood’s natural color, leave white streaks, or cause the top layer to peel. Scrubbing too aggressively creates fine scratches that show up clearly once a new finish is applied. Even store-bought “floor wax remover” products can cause problems if your floor type isn’t compatible.
Incomplete removal, peeling, and streaking are the most common outcomes when wax removal isn’t done with the right equipment and pH testing. Pros use buffing machines with the appropriate pads, neutralize the floor’s pH after stripping, and inspect the surface under proper lighting before applying any new finish.
Here’s how the two approaches compare step by step:
- DIY approach: Apply store-bought stripper, scrub with a brush or mop, rinse, hope for even results.
- Professional approach: Assess floor type and finish, select correct stripper concentration, use a machine buffer for even application, neutralize pH, inspect under raking light, and prep for finishing.
- DIY risk: Missed wax patches lead to poor finish adhesion and visible inconsistencies.
- Professional result: Fully stripped, clean surface ready for a fresh, long-lasting finish.
- DIY follow-up: May need to re-strip or sand to fix mistakes.
- Professional follow-up: Floor is ready for the next step without rework.
There are cases where a confident, experienced homeowner can handle light wax removal on a small area. But for full rooms, older floors, or floors that need refinishing after stripping, calling a professional wax removal guide or local expert is the safer call.
“We tried to strip the wax ourselves first. We missed patches in three spots. The new finish didn’t bond right and we had to call in a pro to fix it anyway. We wish we’d started there.”
For Denver homeowners dealing with stubborn buildup or vintage floors, hardwood wax removal services deliver results that DIY methods rarely match on the first try.
A professional’s take: What most guides won’t tell you about wax removal
Here’s something we see over and over: homeowners who waxed their floors faithfully for years, convinced they were doing everything right. The floors looked fine to them. Then they asked us in, and what we found underneath was a decade of embedded grime, trapped moisture, and early-stage surface damage they never knew was there.
The uncomfortable truth is that wax was never a long-term solution, even when it was the best option available. Modern finishes changed everything. In Denver’s dry climate, wood floors actually need less surface product, not more. Dry air already pulls moisture from wood. Adding wax layers that trap what little moisture exists creates a cycle that works against the floor.
We also want to push back on the idea that waxing is a “cheap, easy fix.” When you factor in repeated applications, eventual buildup, and the cost of professional correction, wax costs more over time than a single modern finish that lasts years with simple maintenance.
Our honest advice: if you have a vintage floor, get it properly assessed. Local wax removal insights from Denver pros will tell you exactly what you’re working with and what the best path forward looks like. Prevention and early inspection beat reactive fixes every time.
Expert help for safer, better floor care in Denver
If your floors are looking dull, hazy, or just not what they used to be, you don’t have to figure it out alone. We’ve helped homeowners and business owners across Denver, Parker, Castle Rock, and Boulder bring their floors back to life safely and efficiently.
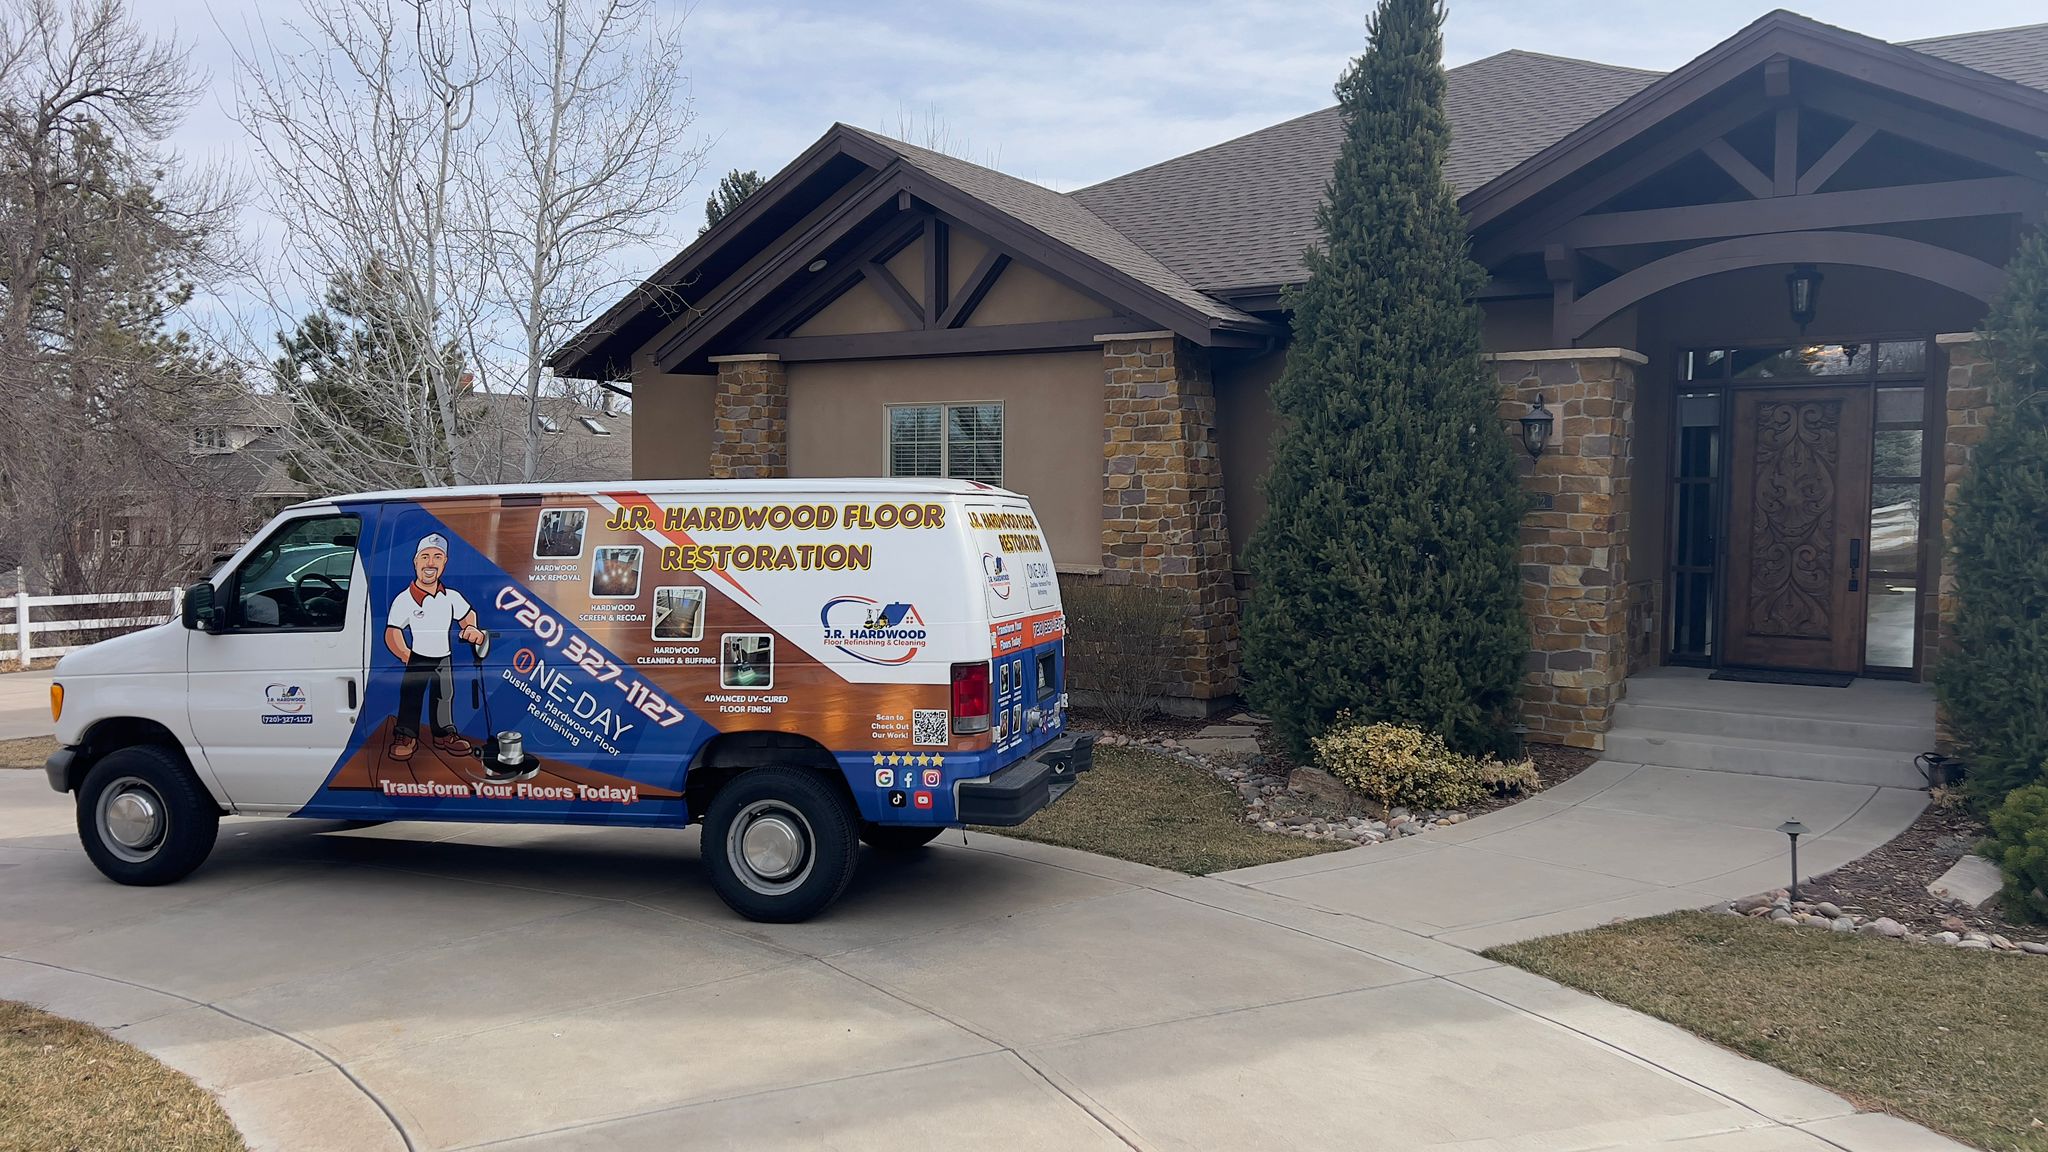
We offer free over-the-phone quotes based on your floor type, photos, and condition. No pressure, just honest guidance. Whether you’re weighing DIY vs. professional refinishing or want to explore your options with a complete refinishing guide, we’re here to help you make the right call for your home. Your floors deserve care that lasts. Let us show you what’s possible.
Frequently asked questions
What happens if I never remove floor wax buildup?
Old wax traps dirt and moisture, leading to scratches, warping, and permanent floor damage that can require full board replacement if left too long.
Which floor types should never be waxed or stripped?
Polyurethane, engineered wood, bamboo, and stone floors are not compatible with wax and can be dulled, damaged, or structurally compromised by wax products or stripping agents.
Is DIY floor wax removal safe?
DIY removal carries real risk of incomplete stripping, streaking, and surface damage. Professionals use equipment and pH tests to ensure clean, even results without harming the wood underneath.
What are signs I need wax removal?
Dull, cloudy, or sticky floors with uneven shine are the clearest signals that wax has built up and needs to be professionally stripped before it causes deeper damage.