
A lot of Parker homeowners land on the same question after looking at samples for weeks. They want a floor color that feels richer than natural oak, cleaner than red-toned browns, and more timeless than a trend-driven gray. Dark walnut stain on white oak is often the finish that checks those boxes.
It also happens to be one of the easier colors to get wrong.
White oak can look refined and consistent under a dark walnut stain, but only if the sanding is exact, the stain choice matches the wood, and the topcoat protects the color instead of fighting it. In Parker hardwood floor refinishing jobs, especially in homes around Stonegate, Canterberry Crossing, and newer builds near Mainstreet, the difference between a sharp result and a disappointing one usually comes down to professional prep and the right UV- Cure System at the end.
The Timeless Appeal of Dark Walnut on White Oak Floors
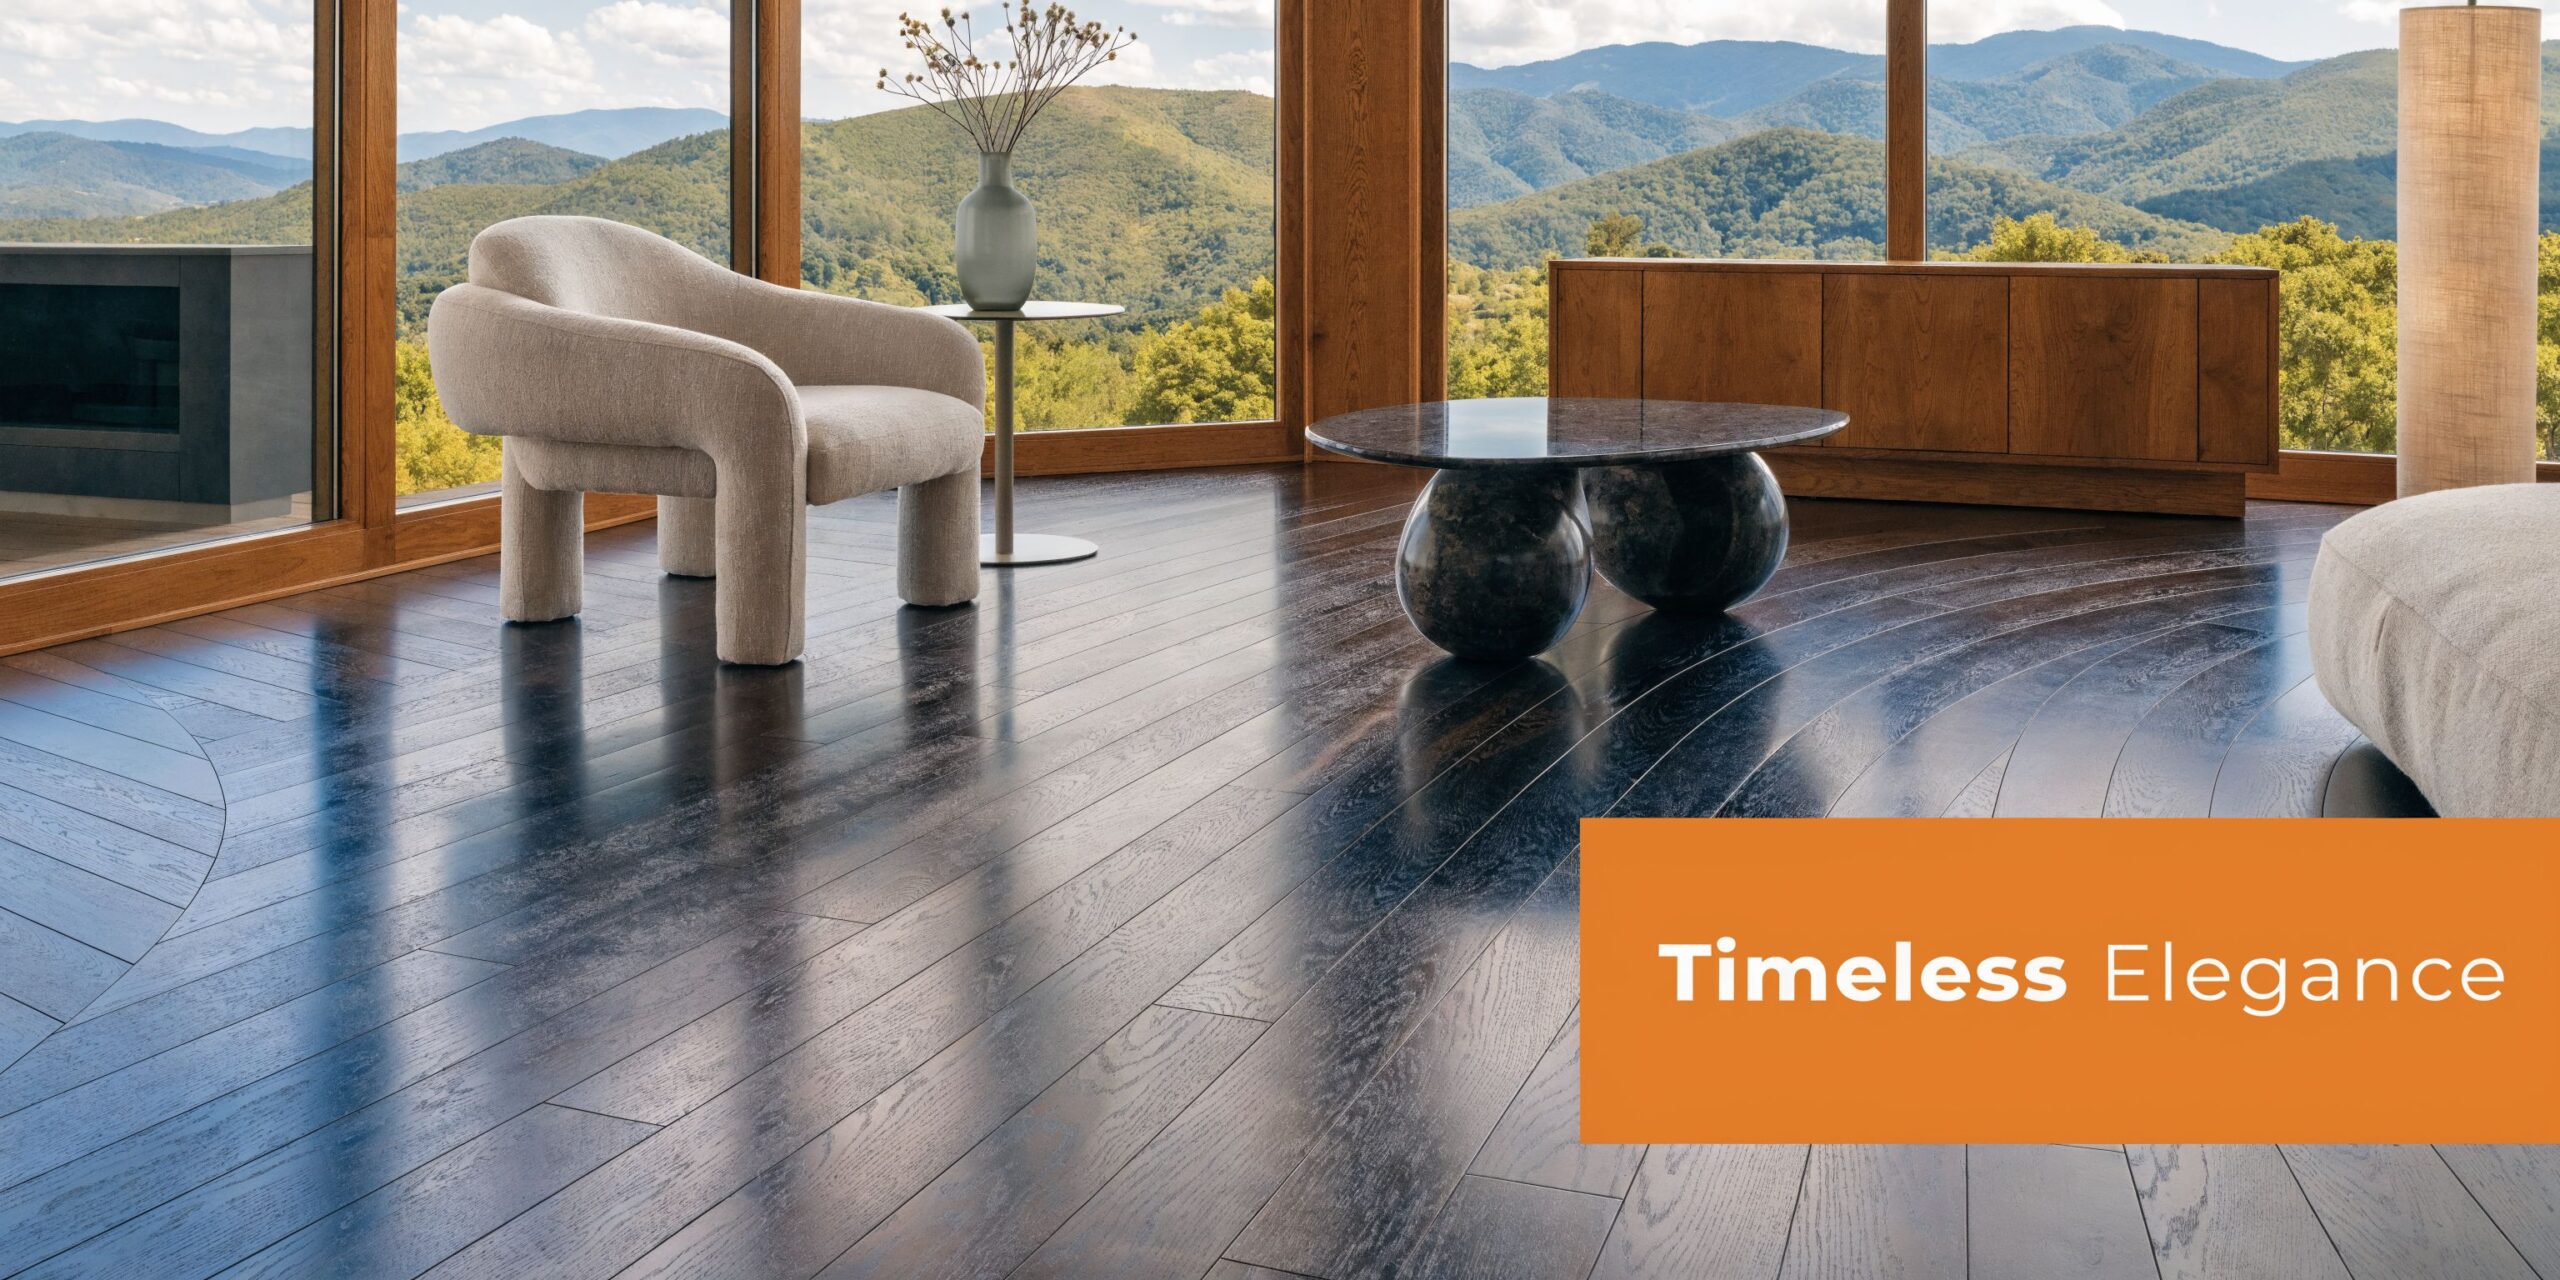
Homeowners usually choose this look for one simple reason. It gives the floor depth without making the room feel fake or overly glossy.
In a Parker home with mountain light pouring through large windows, white oak stained dark walnut can anchor the whole space. It works in modern farmhouses, traditional homes, and updated suburban interiors where the goal is warmth with cleaner lines.
Why this color combination has staying power
This finish is not new. The preference for dark walnut’s rich color has over 300 years of history, became a premium choice in America after European supplies were depleted, and by the 1960s it was central to the Mid-Century Modern movement. White oak also carried exceptional value in the colonial era, with prized trees marked by the “King’s Arrow” and unauthorized use treated as a severe crime, as noted by Brenelli Design’s history of walnut and white oak.
That matters because homeowners are not just choosing a dark stain. They are choosing a combination with a long design memory behind it.
Why it works so well in Colorado homes
Colorado interiors often need balance. Strong sunlight, open layouts, and a mix of rustic and modern finishes can make some floor colors feel washed out or too orange.
Dark walnut on white oak tends to work because it offers:
- Visible grain: White oak still shows character under the stain.
- More contrast: Cabinets, trim, and furniture stand out better.
- A grounded look: Large rooms feel more finished and less flat.
- Flexibility: It pairs well with black accents, brass, matte white, and natural stone.
If the floor is part of a larger remodel, homeowners often need help coordinating trades and timing. For that stage of planning, this guide to finding general contractors can be useful when the flooring project connects to cabinetry, trim, or structural updates.
Tip: A dark floor only looks expensive when the grain stays visible and the color stays even. If the stain sits on top of the wood or turns muddy, the whole room suffers.
Choosing Your Stain and Understanding the Final Color
“Dark walnut” sounds specific. In practice, it is not.
On white oak, the final look depends on the stain chemistry, the board’s natural variation, the sanding sequence, and how the floor was cleaned before application. Two products with the same color name can finish very differently.
White oak changes the result
White oak has a tight grain and subtle undertones. Some boards lean tan. Others lean slightly gray or olive. Those undertones affect whether dark walnut reads as a clean brown, a smoky brown, or a muddy brown.
Achieving consistent color is a major challenge. Discussions on Houzz showed a significant rise in queries for “dark walnut white oak pet durable finish” in the last year, and those same discussions note that oil-based stains can react with white oak’s tannins and create unevenness. For 20-30% better uniformity in high-traffic areas, professionals often favor water-based dyes, especially in Colorado’s variable climate, according to this Houzz discussion on white oak with dark walnut stain.
For a closer look at project-specific considerations, this page on https://jrhardwoodfloorrefinishingandcleaning.com/staining-white-oak-floors/ is worth reviewing before choosing a system.
Comparing stain types for white oak
| Stain Type | Best For | Pros | Cons |
|---|---|---|---|
| Oil-based penetrating stain | Traditional residential looks | Familiar appearance, rich tone, widely available | Can react unevenly with tannins on white oak |
| Gel stain | Small accent areas or controlled surface coloring | More controlled on some vertical surfaces | Less natural on floors, can mute grain if overused |
| Water-based dye | Large open areas and consistency-driven jobs | Better uniformity, strong color control, cleaner dark tone | Requires disciplined prep and testing |
What works and what usually does not
Some practical rules help.
- Test on the actual floor: Sample boards help, but a closet or low-visibility area tells the truth.
- Do not assume a second stain coat fixes color: On white oak, it often pushes the floor too dark or uneven.
- Match product to use case: A family home with pets and heavy traffic needs a different approach than a staged listing.
- Respect the topcoat: Some stain and finish combinations play nicely together. Others do not.
A helpful outside reference for homeowners comparing options is this resource to delve deeper into understanding wood stains. It gives a broader view of how stain systems behave across wood species.
Why mockups matter in Parker hardwood floor refinishing UV- Cure System projects
In Parker hardwood floor refinishing work, the sample is where professionals avoid expensive mistakes. Dark walnut can look dramatic and beautiful in a sunlit great room, then read too heavy in a north-facing hallway.
That is why the best decisions happen before the first full-room application, not after.
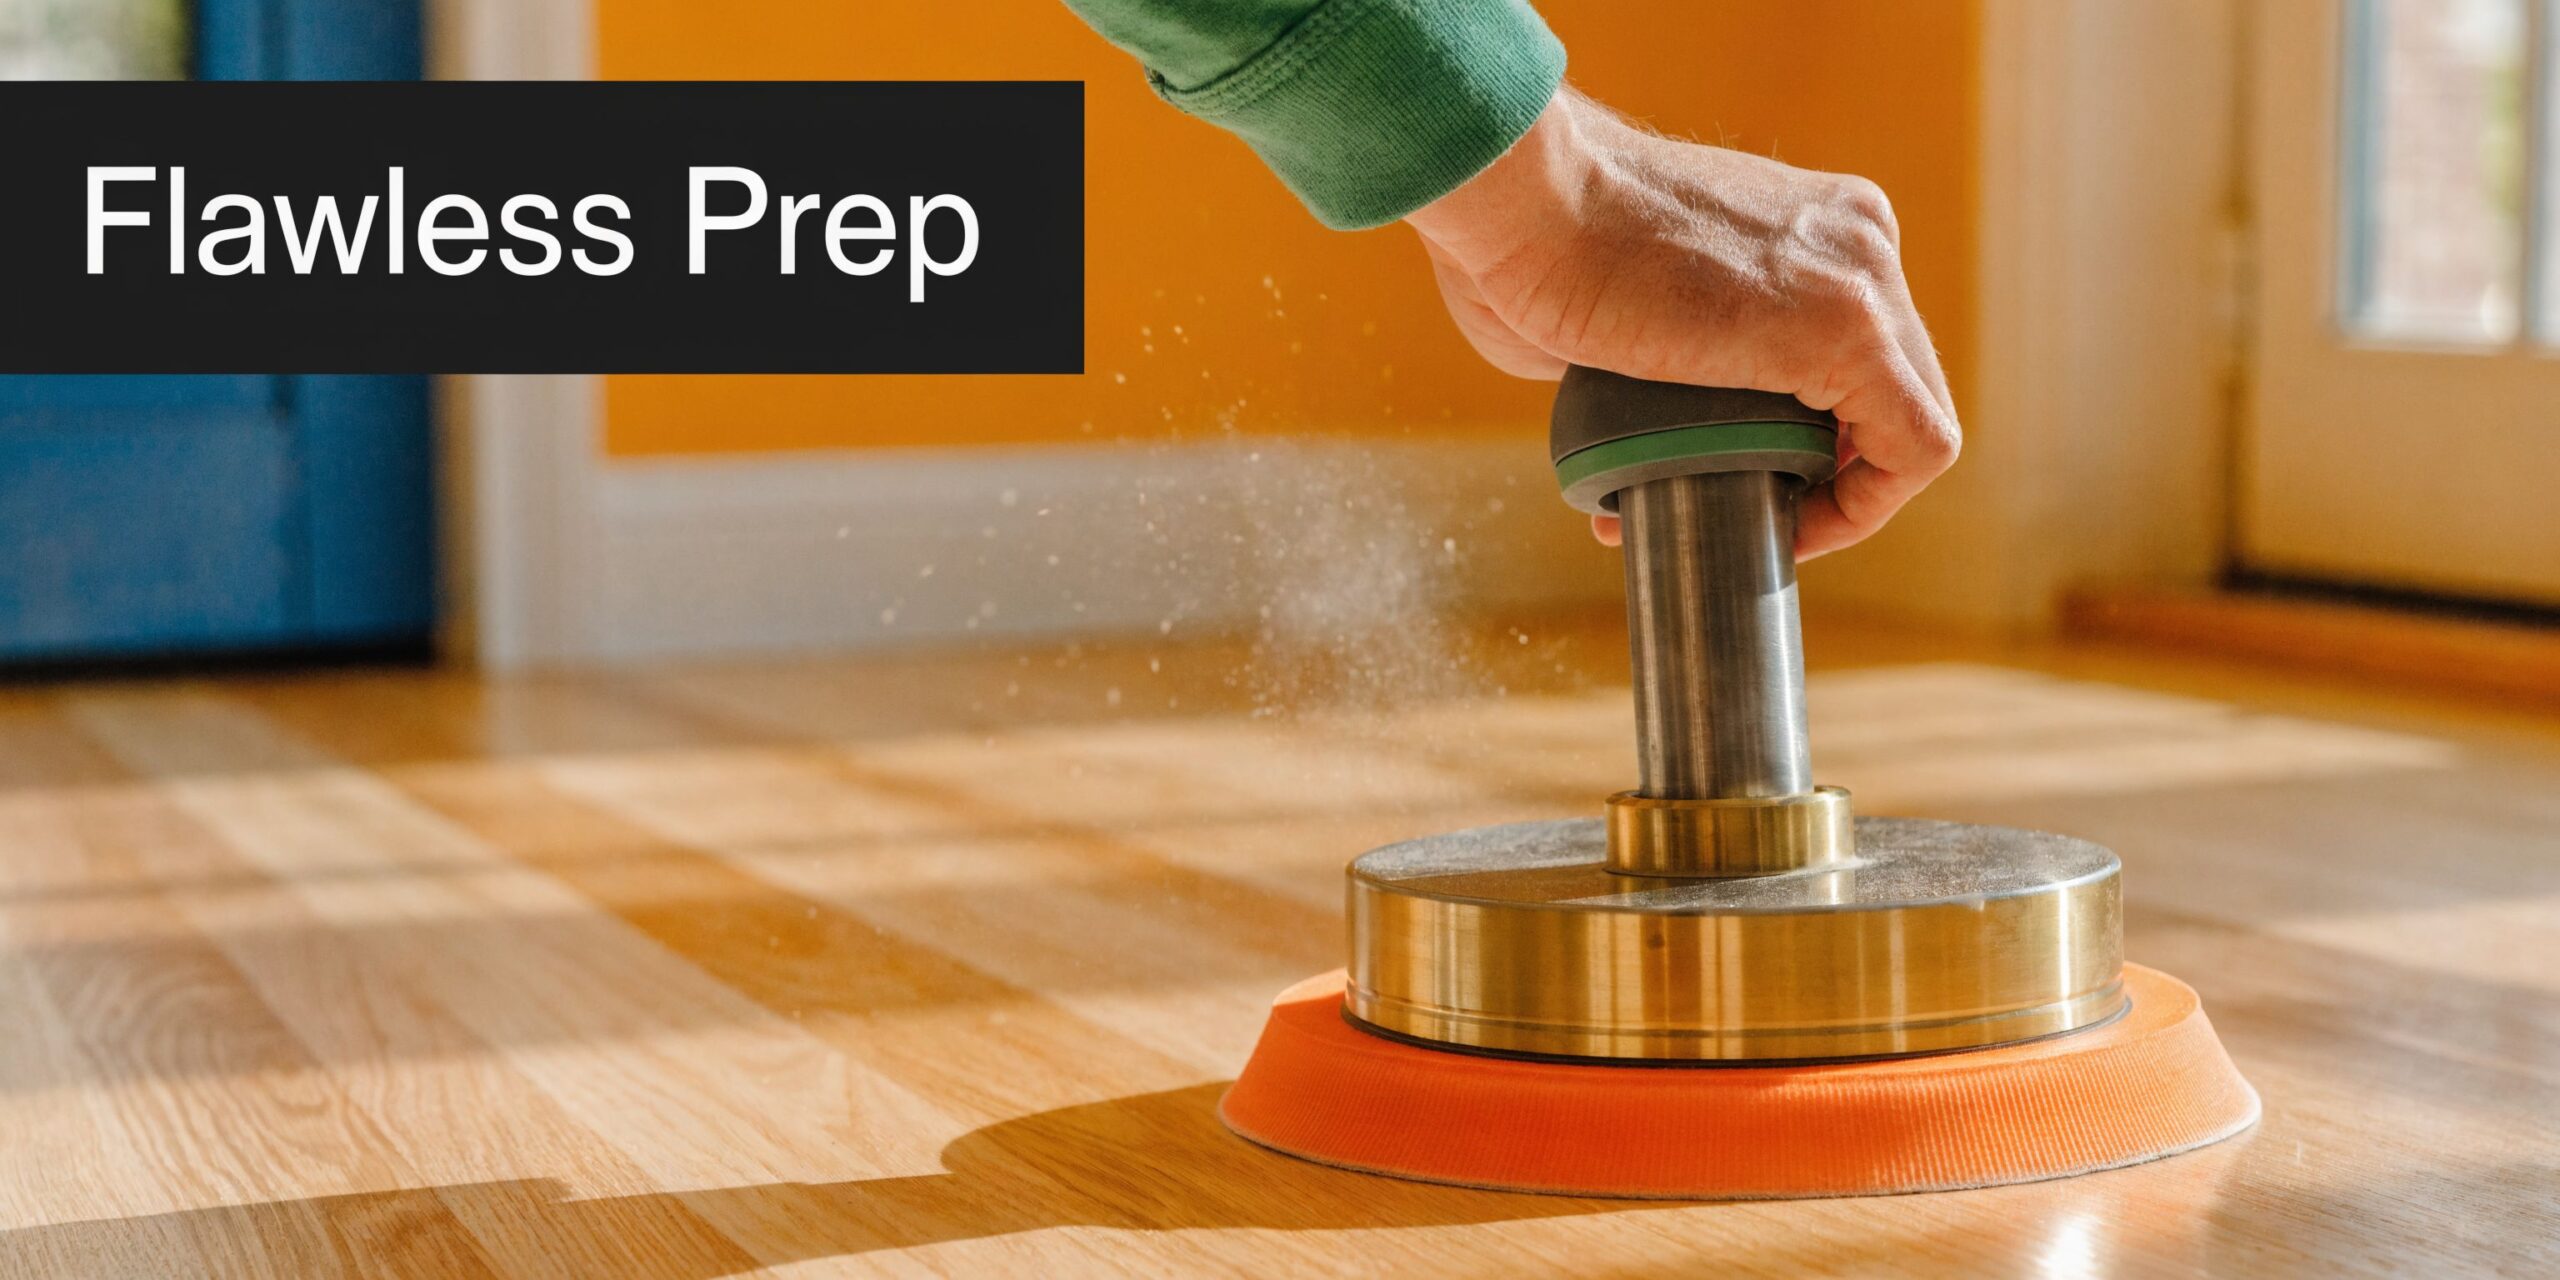
The Critical Foundation Dust-Free Surface Preparation
Most stain failures are sanding failures.
A floor can have the right stain color and still look wrong because the surface was not flattened evenly, the scratch pattern was inconsistent, or dust stayed behind and contaminated the application.
The sanding sequence matters
Professional methodology calls for sanding progressively from 40-60 grit up to 120-150 grit, according to this finishing video reference. That progression is not busywork. Each pass removes the scratch pattern from the pass before it.
If someone jumps grits or rushes the edging, dark walnut stain will expose every shortcut.
A clean schedule looks like this:
- Coarse cut: Removes old finish and levels wear.
- Intermediate sanding: Refines the surface and blends field with edges.
- Fine sanding: Prepares the oak for stain acceptance.
- Detail work: Corners, transitions, vents, and perimeter cleanup.
Dust is not a side issue
Inadequate dust removal is responsible for a common failure rate in DIY attempts, causing fisheyes and surface imperfections.
That is why dust-free sanding matters so much in occupied homes. It is not just about cleanliness for furniture and baseboards. It protects the finish quality.
With dark walnut stain on white oak, even tiny contamination shows up fast.
- Dust in corners: Creates rough spots and specks under topcoat.
- Airborne particles settling back: Ruins otherwise smooth stain sections.
- Residue left in grain: Interrupts absorption and causes visible holidays.
Key takeaway: Dark stain amplifies flaws. A preparation mistake that might hide under a natural finish becomes obvious under dark walnut.
White oak absorbs differently than many homeowners expect
White oak can absorb significantly more stain than red oak. That matters because the same product and wipe timing can produce a stronger color on white oak than a homeowner saw in a red oak sample.
This is one reason professionals often water-pop or otherwise prepare the surface with intention rather than treating every oak floor the same way.
For Parker hardwood floor refinishing with a UV- Cure System, the best results usually start with a floor that is not just smooth to the touch, but uniformly sanded from one board to the next. That part cannot be faked later.
Professional Techniques for Applying Dark Walnut Stain
Application day is where good prep either pays off or gets exposed.
Dark walnut on white oak needs a controlled rhythm. The applicator has to move steadily, keep a wet edge, watch how the wood is taking color, and wipe excess before the stain starts setting unevenly.
A simple visual helps show the sequence.

The floor should be treated in sections, not as one giant surface
Large open plans in Parker and nearby communities often create lap-mark problems because people try to cover too much area at once. A better approach is to break the space into manageable lanes and maintain the same pace from section to section.
The practical sequence usually looks like this:
- Final clean first: Vacuuming and tack removal need to be done right before stain.
- Condition or prep based on product system: Not every floor gets the same approach.
- Apply evenly: Brush, pad, cloth, or roller depending on product and room size.
- Wipe excess completely: Anything left sitting can cure sticky or patchy.
- Let it dry fully: Rushing the topcoat traps problems.
Later in the process, a visual walk-through can help homeowners understand what proper application looks like in motion.
What separates professional results from rushed ones
A few habits make the biggest difference.
Wet edge control
Every pass must overlap cleanly into the previous one while it is still workable. If one side starts drying first, you get lap marks.
Wipe discipline
The floor should not stay glossy-wet with leftover stain. Excess material causes dark patches and uneven cure.
Matching the sample
The sample used for approval needs to be sanded and prepped the same way as the field. Otherwise the approved color is meaningless.
Team coordination in larger rooms
On wide spaces, one person applying and another wiping often produces a more uniform floor than one person trying to do everything alone.
Tip: The biggest DIY mistake is trying to fix light areas by adding more stain only where they appear. Spot-correcting dark walnut usually makes the repair more visible.
Sealing and Protecting Your Floors with a UV-Cure System
The stain gives the floor its color. The topcoat determines whether that color survives daily life.
Many homeowners compare a traditional finish schedule against a UV- Cure System, quickly realizing they are not equivalent experiences. Traditional coatings often involve extended dry times, a longer cure window, and more disruption inside the home. A UV-cured system changes the rhythm of the whole job.
Why the topcoat matters so much on dark floors
Dark floors show wear differently than light floors. Fine scratches, pet traffic, and dull traffic paths can become visible sooner if the protective layer is weak or mismatched.
That is why the final system should do more than “seal” the stain. It should:
- Protect against traffic
- Reduce downtime inside the home
- Support the intended sheen
- Work cleanly in lived-in spaces
Why many homeowners prefer a UV-cured finish
For busy households, a UV-cured finish solves real scheduling problems. Families do not want a beautiful floor that comes with days of disruption, furniture migration, and lingering uncertainty about when the surface is safe.
A UV- Cure System is especially appealing when the home has pets, children, or a packed move-in timeline. It also makes sense for sellers, property managers, and commercial spaces that cannot sit idle.
Another advantage is predictability. Once the finish is cured, the floor is ready for normal use far sooner than with old-school waiting cycles. That practical benefit matters just as much as durability.
Homeowners comparing systems can learn more from this detailed guide on the instant UV-curable hardwood floor finish process.
UV-cure versus traditional finish in day-to-day terms
| Finish Type | Main Strength | Main Trade-off |
|---|---|---|
| Traditional finish | Familiar process and common availability | More waiting and longer disruption |
| UV-cured finish | Immediate return to use and strong protection | Requires specialized equipment and experienced handling |
In Parker hardwood floor refinishing, the best finish system usually fits how the home is used, not just what looks good on a sample board.
Troubleshooting Blotchiness and Tannin Bleed
Most online stain guides talk about color. Fewer talk about chemistry.
That is a problem with white oak, because one of the biggest risks is tannin bleed-through. When it happens, the floor can develop greenish discoloration that cuts against the whole point of a clean dark walnut finish.
Blotchiness and tannin bleed are not the same problem
Blotchiness usually comes from uneven sanding, inconsistent absorption, or poor wipe technique.
Tannin bleed is different. It comes from the wood itself reacting to moisture or incompatible finishing conditions. White oak has high tannin content, and that chemistry can show up later if the floor was not sealed correctly.
According to Laurel Bern Interiors on white oak floor problems, tannin bleed-through is a significant risk with white oak, causing greenish discoloration, especially in homes with pets or high humidity. The same source notes that most online tutorials fail to address it, and that using a pre-sealer like shellac or a modern UV-curable finish that locks in tannins immediately is a critical prevention strategy.
What this looks like in real homes
In practical terms, homeowners usually notice one of these scenarios:
- A greenish cast appears later: The floor looked acceptable at first, then changed.
- Certain boards darken strangely: Often around moisture exposure or traffic zones.
- Color varies beyond normal grain pattern: The inconsistency looks chemical, not natural.
Prevention is easier than repair
Once tannin problems appear under a dark stain, the repair is often invasive. Spot fixing rarely blends well.
Better prevention usually includes:
- Choosing the right sealer: Especially when the floor has shown sensitivity.
- Keeping moisture under control: Before and during the finishing process.
- Using a compatible topcoat system: One that isolates and protects the stain layer.
- Avoiding casual product mixing: Random combinations create avoidable problems.
Key takeaway: If a floor develops tannin discoloration, the issue is usually below the surface. More stain does not solve it.
For Parker homes with pets, mudroom traffic, or seasonal humidity swings, this is one of the strongest arguments for treating white oak as its own category rather than following generic “oak floor” advice.
Maintaining Your Dark Walnut Floors and When to Call a Pro
Once the floor is finished well, maintenance is straightforward. The challenge is consistency.
Dark walnut stain on white oak rewards gentle care. It also punishes neglect faster than lighter finishes because surface dust, grit, and wear paths are easier to see.
A simple maintenance routine that works
Start with the basics.
- Use a microfiber dust mop: Fine grit acts like sandpaper under shoes.
- Choose a hardwood-safe cleaner: Avoid harsh chemicals or residue-heavy products.
- Protect furniture contact points: Felt pads matter more than many realize.
- Watch entry points: Rugs near doors reduce grit and moisture transfer.
- Clean spills promptly: Moisture and dark floors do not mix well over time.
For homeowners who want a reliable care routine, this guide on https://jrhardwoodfloorrefinishingandcleaning.com/how-to-maintain-hardwood-floors/ covers the day-to-day habits that preserve appearance and finish life.
When refinishing is smarter than replacement
A lot of homeowners assume a tired floor needs to be torn out. Often it does not.
If the boards are structurally sound and the problem is finish wear, uneven color, light scratching, or failed old coatings, refinishing usually preserves more character and avoids the disruption of full replacement. That is especially true in established homes around Parker where the original oak still has good bones.
Replacement makes more sense when boards are badly damaged, the floor has major movement issues, or previous work removed too much wear layer.
Signs it is time to call a professional
Some projects are DIY-friendly. Dark staining white oak usually is not one of them.
Call a pro if you are dealing with:
- Existing uneven stain: Correction often requires full re-sanding.
- Large open-concept areas: Wet-edge mistakes become obvious fast.
- Pet-related wear: Durability and cure timing matter more.
- Unknown old finishes or wax contamination: These can interfere with adhesion.
- Listing prep for sale: The margin for visible mistakes is small.
For Parker hardwood floor refinishing and UV- Cure System projects, professional work offers value beyond just labor. It involves avoiding the kind of errors that require starting over.
Homeowners on Parker trust J.R. Hardwood Floor Refinishing & Cleaning to restore the natural beauty of their hardwood floors with our dust-free sanding system and advanced UV-curable finishes. Unlike traditional methods, our UV technology cures instantly, so you can move furniture back the same day with no lingering odor or downtime. Choose the perfect refinishing service to match your needs and home traffic. Our dust-free process ensures a clean, beautiful finish every time.
📞 Phone: 720-327-1127
🌐 Website: jrhardwoodfloorrefinishingandcleaning.com
📍 Service Area: Parker, Denver, Aurora, Castle Rock, Highlands Ranch, Littleton, and surrounding Colorado communities.
See our work on YouTube: https://www.youtube.com/channel/UCLaTAi6KxwT-g8QCKqKTQ8Q?sub_confirmation=1
If you want a dark walnut stain on white oak that looks clean, even, and built for real life, contact J.R. Hardwood Floor Refinishing & Cleaning. From dust-free sanding and full refinishing to screen and recoat, wax removal, floor installation, and advanced UV-curable protection, the team serves Parker, Denver, Aurora, Castle Rock, Highlands Ranch, Littleton, and surrounding Colorado communities with practical craftsmanship and clear guidance.