 Skip to content
Many Colorado homeowners and property managers struggle with warped boards, gaps, and squeaking floors after hardwood installation. These issues often stem from skipping critical preparation steps or ignoring Colorado’s unique dry climate demands. This guide walks you through the expert workflow that prevents costly mistakes, delivering floors that perform beautifully for decades while adapting to local moisture and temperature swings.
Table of Contents
- Prerequisites And Material Acclimation
- Subfloor Preparation And Moisture Control
- Installation Techniques And Tools
- Finishing Techniques And Technologies
- Common Mistakes And Troubleshooting
- Expected Timelines And Outcomes
- Explore Expert Hardwood Floor Services From J.R. Hardwood
Key takeaways
| Point | Details |
|---|---|
| Acclimate materials properly | Allow hardwood to adjust for at least 72 hours in controlled indoor conditions to prevent warping. |
| Control subfloor moisture | Test and verify moisture levels below 12% to avoid installation failures and extend floor life. |
| Use modern finishing technology | UV-cured finishes dry in under 30 minutes, cutting downtime and reducing indoor pollutants. |
| Avoid common installation mistakes | Uneven subfloors and moisture oversights cause 25% of failures; verify flatness and moisture carefully. |
| Follow expert workflow steps | Proper preparation, installation, and finishing improve timelines and deliver floors lasting 15+ years longer. |
Prerequisites and material acclimation
Before you touch a single board, your environment and materials need preparation. Colorado’s dry climate creates unique challenges that can destroy floors if ignored. Indoor temperature should stay between 60-80°F with humidity levels maintained at 30-50% during the entire acclimation period. These conditions mirror the environment your floors will experience after installation.
Acclimate hardwood flooring materials for at least 72 hours in the installation space. Skipping the acclimation process dramatically increases warping risk in Colorado’s dry climate. Unsealed boxes left in garages or basements absorb or lose moisture at unpredictable rates, leading to boards that expand or contract after installation.
Gather your essential tools before starting:
- Moisture meter for subfloor and board testing
- Pneumatic nailer with compressor for consistent fastening
- Tapping blocks to protect board edges during fitting
- Chalk line and measuring tape for layout accuracy
- Pry bar and spacers for expansion gap management
Your moisture meter becomes your most valuable tool. Test each bundle of hardwood to confirm moisture content matches your subfloor within 2-4%. Record readings from multiple boards and multiple locations per board. Variations signal incomplete acclimation.
Pro Tip: Stack hardwood bundles with spacers between them to allow air circulation on all sides. This speeds acclimation and ensures even moisture distribution throughout each board. Place bundles in the actual installation room, not an adjacent space with different climate conditions.
Understand that rushing acclimation to meet deadlines creates problems that surface weeks later. Boards that weren’t properly stabilized will cup, crown, or gap as they adjust to indoor conditions post-installation. The professional hardwood installation guide emphasizes this foundational step because it prevents 90% of moisture-related failures.
Subfloor preparation and moisture control
Your subfloor determines everything about floor performance. Even premium hardwood fails on unprepared surfaces. Start with comprehensive moisture testing across the entire subfloor area. Concrete subfloors require special attention in Colorado basements where temperature swings create condensation risks.
Perform moisture testing at multiple points, especially near exterior walls and plumbing. Wood subfloors should read below 12% moisture content. Concrete subfloors follow manufacturer specifications, typically requiring readings below 3 pounds per 1,000 square feet per 24 hours using calcium chloride tests. Moisture testing lowers failure rates by 40%, making this step non-negotiable.
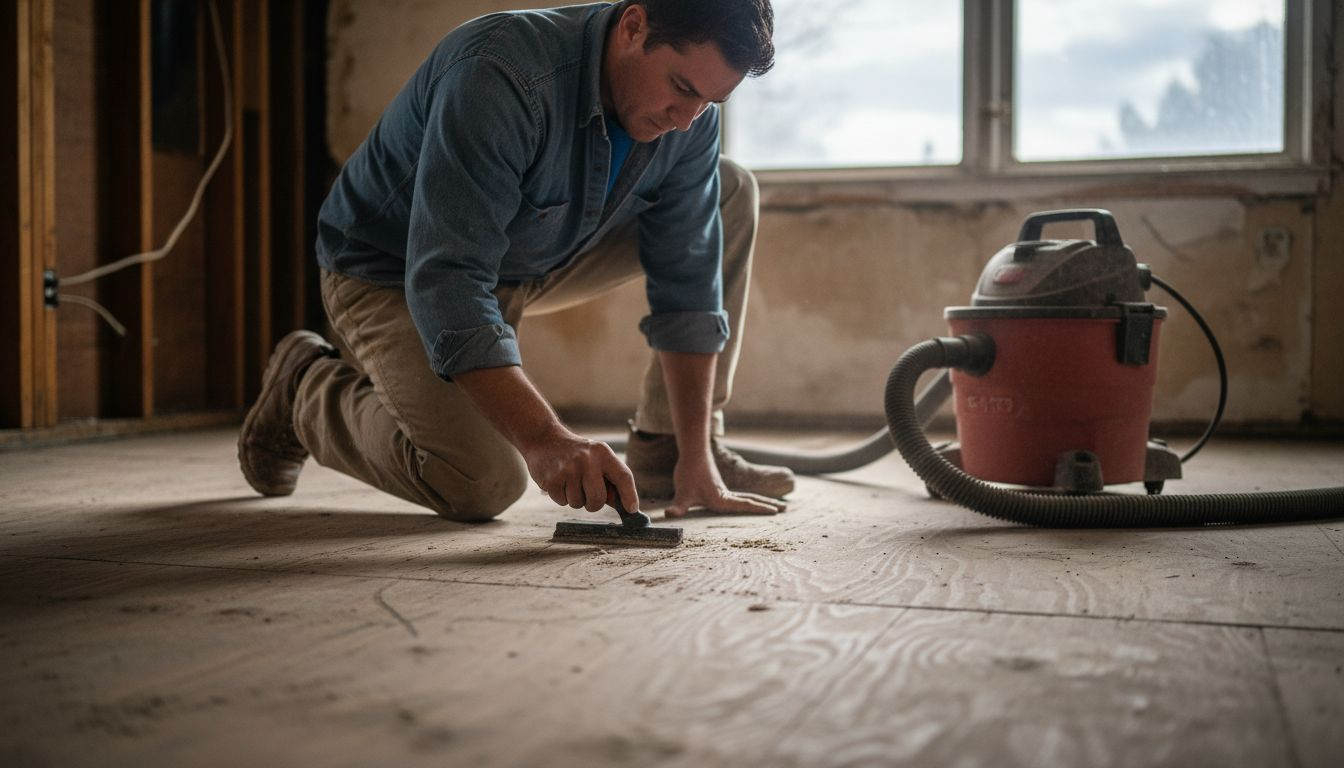
Clean your subfloor obsessively. Remove every trace of old adhesive, paint drips, dirt, and debris. Vacuum thoroughly, then wipe down with a dry cloth. Any bumps or residue translate directly into uneven flooring or hollow spots that create squeaks.
Install moisture barriers on concrete subfloors or anywhere moisture readings approach upper limits. Quality barriers add minimal cost but can extend floor life by up to 15 years by blocking ground moisture migration. Roll out barriers with 6-inch overlaps, taping seams completely.
| Subfloor type | Maximum moisture | Barrier required | Flatness tolerance |
|---|---|---|---|
| Plywood/OSB | 12% | Only if moisture >10% | 3/16" per 10 feet |
| Concrete (basement) | Per manufacturer spec | Always recommended | 3/16" per 10 feet |
| Concrete (slab on grade) | Per manufacturer spec | Always required | 3/16" per 10 feet |
Verify subfloor flatness using a 10-foot straightedge. Any deviations exceeding 3/16 inch require correction through sanding high spots or filling low areas with leveling compound. This step prevents the squeaking and springy feeling that plague improperly prepared installations.
Pro Tip: Mark problem areas with chalk as you identify them during inspection. This visual map ensures you address every issue before installation begins. Returning to fix subfloor problems after laying boards wastes hours and risks damaging finished work.
The hardwood floor maintenance guide reinforces that proper subfloor preparation prevents most long-term maintenance headaches. Investing time here pays dividends for decades.
Installation techniques and tools
With preparation complete, installation becomes straightforward when you follow the right sequence. Start by establishing your layout. Measure room dimensions and plan board placement to avoid narrow strips along walls. Boards narrower than 2 inches look unprofessional and perform poorly.
Follow this installation sequence:
- Snap chalk lines parallel to the longest wall, accounting for expansion gaps.
- Lay the first row with groove side toward the wall, maintaining 1/2-inch expansion space.
- Face-nail the first row through the tongue at a 45-degree angle, countersinking nails.
- Use your pneumatic nailer for subsequent rows, placing fasteners every 8-10 inches.
- Stagger end joints by at least 6 inches between adjacent rows for structural integrity.
- Use tapping blocks to close gaps between boards without damaging edges.
- Maintain expansion gaps at all walls and vertical surfaces.
Pneumatic nailers speed installation by 30% compared to hand nailing while delivering superior consistency. Set air pressure according to your flooring manufacturer specifications, typically 70-90 PSI for 3/4-inch solid hardwood. Test on scrap pieces first to dial in the perfect depth.
Tapping blocks protect board edges while allowing you to apply significant force for tight seams. Never hammer directly on boards. The tongue edge chips easily, creating gaps that never close. Work systematically down each row, checking alignment every few boards.
Pro Tip: Keep a pull bar handy for the last few rows where the pneumatic nailer won’t fit. This tool lets you maintain the same tight seams without switching to inferior fastening methods. Quality installations show no visible gaps between boards when viewed from standing height.
Rack your boards by opening multiple bundles and mixing pieces. This natural variation in grain and color creates visual interest while preventing noticeable color shifts between bundles. Sort out any damaged pieces before installation rather than discovering problems mid-row.
The hardwood flooring installation guide demonstrates these techniques with visual references that clarify proper tool angles and board placement strategies.
Finishing techniques and technologies
Finishing transforms raw hardwood into protected, beautiful floors. Your finish choice impacts appearance, durability, drying time, and indoor air quality. Modern options deliver better performance with less environmental impact than traditional products.

UV-cured finishes revolutionized the industry by drying in under 30 minutes. This technology uses ultraviolet light to instantly cure the finish, eliminating the multi-day wait traditional polyurethanes require. You can walk on floors immediately after the final coat cures, drastically reducing project timelines and disruption.
Eco-friendly finishes reduce indoor pollutants by up to 90% compared to solvent-based products. Water-based polyurethanes and plant-based oils emit minimal volatile organic compounds (VOCs), improving air quality during and after application. Colorado’s dry climate helps these finishes cure properly without humidity-related issues common in other regions.
Consider these finish options:
- UV-cured polyurethane for instant curing and commercial-grade durability
- Water-based polyurethane for low odor and clear, non-yellowing protection
- Oil-based polyurethane for traditional amber tone and deep penetration
- Hard wax oil for natural appearance and easy spot repairs
Screen and recoat methods allow single-day refinishing without full sanding when floors show wear but the existing finish remains intact. This process lightly abrades the current finish, then applies a fresh top coat. It costs 60-70% less than full refinishing while extending floor life significantly.
Apply finishes in thin, even coats using high-quality applicators. Thick coats take longer to dry and show brush marks or bubbles. Most finishes require 2-3 coats for adequate protection, with light sanding between coats to ensure proper adhesion.
The UV-curable hardwood floor finish technology delivers results previously impossible with traditional methods, combining speed with exceptional durability.
Common mistakes and troubleshooting
Even experienced installers encounter problems. Knowing what goes wrong helps you avoid these pitfalls and fix issues quickly when they appear.
Failing to verify subfloor flatness leads to uneven floors and squeaks in up to 25% of improper installations. That slight dip you thought wouldn’t matter becomes obvious when furniture rocks or footsteps echo. Always correct flatness issues before laying boards.
Adhesive residue left on subfloors causes unevenness in 15% of cases. Old carpet glue, tile mastic, or construction adhesive prevents boards from sitting flat. Scrape thoroughly and use appropriate solvents to remove all traces. The extra hour spent cleaning saves weeks of regret.
Moisture and temperature mismanagement destroy more floors than any other factor. Wood is hygroscopic, constantly exchanging moisture with surrounding air. Installing in spaces outside the 60-80°F and 30-50% humidity range guarantees problems. Boards installed too wet will shrink and gap. Boards installed too dry will expand and buckle.
Regular moisture checks throughout installation catch problems before they spread. Test random boards each morning and compare readings to your baseline. Sudden changes signal environmental control failures needing immediate correction.
“The biggest mistake homeowners make is treating hardwood like vinyl or laminate. Wood is alive, responding to every environmental change. Respect that reality or pay the price in warped, gapped floors.” – Professional installer with 20+ years Colorado experience
Common troubleshooting scenarios:
- Squeaking floors indicate insufficient fastening or subfloor movement; add screws through subfloor into joists
- Cupping boards signal moisture from below; install vapor barrier and improve ventilation
- Gapping in winter reflects humidity drops; maintain 30-50% indoor humidity year-round
- Finish bubbles or cloudiness result from applying coats too thick or in wrong conditions
The hardwood wax removal guidance addresses another common issue where old wax layers prevent new finishes from adhering properly, requiring complete removal before refinishing.
Expected timelines and outcomes
Realistic timeline expectations prevent frustration and help you plan around construction disruption. A typical 1,000 square foot installation completes within 5-7 days including finishing, assuming proper preparation and normal conditions.
Break down your project timeline:
- Day 1-3: Material delivery and acclimation (72+ hours minimum)
- Day 4: Subfloor preparation, moisture testing, and corrections
- Day 5-6: Board installation and trim work
- Day 7: Finishing application
- Day 7-9: Finish curing before furniture placement
UV-cured finishes dry in under 30 minutes per coat, allowing complete finishing in a single day with immediate use. Traditional oil-based polyurethanes require 24-48 hours between coats and 72 hours before placing furniture. Water-based options fall in between, typically needing 4-6 hours between coats.
| Finish type | Coats needed | Dry time per coat | Total cure time | Furniture placement |
|---|---|---|---|---|
| UV-cured | 2-3 | <30 minutes | Instant | Same day |
| Water-based poly | 3-4 | 4-6 hours | 24 hours | 48 hours |
| Oil-based poly | 2-3 | 24 hours | 72 hours | 7 days |
Proper moisture barriers extend hardwood floor life by up to 15 years by preventing ground moisture from degrading boards and finishes from below. This protection proves especially valuable in Colorado basements and rooms built over crawl spaces.
Floor seams remain tight indefinitely when installation follows proper workflow and environmental controls stay consistent. Seasonal gaps of 1/32 inch or less are normal and acceptable, closing as humidity rises. Gaps exceeding 1/16 inch signal installation or environmental problems needing professional assessment.
Your floors should feel solid underfoot with no bounce or squeaks. Finishes should show even sheen without streaks, bubbles, or thin spots. Properly installed and finished hardwood delivers 50-100+ years of service with routine maintenance.
The hardwood maintenance best practices guide helps you protect your investment through daily care and periodic maintenance that preserves appearance and structural integrity.
Explore expert hardwood floor services from J.R. Hardwood
Understanding the workflow is one thing. Executing it flawlessly requires experience, specialized tools, and time most homeowners lack. Professional installation ensures every critical step receives proper attention, delivering floors that perform beautifully from day one.
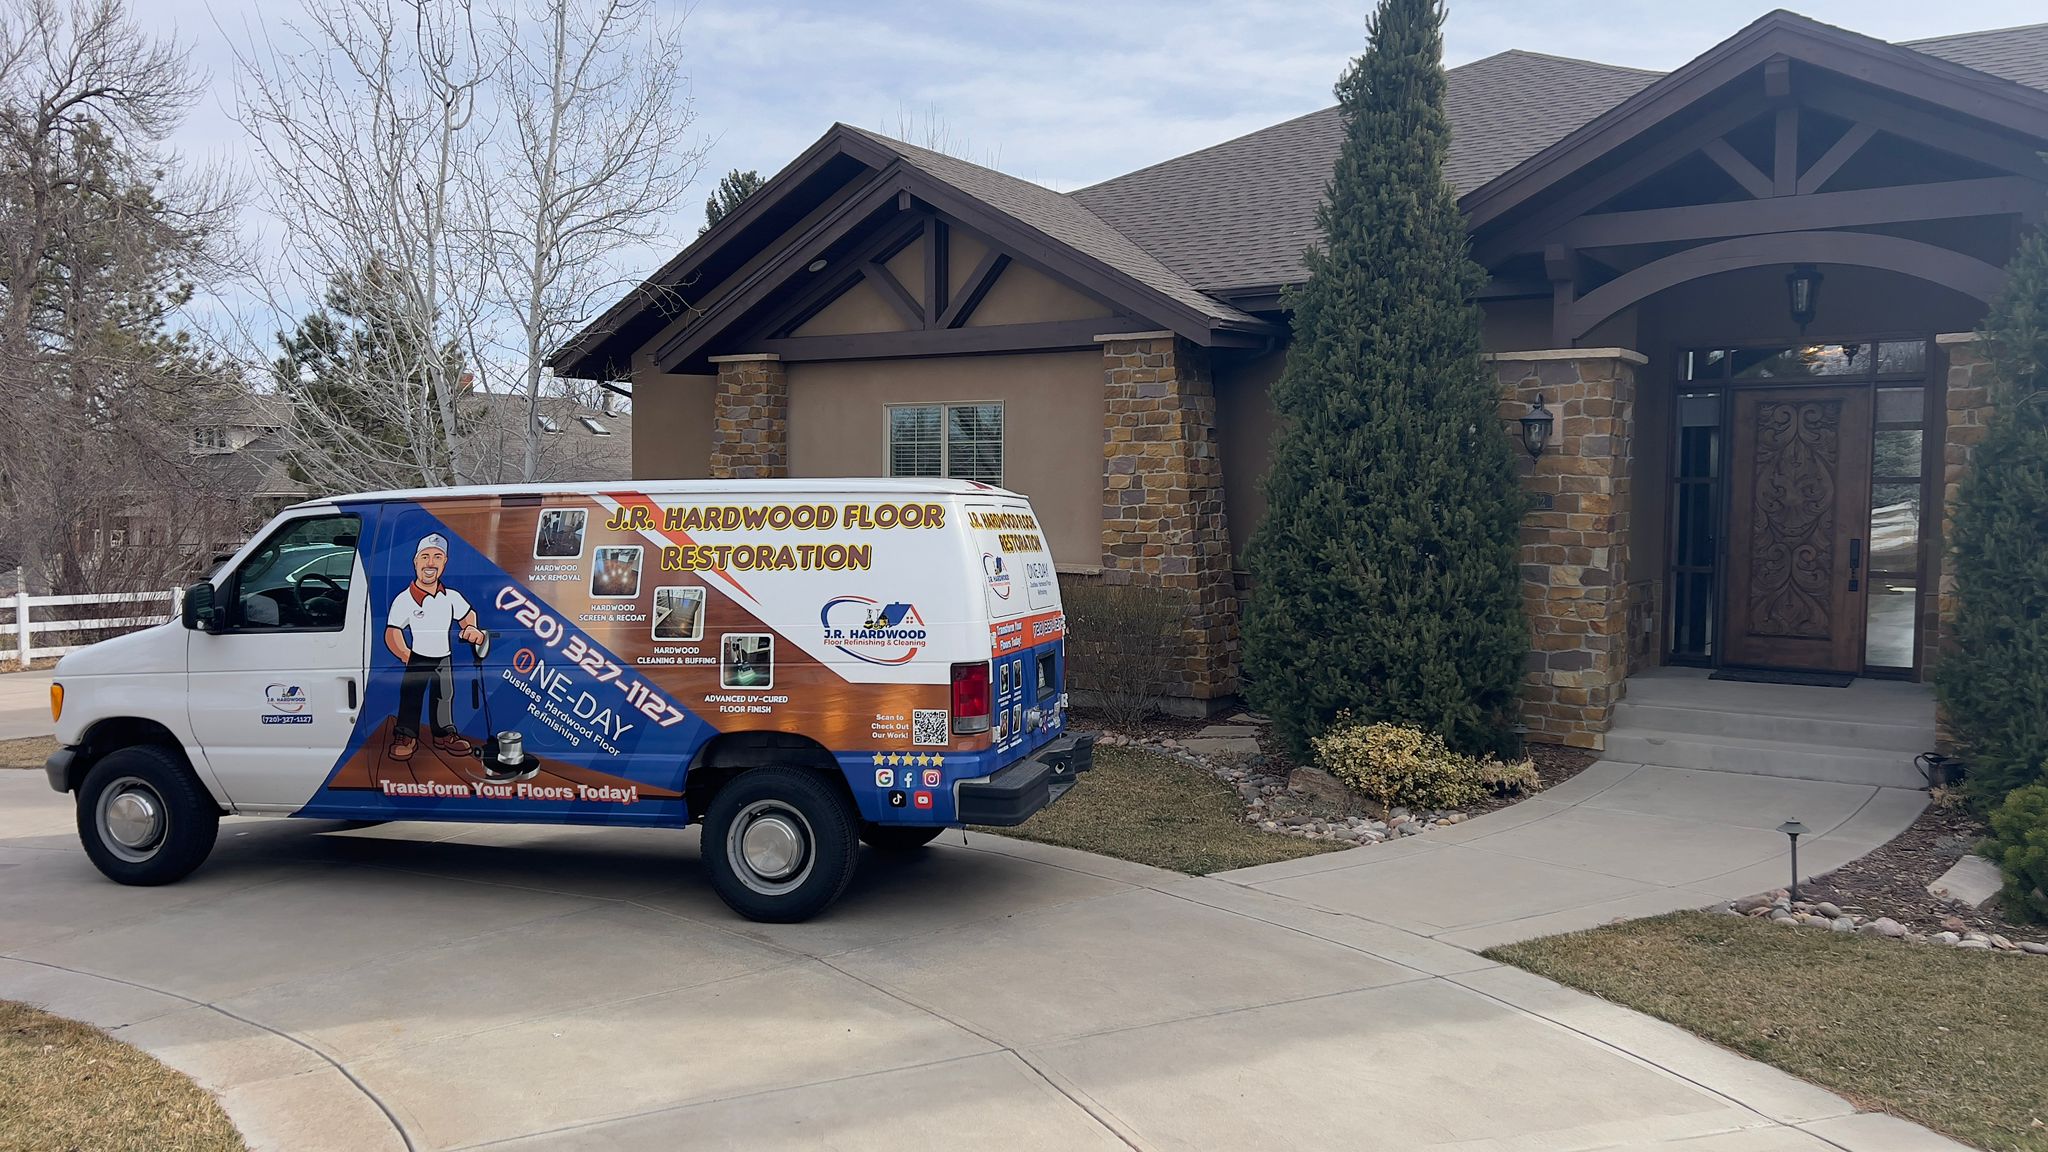
J.R. Hardwood Floor Refinishing & Cleaning brings decades of Colorado-specific expertise to every project. From moisture testing and subfloor preparation through expert hardwood floor installation and modern finishing, the team handles complete transformations. UV-cured finishing technology means your space returns to service the same day, not next week.
Existing floors showing wear don’t always need replacement. Hardwood floor refinishing services restore beauty and protection at a fraction of replacement cost. The hardwood floor refinishing guide details the complete process from assessment through final protection.
FAQ
How long should hardwood floors acclimate before installation?
Hardwood floors require at least 72 hours of acclimation in the installation environment with controlled temperature (60-80°F) and humidity (30-50%). This stabilizes moisture content to match local conditions, dramatically reducing warping and gapping risks.
What moisture levels are safe for subfloor before installing hardwood?
Wood subfloors should measure below 12% moisture content, ideally within 2-4% of your hardwood flooring. Concrete subfloors follow manufacturer specifications, typically below 3 pounds per 1,000 square feet per 24 hours. Always verify with a calibrated moisture meter before proceeding.
How quickly do UV-cured hardwood finishes dry compared to traditional finishes?
UV-cured finishes dry in under 30 minutes versus 24-48 hours per coat for traditional oil-based polyurethanes. This enables same-day completion and immediate use, eliminating the multi-day disruption conventional finishes require. Learn more about UV-cured hardwood finish details.
What are common signs of subfloor problems after hardwood installation?
Squeaking floors, uneven boards, visible gaps, or warping indicate underlying subfloor issues. These problems often stem from moisture infiltration, inadequate fastening, or flatness deficiencies that should have been corrected during preparation. Professional assessment identifies root causes and appropriate corrections.