 Skip to content
TL;DR:
- Proper planning and correct tools are essential for professional-quality hardwood floor sanding.
- Step-by-step sanding, starting with coarse grit and progressing to fine grit, ensures a smooth finish.
- Patience and regional considerations are key for successful DIY projects and long-lasting results.
There’s nothing quite as frustrating as looking down at your beautiful hardwood floors and seeing scratches, dullness, or uneven patches staring back at you. Maybe you’ve tried cleaning them, and they still look tired. The truth is, sanding is the real reset button your floors need. Done right, it strips away years of wear and reveals that warm, glowing wood underneath. Done wrong, it can leave swirl marks, dips, and a finish that peels before the year is out. That’s why we put together this step-by-step guide to help you sand your hardwood floors with confidence and get professional-quality results.
Table of Contents
- Essential tools and materials for hardwood floor sanding
- preparing your floor: cleaning and surface checks
- Step-by-step sanding process for hardwood floors
- mistakes to avoid and troubleshooting tips
- What most guides miss: practical wisdom from local refinishing experts
- Get professional results with local Colorado hardwood floor experts
- frequently asked questions
Key Takeaways
| Point | Details |
|---|---|
| Preparation is critical | Gathering the right tools and prepping the space ensures a smooth sanding process. |
| Follow grit progression | Starting with coarse grits and moving to finer ones yields an even, professional finish. |
| Avoid common mistakes | Be alert for skipped steps and dust issues to prevent costly floor damage. |
| Expert support matters | Local Colorado professionals help tackle complex jobs and deliver lasting results. |
Essential tools and materials for hardwood floor sanding
Now that we’ve established the need for a methodical approach, let’s make sure you’re properly equipped before starting. Having the right tools on hand is not just about convenience. Using correct tools and materials significantly impacts sanding quality, which means skimping here can cost you far more in time and repairs later.
Here’s what you’ll need to gather before your first pass:
- Belt or drum sander: The workhorse for large, open floor areas. These are powerful, so handle them with respect.
- Edge sander (disc sander): Essential for corners, walls, and tight spots the drum sander can’t reach.
- Random orbital sander or buffer: Perfect for final smoothing passes between coats.
- Shop vacuum with fine-dust filter: You’ll use this constantly between sanding stages.
- Hand scraper: For corners and spots the edge sander still can’t reach.
- Safety gear: N95 respirator mask, safety glasses, and ear protection. Non-negotiable.
- Multiple sandpaper grits: Start coarse (36 or 40), move to medium (60 or 80), and finish fine (100 or 120).
- Floor filler or wood putty: For gaps and nail holes before fine sanding.
For Colorado homeowners specifically, keep in mind that our dry mountain climate affects how wood behaves during and after sanding. Low humidity can cause wood to contract, so check your indoor humidity levels before you begin. A range of 35% to 55% relative humidity is ideal.
Equipment renting vs. buying: a quick comparison
| Equipment | Buy cost (approx.) | Daily rental cost | Best for DIY? |
|---|---|---|---|
| Belt/drum sander | $400 to $900 | $60 to $90 | One-time project: rent |
| Edge sander | $250 to $500 | $35 to $60 | One-time project: rent |
| Random orbital buffer | $150 to $300 | $30 to $50 | Could buy if used often |
| Shop vacuum | $80 to $200 | N/A | Buy |
Pro tip: If this is a one-time project, renting equipment from a local hardware store is the smart move. You get professional-grade tools without the storage headache, and staff can walk you through basic machine operation before you leave the lot.
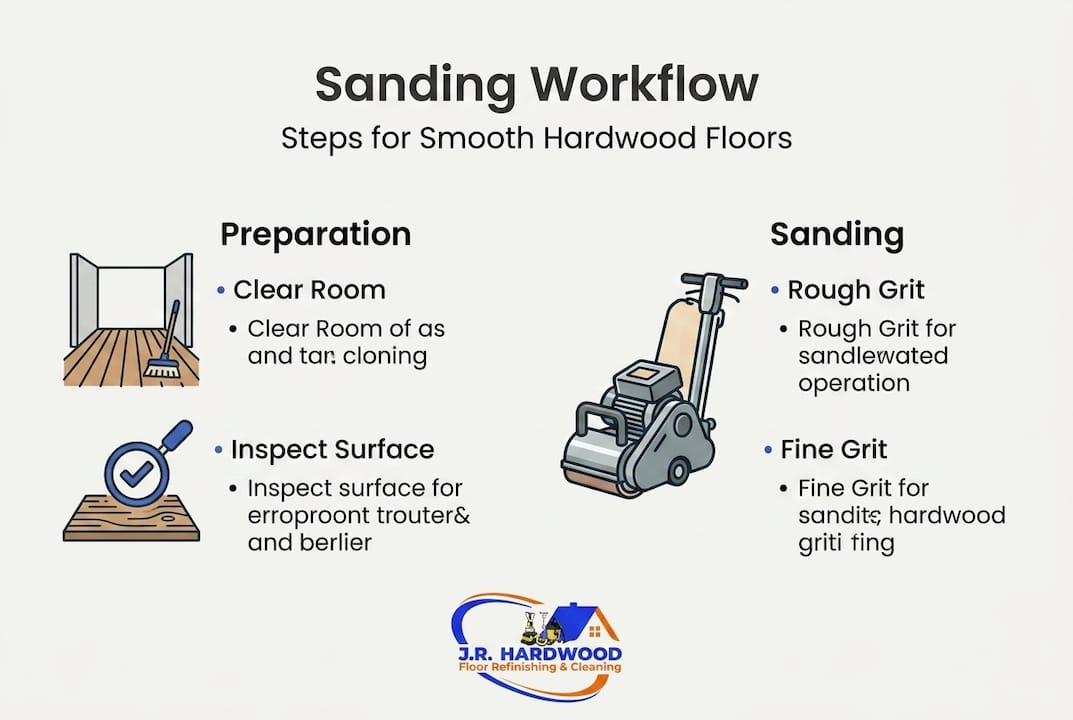
Following a proven sanding workflow will help you use these tools in the right order for the best outcome.
preparing your floor: cleaning and surface checks
With tools in hand, it’s vital to set the stage for sanding by preparing your space and surface. This step feels like busywork, but it’s actually what separates a smooth project from a nightmare. Good preparation helps prevent equipment damage and ensures even sanding results.
Follow these preparation steps before you fire up a single machine:
- Clear the room completely. Remove all furniture, rugs, and decor. This is not the time to work around obstacles.
- Remove outlet covers and floor vents to protect them from dust and scratches.
- Check for protruding nails. Walk the entire floor and hammer down any nails that sit above the surface. A raised nail can tear sandpaper and damage your drum sander’s drum in seconds.
- Look for damaged boards. Replace or repair any cracked, cupped, or rotting planks. For tips on restoring old hardwood, we have a detailed walkthrough that can help.
- Fill large gaps with a flexible wood filler that matches your floor tone.
- Clean the floor thoroughly. A quick vacuum followed by a barely damp mop removes debris that can clog sandpaper.
- Set up dust containment. Use plastic sheeting to seal doorways and cover any open vents or returns.
Safety note: Fine hardwood dust is a respiratory hazard. Always wear your N95 respirator from the moment you enter the work area, not just while the sander is running. Colorado’s dry air can keep dust particles airborne longer than you might expect.
Pro tip: Before you begin, take photos of the floor in good lighting. This helps you track progress and catch any areas you might miss during sanding passes.
Step-by-step sanding process for hardwood floors
Once the floor is fully prepped, it’s time to get into the actual sanding process. Think of this like giving your floors a full spa day, starting with the deep work and finishing with the polish.
- First pass: coarse grit (36 or 40 grit). Load the drum sander with your coarsest paper. Sand in the direction of the wood grain at a slow, steady walking pace. Never stop moving or you’ll create a dip. Work from one wall to the opposite, overlapping each pass by about 3 to 4 inches.
- Edge sanding, round one. Switch to the edge sander and work the perimeter of the room with the same coarse grit. Edge sanding is critical and is an often overlooked step. Keep the disc moving in a circular motion and feather into the main floor area to avoid a visible line.
- Second pass: medium grit (60 or 80 grit). Using the right grit progression is key to a smooth finish. This pass removes the scratch pattern left by the coarse grit and starts leveling the surface.
- Hand scrape corners. Use your hand scraper to clean up corners and tight spots that neither machine reached.
- Third pass: fine grit (100 or 120 grit). This is your finishing pass. Light pressure, steady pace. This is what gives you that silky surface before stain or finish is applied.
- Final vacuum and tack cloth wipe. Get every speck of dust off the floor before finishing. This is not optional.
Quick grit reference guide
| Pass | grit range | Goal |
|---|---|---|
| First | 36 to 40 | Remove old finish and level floor |
| Second | 60 to 80 | Remove scratch marks from first pass |
| Third | 100 to 120 | Create smooth surface for finish |
For more context on your next steps, our refinishing guide and restoration guide cover what comes after sanding in detail.
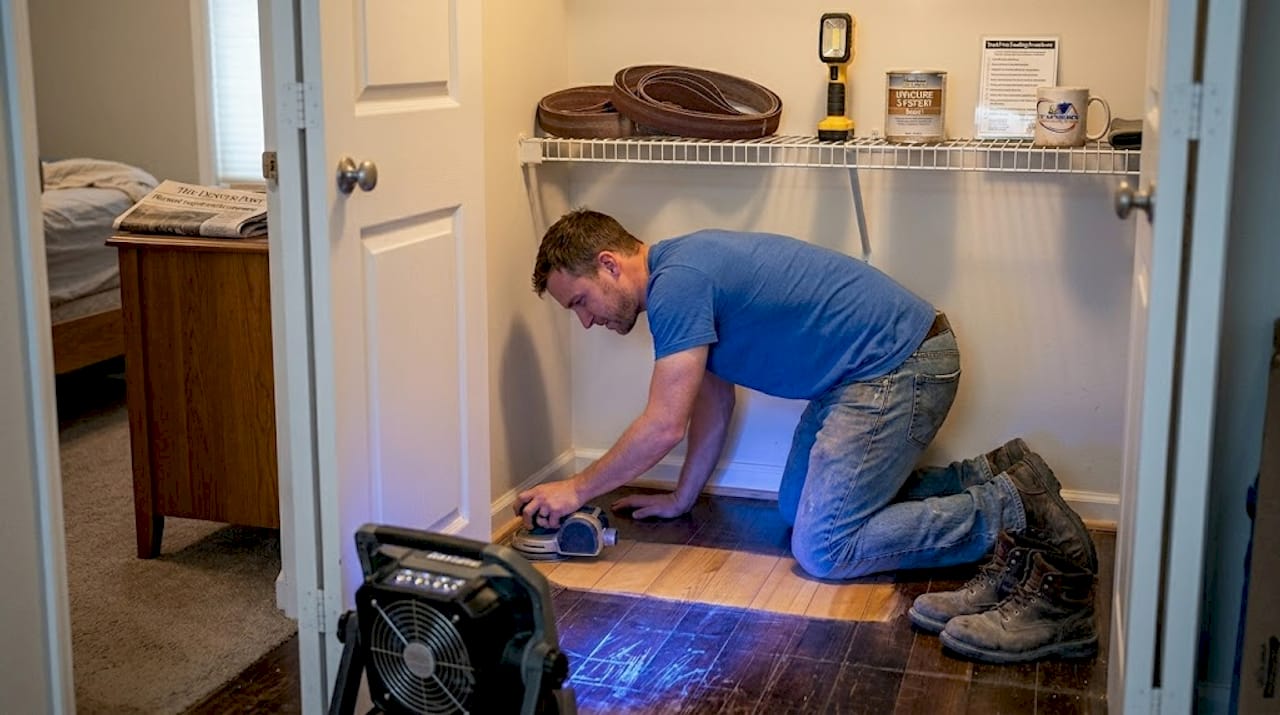
Pro tip: Always test your first sanding pass on a hidden area, like inside a closet, before committing to the main floor. This lets you dial in your pace and pressure without risking visible mistakes.
mistakes to avoid and troubleshooting tips
Even with careful preparation and precise sanding, some common pitfalls can trip up even experienced DIYers. We see these issues regularly, and the good news is most are preventable.
Here are the top five mistakes to watch for:
- Over-sanding one spot. If you pause the drum sander while it’s running, it digs a noticeable dip into the wood. Keep moving at all times.
- Missing the edges. The floor will look great in the center but rough near the walls if you rush edge sanding. Take your time with the edge sander and hand scraper.
- Wrong grit order. Going from 40 grit straight to 120 grit skips important steps and leaves visible scratch lines under your finish.
- Not cleaning between passes. Common sanding mistakes like insufficient dust removal between passes can trap particles under your finish, causing bumps and an uneven sheen.
- No inspection pass. After fine sanding, take a bright work light and hold it at a low angle to the floor. This raking light technique reveals swirls, scratches, and low spots that normal overhead lighting hides completely.
Colorado heads-up: Our low humidity can cause wood to shift slightly between sanding sessions. If you’re spreading the project over more than one day, keep the room at a stable temperature and humidity level to prevent small gaps from appearing between boards.
For long-term care after your floor is sanded and finished, our floor maintenance tips will help you keep that fresh glow going for years.
Pro tip: Plan at least one buffer pass with a random orbital sander between your fine sanding and your first finish coat. This removes any final swirl marks and leaves the surface almost impossibly smooth.
What most guides miss: practical wisdom from local refinishing experts
Here’s something we’ve learned from years of working on Colorado floors: the biggest variable is rarely the equipment or even the technique. It’s patience.
Colorado’s dry climate is genuinely different from other parts of the country. Wood here tends to be drier and more brittle, especially in older homes. That means aggressive sanding with heavy equipment can cause surface checking (tiny cracks) if you push too fast or use too coarse a grit without moving on quickly. We always recommend going a bit slower and opting for a slightly less aggressive starting grit if your floors are older or thinner.
We also see a lot of people rush the finish selection. The right finish for Colorado is one that flexes slightly with seasonal humidity changes. Hard, rigid finishes can crack when wood contracts during our dry winters. A professional-grade oil-modified or water-based polyurethane with some flex built in is usually our top pick for regional durability.
If you’re weighing your options, comparing DIY vs. professional refinishing is a great place to start. Sometimes the smartest DIY decision is knowing when to call in a pro.
Get professional results with local Colorado hardwood floor experts
Sanding your hardwood floors is genuinely rewarding, but it’s also one of those projects where the details make or break the outcome.
At J.R. hardwood floor refinishing & cleaning, we serve homeowners and commercial properties across the Denver Metro Area and beyond, from Parker to Boulder to Colorado Springs. Whether you need guidance on a DIY project or want someone to handle the whole job, we’re here to help. Check out our complete refinishing guide for deeper reading, explore our professional sanding services if you want expert hands on your floors, or browse our floor refinishing Q&A for quick answers. We offer free over-the-phone quotes and love talking floors.
frequently asked questions
How long does sanding hardwood floors usually take?
Sanding typically takes 1 to 3 days for an average-sized room, depending on floor condition, equipment, and skill level. Duration depends on floor size and how thorough your preparation was going in.
What sandpaper grit should I start with for old hardwood floors?
Begin with a coarse grit, typically 36 or 40, then work up through medium and fine grits for a smooth result. Starting grit choice depends on how thick and worn your existing finish is.
How do I prevent dust from spreading throughout my home during sanding?
Seal doorways with plastic sheeting and use a sander with a built-in dust bag or connect your shop vacuum directly to the machine. dust containment is crucial for both your health and the quality of your finish.
Is professional sanding necessary for DIY projects?
DIY sanding is absolutely possible for straightforward rooms in decent condition, but for complex repairs or large commercial spaces, professional services often deliver faster and higher quality results. Professional service is especially recommended for floors with significant damage or very thin wear layers.
What mistakes should I watch for when sanding hardwood floors?
Avoid stopping the drum sander mid-run, skipping grit levels, and neglecting edge sanding near walls. Common sanding mistakes like these can result in uneven surfaces and expensive touch-up work.