 Skip to content
TL;DR:
- Simple targeted fixes can restore scratched floors, saving money on full replacements.
- Proper prevention like furniture pads and regular cleaning extends floor lifespan.
- Professional restoration offers long-lasting results, especially for deeper scratches and Colorado-specific conditions.
Most Colorado homeowners assume a scratched floor means a full replacement is coming. That belief costs people thousands of dollars every year when simple, targeted fixes would do the job just fine. Scratch removal can restore beauty and durability without tearing out a single plank. Whether you’re managing a busy commercial space in Denver or trying to keep your Parker home looking sharp, understanding your options puts you in control. This guide walks you through every practical method, from quick DIY fixes to professional-grade restoration, so you can make a smart, confident decision for your floors.
Table of Contents
- Defining scratch removal in flooring
- Common methods for scratch removal by floor type
- Step-by-step guide: Removing scratches from hardwood floors
- Prevention: The best long-term scratch solution
- Why proactive care beats repeated repair in Colorado
- Restore your floors with expert support
- Frequently asked questions
Key Takeaways
| Point | Details |
|---|---|
| Not all scratches need replacement | Many flooring scratches can be repaired or concealed, saving you money and enhancing durability. |
| Match method to floor type | Choose removal techniques that fit your flooring material for best results. |
| Prevention saves time and cost | Simple preventative steps reduce the need for frequent scratch repairs and extend your floor’s life. |
| Professional help lasts longest | Professional refinishing can restore beauty for up to 10 years, outperforming quick fixes. |
Defining scratch removal in flooring
To understand how you can address scratches, let’s clarify exactly what scratch removal means. It’s not just about hiding a mark. It’s about restoring the look and structural integrity of your floor with as little disruption as possible.
Scratch removal covers techniques for hardwood, laminate, and vinyl floors, and the goal is always the same: bring the surface back to life without replacing what doesn’t need replacing. Think of it like a targeted tune-up rather than a full engine swap.
Here’s why scratch removal is worth understanding:
- Cost savings: Targeted repairs cost a fraction of full floor replacement.
- Extended floor life: Addressing scratches early prevents deeper damage from spreading.
- Fast turnaround: Most repairs take hours, not days.
- Minimal disruption: You stay in your home or keep your business running.
Our hardwood scratch removal guide breaks this down further for wood floors specifically. And if you want a broader picture of what restoration actually involves, our floor restoration explained page is a great starting point.
“The best scratch removal approach is the one that matches your floor type, scratch depth, and long-term goals. Matching the method to the problem is everything.”
Most jobs don’t require replacing floor sections at all. Surface scratches are almost always repairable. Even moderate damage can often be addressed with the right products and a bit of patience. The key is knowing what you’re working with before you start.
Common methods for scratch removal by floor type
With the basics in mind, it’s important to see how scratch removal looks in action for different materials. Not every floor responds the same way, and using the wrong method can make things worse.
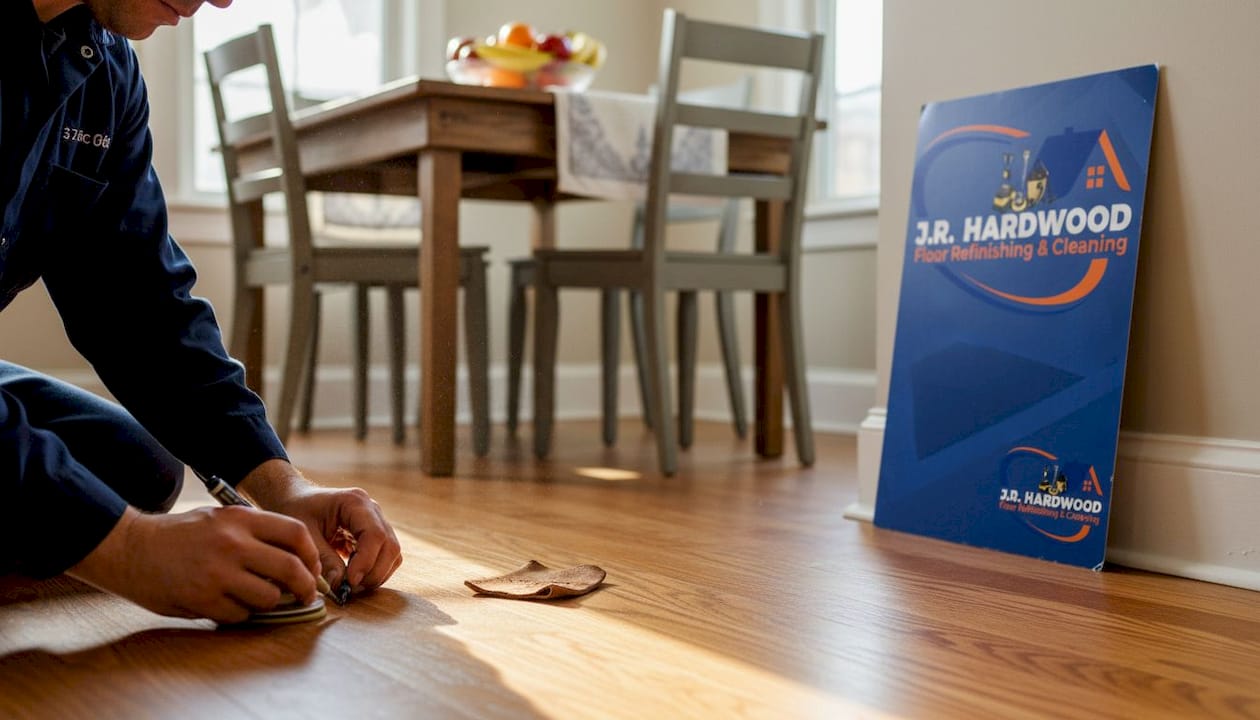
Hardwood floors are the most forgiving when it comes to repairs. Surface scratches use oils, markers, or buffing; deep scratches require filler and sanding; extensive damage calls for full refinishing. You can follow the detailed scratch repair steps for a full walkthrough.
Laminate floors are trickier. Laminate is fixed with polish or filler; deep damage needs replacement because laminate cannot be sanded or refinished like real wood. Color-matched repair kits are your best friend here.
Vinyl floors respond well to heat-based techniques for minor damage, but cracked or deeply gouged tiles usually need patching or replacement.
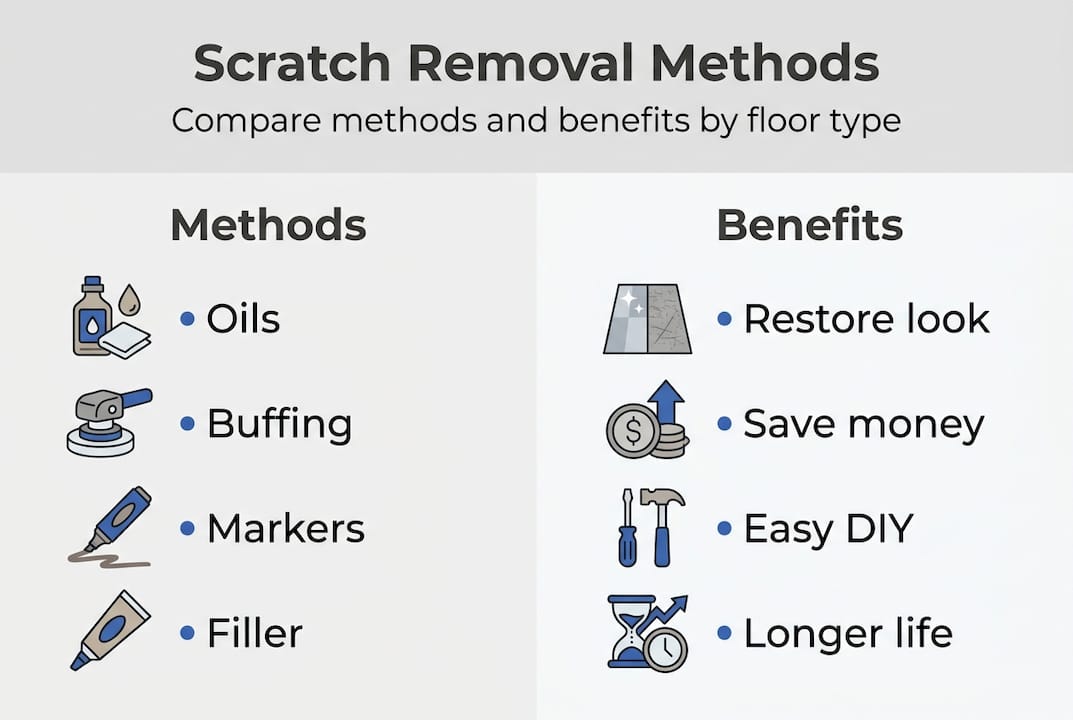
Here’s a quick comparison to help you choose:
| Floor type | Light scratch fix | Deep scratch fix | Can be refinished? | Durability of repair |
|---|---|---|---|---|
| Hardwood | Oil, marker, buff | Filler, sand, seal | Yes | High |
| Laminate | Polish, color kit | Filler or replace plank | No | Medium |
| Vinyl | Buff, heat tool | Patch or replace tile | No | Medium |
For hardwood specifically, here’s the general process:
- Clean the scratched area thoroughly.
- Match your repair product to the wood tone.
- Apply oil, marker, or filler depending on depth.
- Buff gently with the grain.
- Seal if needed.
If you’re unsure whether buffing is enough, our guide on buffing hardwood floors explains when that approach works and when you need something more.
Pro Tip: Always test your repair product in a hidden corner first. Colors can look different once dry, and a mismatch in the middle of your living room is harder to fix than the original scratch.
Step-by-step guide: Removing scratches from hardwood floors
Understanding the main methods, let’s walk through how you could tackle hardwood scratches in your own space. The first step is always identifying what you’re dealing with.
Step 1: Identify the scratch depth.
Run your fingernail across the scratch. If it doesn’t catch, it’s surface-level. If it catches slightly, it’s moderate. If it’s clearly gouged into the wood, it’s deep.
Step 2: Choose your approach.
- Surface scratch: Apply a wood conditioning oil or a color-matched marker. Buff with a soft cloth. Done in 15 to 30 minutes.
- Moderate scratch: Use a wood filler that matches your floor tone. Let it dry, then sand lightly with fine-grit sandpaper. Buff and apply a protective coat.
- Deep scratch: Fill with a two-part wood filler, sand flush, apply stain to match, then seal. This can take 3 to 4 hours and may require a second coat.
Here’s a quick reference table:
| Scratch level | Time needed | Tools required | Expected result |
|---|---|---|---|
| Surface | 15 to 30 min | Oil or marker, cloth | Near-invisible fix |
| Moderate | 1 to 2 hrs | Filler, sandpaper, buff pad | Smooth, color-matched |
| Deep | 3 to 4 hrs | Two-part filler, stain, sealer | Solid repair, slight variance |
| Professional refinishing | 1 to 3 days | Full equipment | 7 to 10 year durability |
If your floors have old wax buildup affecting the repair, check out our tips on hardwood floor wax removal before you start. And if you’re weighing whether to go DIY or hire a pro, our breakdown of DIY vs. professional refinishing makes that decision much easier.
Pro Tip: For deep repairs, always let the filler cure fully before sanding. Rushing this step leads to soft spots that wear down faster than the surrounding wood.
Prevention: The best long-term scratch solution
Once repairs are done, you want results to last, so what actually prevents scratches best? The honest answer is that prevention beats even the best repair method every single time.
Prevention with furniture pads, rugs, and pet nail trims is more effective than any repair product on the market. It’s like putting sunscreen on your floors before the damage happens rather than treating a sunburn afterward.
Here are the habits that make the biggest difference:
- Furniture pads: Stick felt pads under every chair and table leg. Replace them every six months.
- Area rugs: Place them in high-traffic zones like hallways, kitchens, and living rooms.
- Regular sweeping: Grit and debris act like sandpaper underfoot. Sweep or vacuum at least twice a week.
- Pet nail trims: Long nails are one of the top causes of deep scratches on hardwood. Our pet protection tips cover this in detail.
- No shoes indoors: Hard-soled shoes and heels concentrate weight and grind debris into the finish.
Colorado’s dry climate adds another layer to this. Low humidity causes wood to contract and become more brittle, which makes scratches more likely to spread or deepen. Keeping indoor humidity between 35 and 55 percent helps your floors stay flexible and resilient. Our scratch prevention tips go deeper on Colorado-specific care, and our floor maintenance guide gives you a full seasonal routine to follow.
“A five-minute sweep and a set of furniture pads will do more for your floors over ten years than any repair kit ever could.”
Pro Tip: Set a reminder every six months to check your furniture pads and refresh any area rug placement. Floors change with the seasons in Colorado, and a quick check keeps small problems from becoming big ones.
Why proactive care beats repeated repair in Colorado
Considering all the practical steps above, here’s our honest advice shaped by years of local experience. Most flooring content out there focuses on fixing scratches after they appear. We get it. Fixes feel satisfying. But after working on hundreds of floors across Denver, Castle Rock, Boulder, and Colorado Springs, we’ve seen a pattern that’s hard to ignore.
Colorado’s altitude and dry air accelerate floor wear in ways that homeowners from other states don’t expect. Wood moves more here. Finishes dry out faster. High-traffic areas in commercial spaces can look years older than they actually are. The conventional “patch it when it breaks” mindset leads to a cycle of repeated repairs that adds up to more cost and more stress over time.
The homeowners whose floors look the best after ten years aren’t the ones who bought the fanciest repair kits. They’re the ones who treated floor care like a routine, the same way you schedule a furnace check every fall. Our floor care best practices reflect exactly that mindset. Even the best scratch removal can’t substitute for planning ahead. Prevention is the smartest investment your floors will ever get.
Restore your floors with expert support
If you’d like help making your floors look their best, here’s the next step. DIY methods work well for minor scratches, but there’s a point where professional eyes and professional tools make a real difference. That’s where we come in.
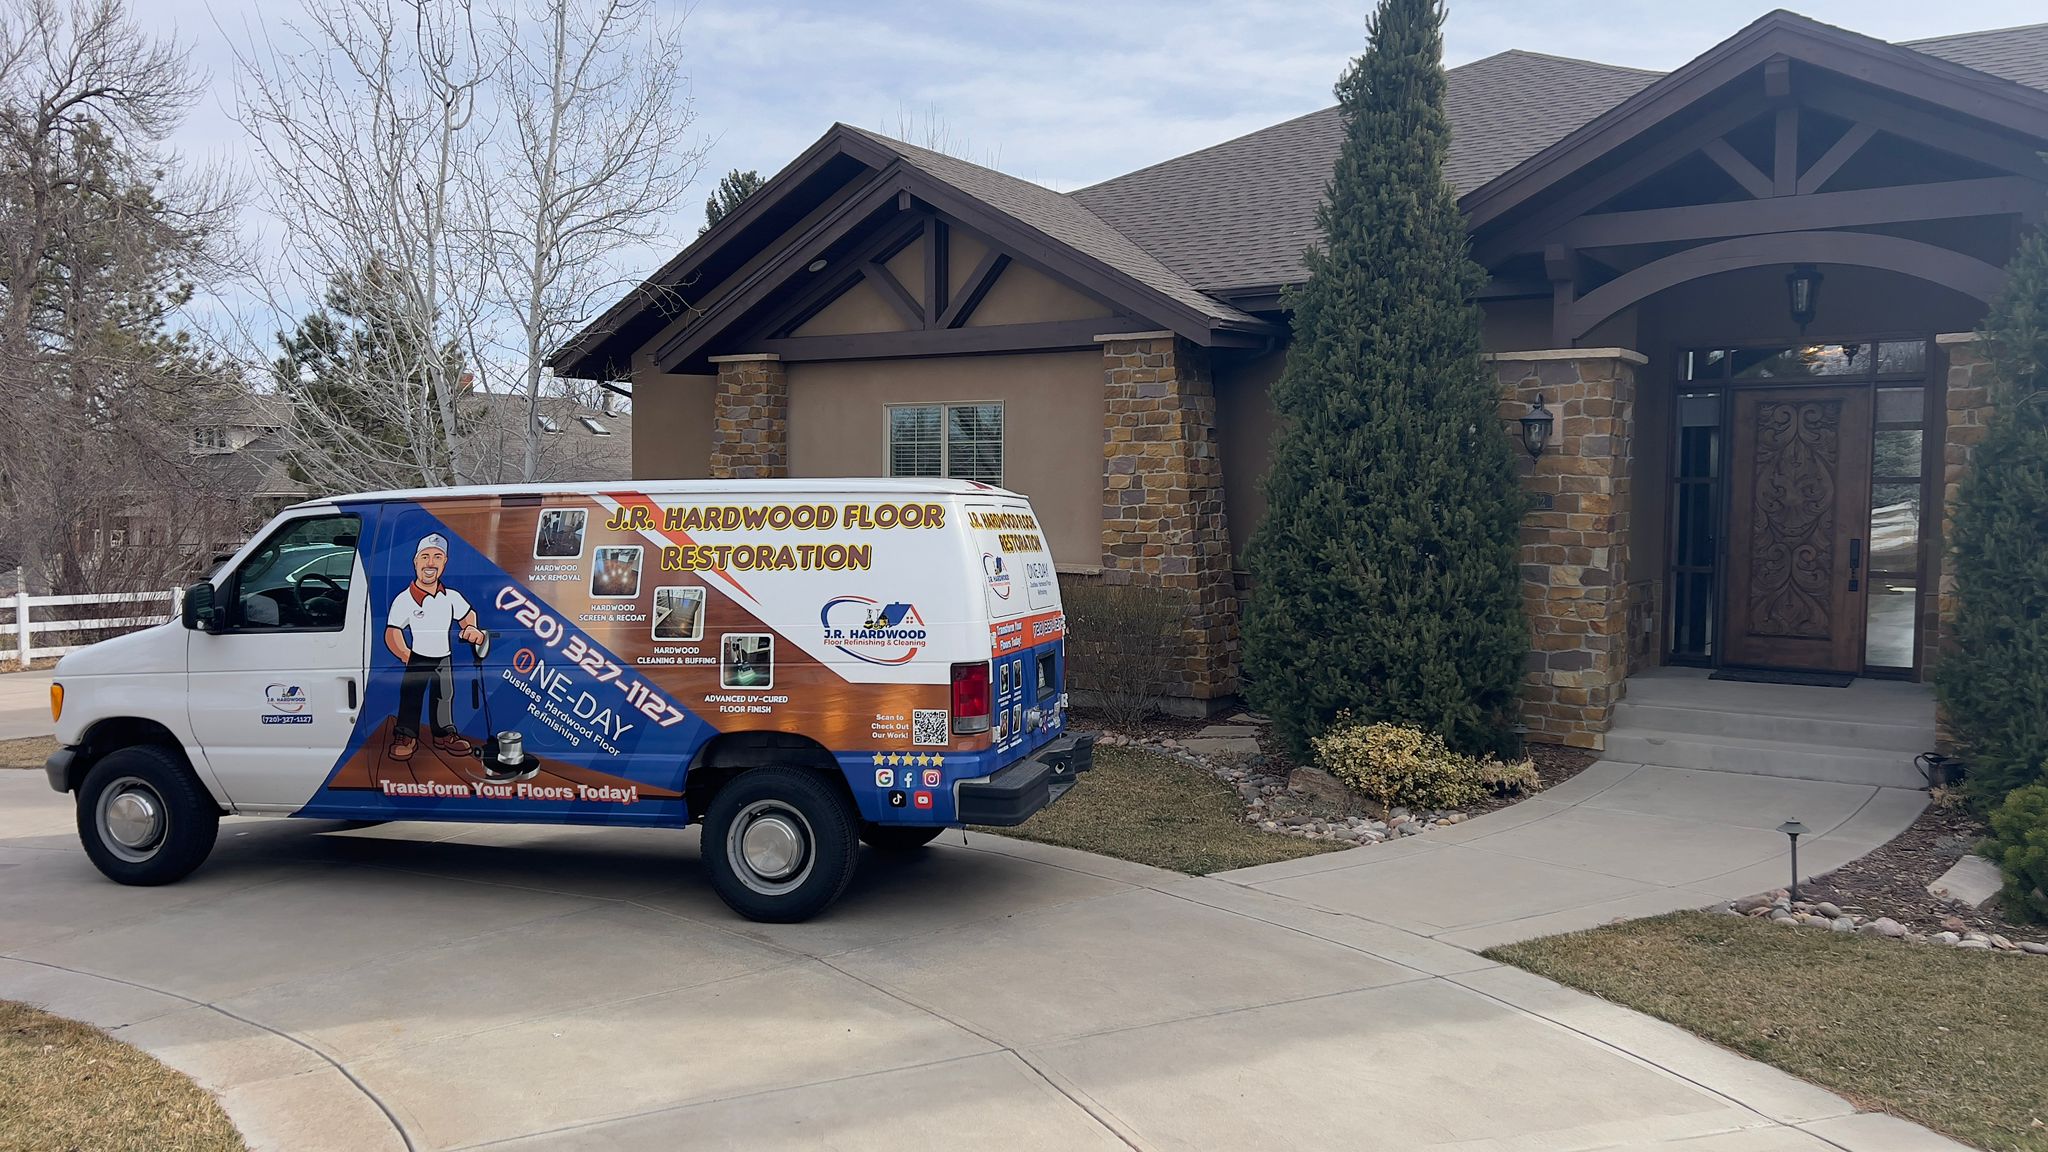
At J.R. Hardwood Floor Refinishing & Cleaning, we assess your floor’s condition and recommend the most effective path forward, whether that’s a quick buff, a targeted repair, or a full refinishing that gives your floors a genuine glow-up. We serve homeowners and commercial property managers across the Denver Metro Area and beyond. Our refinishing services and modern restoration solutions are built for Colorado floors and Colorado conditions. Ready to see what your floors can look like? Get a floor assessment and we’ll walk you through your options with no pressure and no guesswork.
Frequently asked questions
What is the best method for removing scratches from hardwood floors?
Depth determines the method: surface scratches respond well to oils and color-matched markers, while deep scratches need wood filler, sanding, and a fresh sealer coat to restore the surface properly.
Can laminate floors be repaired if scratched?
Yes. Laminate is fixed with polish or filler for light damage, but deep scratches or cracks usually require plank replacement since laminate cannot be sanded or refinished like hardwood.
How long do scratch repairs last compared to refinishing?
Small DIY repairs can look great initially but often need to be redone within a few years, while pro refinishing lasts 7 to 10 years with proper maintenance.
What can I do to prevent floor scratches in high-traffic areas?
Furniture pads, rugs, and cleaning are your three best tools. Add regular pet nail trims and a no-shoes policy indoors to significantly reduce scratch risk in busy areas.