 Skip to content
Most American hardwood floors can be successfully refinished multiple times, yet improper sanding often leads to disappointing results. For Denver Metro homeowners, understanding sanding techniques is crucial because even small missteps can shorten a floor’s lifespan or dull its beauty. This guide clarifies how professional sanding methods unlock durability and create those flawless finishes that make restored wood floors stand out in any Colorado home.
Table of Contents
- What Is Sanding in Floor Refinishing?
- Types of Sanding Methods and Tools
- How Sanding Affects Durability and Appearance
- Eco-Friendly and Safe Sanding Practices
- Common Sanding Mistakes to Avoid
Key Takeaways
| Point | Details |
|---|---|
| Importance of Sanding | Sanding is essential for restoring hardwood floors, preparing surfaces for refinishing, and extending their lifespan. |
| Sanding Techniques | Utilize proper techniques and grit sequences to ensure a smooth finish without damaging the wood. |
| Safety Practices | Employ vacuum sanding methods and personal protective equipment to maintain a safe working environment. |
| Avoid Common Mistakes | Be cautious of over-sanding, incorrect grit usage, and inadequate dust control to preserve floor integrity. |
What Is Sanding in Floor Refinishing?
Floor sanding represents a critical restoration technique that transforms worn hardwood surfaces into smooth, renewed spaces. At its core, sanding involves systematically removing the top layer of a wooden floor using specialized abrasive equipment to prepare the surface for refinishing. Specialized sanding machines like drum sanders, belt sanders, and edge sanders strip away old finishes, scratches, and imperfections to reveal a pristine wood foundation.
The process goes far beyond simple surface removal. Sanding actually opens the wood’s microscopic pores, creating a roughened texture that allows new finishes to adhere more effectively. Professional floor refinishers understand that proper sanding isn’t just about removing damage – it’s about creating an optimal surface for protection and restoration. Strategic abrasive techniques help eliminate unevenness while preparing wood to receive stains and protective coatings.
Successful sanding requires meticulous preparation and technique. Technicians must first inspect the floor, removing protruding nails, addressing structural issues, and cleaning the surface thoroughly. The sanding process typically involves multiple progressive passes with increasingly fine-grit sandpaper, gradually smoothing the wood without causing additional damage. Each pass removes a thin layer, revealing a fresher, more uniform surface ready for refinishing.
Pro tip: Always test sandpaper grit on a small, inconspicuous area first to ensure you’re not removing too much wood material or creating unintended texture changes.
Types of Sanding Methods and Tools
Hardwood floor refinishing requires an arsenal of specialized sanding equipment designed to tackle different aspects of wood surface restoration. Professional floor technicians utilize multiple sander types, each serving a unique purpose in achieving a smooth, uniform finish. The primary categories include drum sanders for large surface areas, belt sanders for consistent material removal, and edge sanders for precise work in hard-to-reach corners and along baseboards.
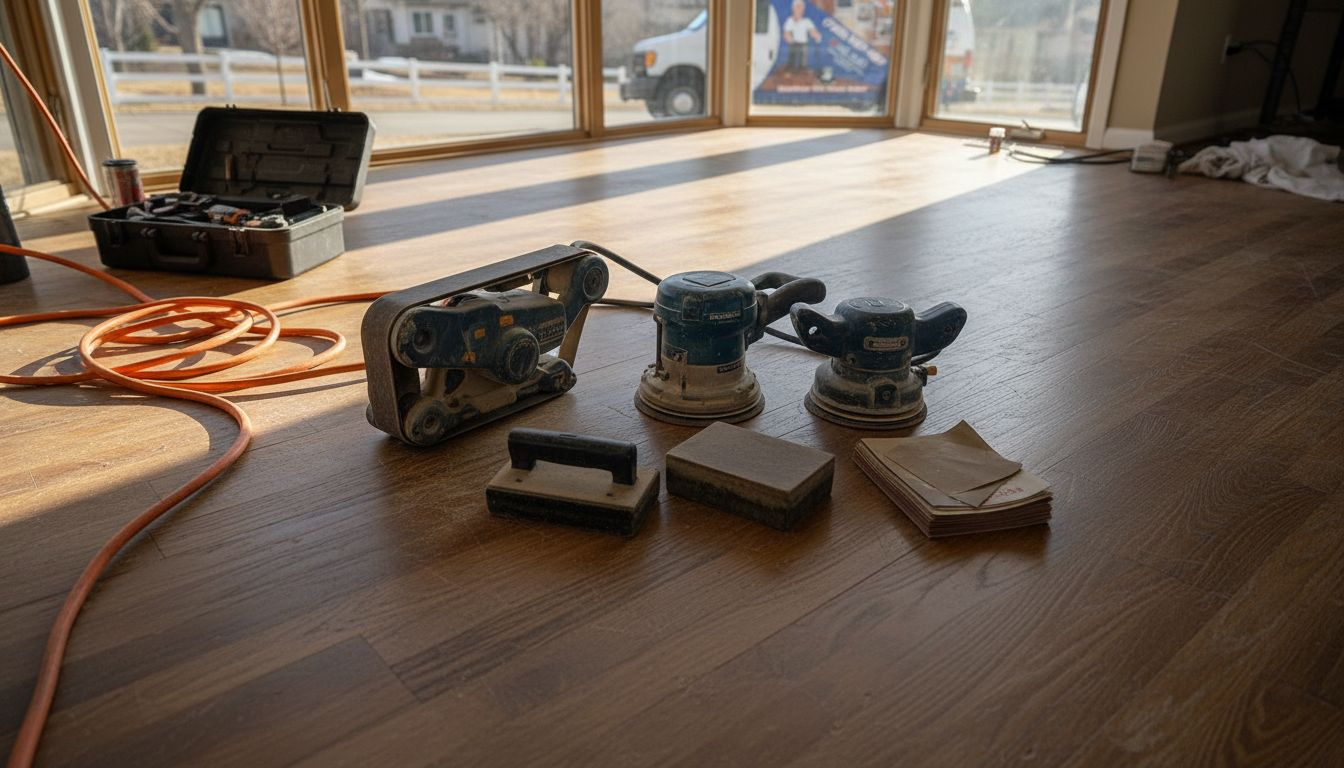
Belt Sanders are workhorses in floor restoration, utilizing continuous sandpaper belts that systematically remove old finishes and level uneven surfaces. These powerful machines can quickly strip away years of wear, revealing fresh wood underneath. Drum Sanders provide deep, aggressive sanding for extensive floor areas, capable of removing significant layers of damaged wood with precision. Voltage-specific sanders range from 120V to 240V models, with higher voltage machines offering more substantial material removal capabilities.
For detailed and intricate work, specialized sanders come into play. Orbital Sanders excel at fine finishing, creating smooth surfaces without aggressive material removal. Edge Sanders are critical for addressing areas unreachable by larger machines, ensuring complete floor restoration. Many modern sanders now incorporate advanced dust collection systems, improving workplace safety and maintaining a clean work environment during the refinishing process.
Here’s a quick comparison of floor sanding tool types and their best uses:
| Tool Type | Ideal Use Case | Material Removal Level | Common Limitations |
|---|---|---|---|
| Drum Sander | Large open floor areas | High | Difficult in corners |
| Belt Sander | Leveling uneven surfaces | Moderate | Not for fine finish |
| Orbital Sander | Fine and smooth finishing | Low | Slow for heavy removal |
| Edge Sander | Corners/baseboard edges | Moderate to Low | Limited reach, not for bulk removal |
Pro tip: Always match your sander type to the specific condition of your hardwood floor, and start with the coarsest grit necessary to minimize unnecessary wood material removal.
How Sanding Affects Durability and Appearance
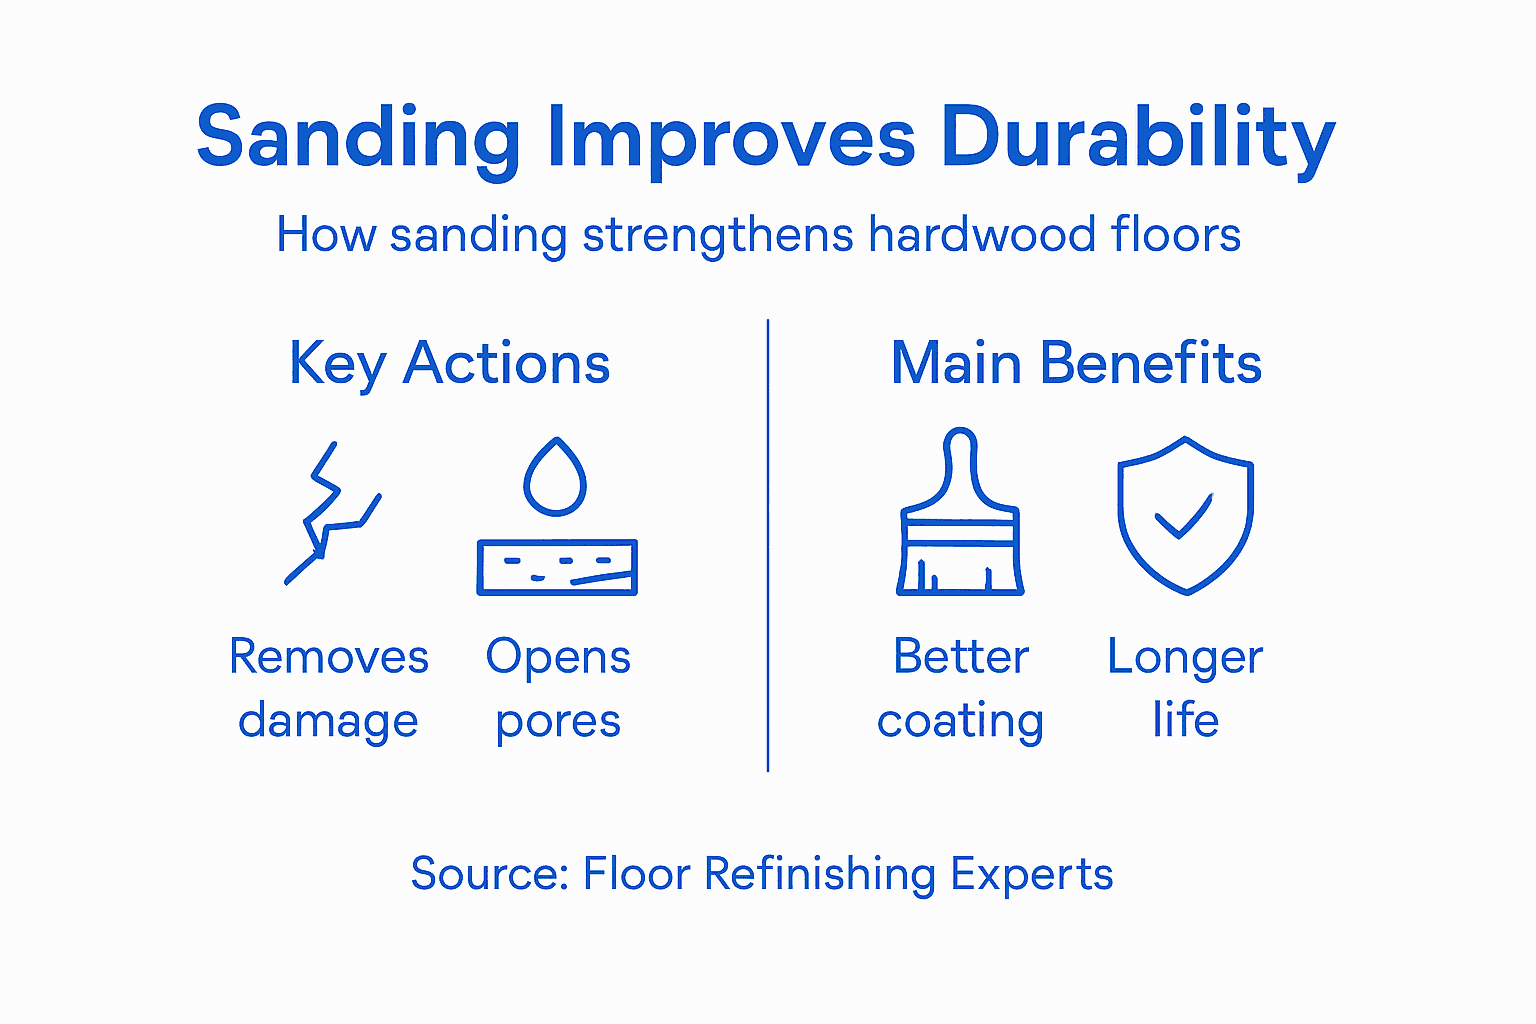
Sanding plays a transformative role in hardwood floor restoration, directly impacting both the visual appeal and long-term durability of wood surfaces. Proper sanding techniques remove surface imperfections while creating an optimal foundation for protective finishes, essentially resetting the floor’s aesthetic and structural integrity. By systematically eliminating scratches, dents, and worn areas, technicians can dramatically extend a floor’s functional lifespan and restore its original beauty.
The process of sanding opens wood pores, allowing stains and protective coatings to penetrate deeper and create a more robust protective layer. This enhanced absorption means that finishes bond more effectively to the wood, reducing the likelihood of peeling, chipping, or premature wear. Professional floor restoration experts understand that the number of times a floor can be sanded depends on its wear-layer thickness, with careful, strategic sanding helping preserve the wood’s fundamental structure while refreshing its appearance.
Beyond immediate visual improvements, sanding contributes significantly to long-term floor resilience. By removing damaged surface layers and creating a smooth, even plane, the wood becomes more resistant to future wear and environmental stressors. The precision of professional sanding techniques ensures that just enough material is removed to revitalize the floor without compromising its structural integrity, striking a delicate balance between aesthetic renewal and preservation.
Key advantages of proper sanding for wood floor refinishing:
| Benefit | How Sanding Contributes | Long-Term Impact |
|---|---|---|
| Improved Appearance | Removes scratches and wear | Restores original look |
| Enhanced Durability | Promotes better finish adhesion | Extends floor lifespan |
| Increased Resilience | Balances minimal material removal | Withstands wear longer |
Pro tip: Consult a professional to assess your floor’s specific sanding requirements, as different wood types and existing wear levels demand unique refinishing approaches.
Eco-Friendly and Safe Sanding Practices
Hardwood floor refinishing demands a careful approach to environmental and personal safety, with modern techniques focusing on minimizing dust and reducing potential health risks. Vacuum sanding methods have revolutionized the industry by capturing airborne particles at their source, significantly reducing respiratory hazards and creating cleaner work environments. Professionals now utilize advanced dust collection systems that trap microscopic wood particles, preventing them from dispersing into the air and potentially causing respiratory complications.
Personal protective equipment plays a crucial role in safe sanding practices. Technicians must wear appropriate respirators, typically half-mask respirators with N95 filters, when performing dry sanding operations. Wet sanding techniques provide an additional layer of safety by dampening wood surfaces to minimize dust generation. These methods not only protect workers but also create a more controlled refinishing environment that reduces potential allergen and particulate exposure for homeowners.
Sustainable sanding practices extend beyond immediate safety concerns, encompassing long-term wood preservation and environmental responsibility. The Maple Flooring Manufacturers Association recommends limiting sanding depth to preserve floor structural integrity, suggesting refinishing intervals of 8-12 years with minimal material removal. By adopting these conservation-minded approaches, floor restoration professionals can maintain wood surfaces while reducing waste and promoting sustainable maintenance practices that protect both indoor air quality and the longevity of hardwood floors.
Pro tip: Always request evidence of dust collection equipment and personal protective gear when hiring a floor refinishing professional to ensure a safe, environmentally responsible restoration process.
Common Sanding Mistakes to Avoid
Hardwood floor refinishing requires precision and expertise, with several critical mistakes that can compromise the entire restoration process. Improper sanding techniques can permanently damage wood surfaces, reducing floor durability and aesthetic appeal. One of the most common errors is using an incorrect grit sequence, which can create deep, irreversible scratches that prevent proper finish adhesion and compromise the wood’s structural integrity.
Dust control represents another crucial area where homeowners and inexperienced technicians frequently make costly mistakes. Failing to implement proper dust management strategies can lead to contaminated finishes, uneven surfaces, and potential respiratory hazards. Professional floor restoration experts understand that thorough surface preparation – including comprehensive cleaning, debris removal, and careful inspection for underlying damage – is essential before initiating any sanding work.
Over-sanding poses a significant risk to hardwood floors, potentially weakening the wood’s structural composition and reducing its overall lifespan. Many individuals mistakenly believe that more aggressive sanding will yield better results, when in fact, it can strip away too much material, leaving the floor vulnerable to future damage. Professionals recommend a measured approach, using progressively finer grit sandpaper and removing only the minimal amount of wood necessary to achieve a smooth, renewed surface.
Pro tip: Invest in professional consultation before attempting floor sanding, as each wood type and floor condition requires a unique, carefully calibrated approach to restoration.
Protect and Restore Your Floors with Expert Sanding Services
Sanding is the foundation of a durable and visually stunning hardwood floor. If you want to avoid common mistakes like over-sanding or improper grit use that can damage your wood and shorten its life, trust the specialists who understand the delicate balance needed for successful refinishing. At J.R. Hardwood Floor Refinishing & Cleaning, we tailor sanding techniques specifically to your floor’s condition, ensuring every step enhances both longevity and appearance. Discover how professional sanding rejuvenates your floors by removing wear and creating a perfect surface for premium finishes.
Ready to bring back your hardwood floors’ original beauty and strength? Visit our Uncategorized Archives to learn more about our comprehensive sanding and refinishing solutions. Start with a free consultation at J.R. Hardwood Floor Refinishing & Cleaning and experience craftsmanship and eco-friendly care combined. Don’t wait for floor damage to worsen—contact us today and secure lasting protection and elegance for your home or commercial space.
Frequently Asked Questions
What is the role of sanding in the floor refinishing process?
Sanding is essential in floor refinishing as it removes old finishes, scratches, and imperfections, creating a smooth surface for new finishes to adhere effectively.
How does sanding improve the durability of hardwood floors?
Sanding enhances durability by eliminating surface damage and opening wood pores, which allows protective coatings to bond more securely, reducing the risk of peeling and wear.
What sanding techniques should be used for hardwood floor refinishing?
Proper sanding techniques include using a progressive grit sequence to gradually smooth the surface, starting with coarse grit and finishing with finer grit paper to minimize damage.
What are the common mistakes to avoid when sanding hardwood floors?
Common mistakes include using an incorrect grit sequence, not controlling dust, and over-sanding, all of which can lead to permanent damage and decreased floor longevity.