 Skip to content
Scratched, dull hardwood floors can make your Denver home feel tired instead of inviting. Prioritizing restoration not only boosts resale value but also protects your investment from damage caused by Colorado weather and daily life. By following step-by-step guidance for hardwood floor restoration, you will uncover practical methods for inspecting, preparing, refinishing, and maintaining your floors so they look beautiful and stay durable for years to come.
Table of Contents
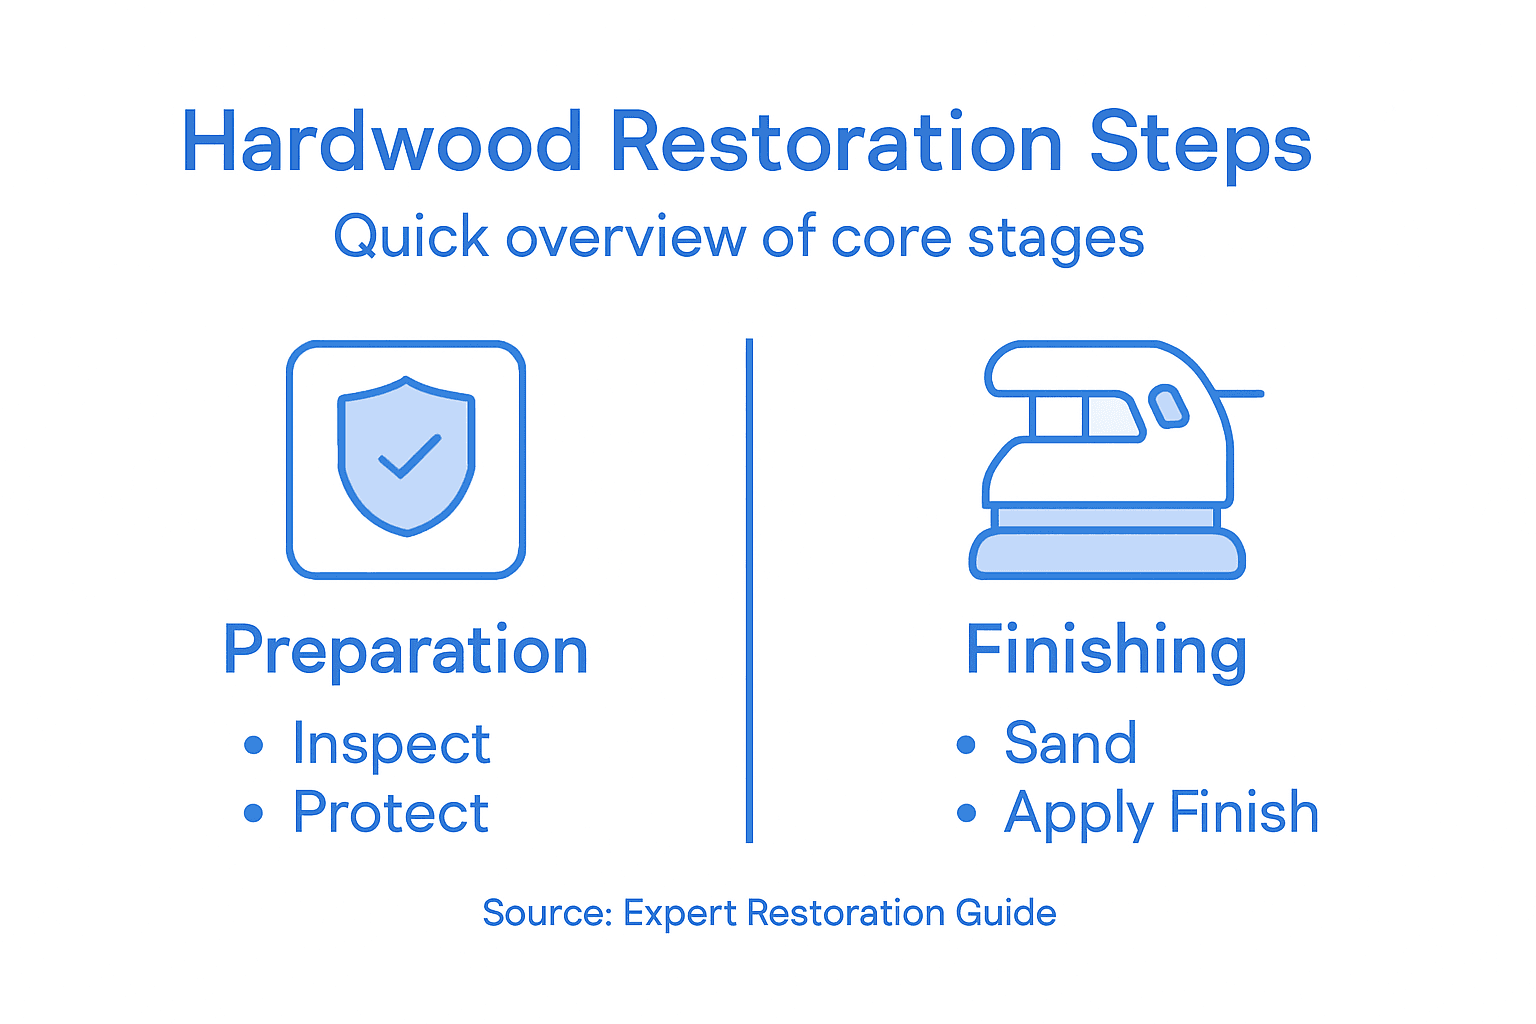
- Step 1: Inspect and Assess Floor Condition
- Step 2: Prepare and Protect the Work Area
- Step 3: Sand and Smooth the Hardwood Surface
- Step 4: Clean and Remove All Residue
- Step 5: Apply Stain and Protective Finish
- Step 6: Verify Results and Maintain Your Floors
Quick Summary
| Key Point | Explanation |
|---|---|
| 1. Inspect Floor Condition Thoroughly | Conduct a detailed visual examination for scratches, discoloration, and damage to assess restoration needs accurately. |
| 2. Prepare the Workspace Effectively | Clear the area and use protective coverings to create a safe, clean environment for restoration work. |
| 3. Utilize Progressive Sanding Techniques | Start with coarse grit and progress to fine grit, always sanding in the wood grain direction for a smooth finish. |
| 4. Perform Meticulous Cleaning Post-Sanding | Remove all dust using a vacuum and tack cloth to ensure optimal conditions for applying finishes. |
| 5. Implement Consistent Maintenance Practices | Regularly sweep, control humidity, and clean spills immediately to preserve the quality of your restored hardwood floors. |
Step 1: Inspect and Assess Floor Condition
Inspecting your hardwood floor is the critical first step in determining the right restoration approach. By conducting a thorough condition assessment, you’ll understand exactly what your floors need to regain their original beauty.
Start your assessment by performing a comprehensive visual examination. Look for these key indicators of floor condition:
- Deep scratches that penetrate the wood surface
- Discoloration or uneven color patches
- Warping or cupping of individual wood planks
- Water damage signs like dark spots or raised grain
- Worn finish with visible dullness or patchy areas
To conduct an effective inspection, you’ll want to systematically evaluate each section of your floor. Move across the room methodically, getting down to eye level and using bright, natural light to reveal imperfections. Run your hand gently across the surface to feel for unevenness or rough spots that might not be immediately visible.
Floor restoration success starts with a precise understanding of existing damage and wear patterns.
Consider documenting your findings with clear, well-lit photographs from multiple angles. These images will help professionals understand the extent of restoration needed and serve as a useful reference during the refinishing process.
Pro tip: Use a bright flashlight at a low angle to reveal subtle floor imperfections that natural light might conceal.
Step 2: Prepare and Protect the Work Area
Preparing your workspace is crucial for a successful hardwood floor restoration project. Protecting surrounding areas ensures a clean, safe environment and prevents potential damage during refinishing.
Begin by completely clearing the room of furniture, rugs, and movable objects. Create a comprehensive workspace protection plan with these essential steps:
- Remove all furniture and lightweight items from the room
- Cover vents with plastic sheeting to prevent dust circulation
- Seal doorways with zippered dust barriers
- Protect baseboards and adjacent wall surfaces with painter’s tape and plastic sheeting
- Designate a clean staging area for tools and materials outside the work zone
Ventilation is key during floor restoration. Open windows to create cross-ventilation, but use air scrubbers and fans to control dust and maintain air quality. This helps minimize airborne particles and creates a safer working environment.
Proper preparation transforms a potential mess into a smooth, professional restoration process.
Consider taking photographs of the room before you begin, documenting your careful preparation. This can help you return everything to its original placement after completing the project.
Pro tip: Invest in high-quality plastic sheeting and painter’s tape to create an effective dust barrier that protects your home during floor restoration.
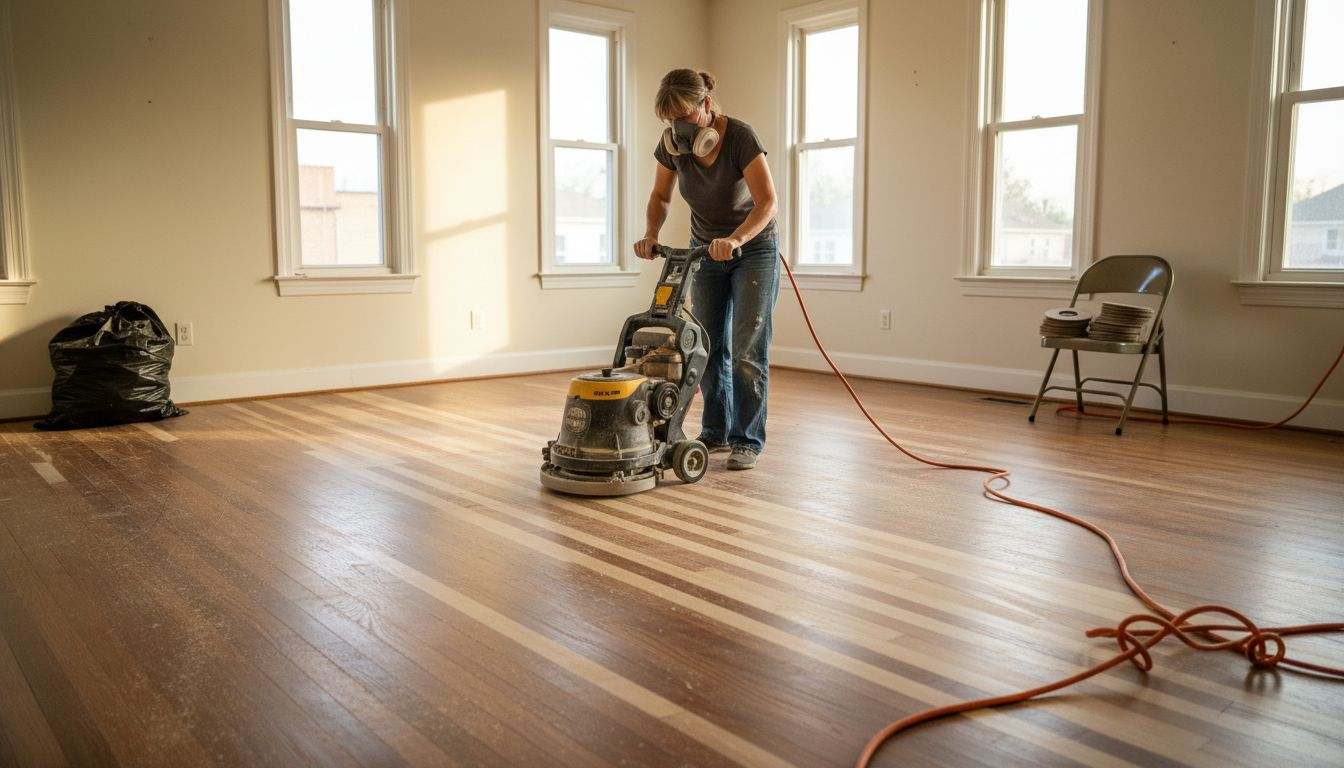
Step 3: Sand and Smooth the Hardwood Surface
Sanding is the transformative stage that breathes new life into your worn hardwood floors. Progressive sanding techniques will help you strip away years of wear and create a perfectly smooth surface ready for refinishing.
Your sanding process requires a strategic approach using different grit sandpaper to achieve professional results. Follow these critical steps:
- Start with coarse-grit sandpaper (36-60 grit) to remove existing finish
- Use medium-grit sandpaper (80-100 grit) to smooth initial surface imperfections
- Finish with fine-grit sandpaper (120-150 grit) for ultimate smoothness
- Sand in the direction of the wood grain to prevent visible scratches
- Use edge sanders for hard-to-reach areas along walls and corners
Maintain consistent pressure and movement to ensure even sanding across the entire floor. Professional sanders recommend overlapping each pass slightly to prevent uneven patches and create a uniform surface.
Precision in sanding determines the final quality and appearance of your hardwood floor restoration.
Carefully vacuum between grit changes to remove dust and inspect the surface for any remaining imperfections. This meticulous approach ensures a flawless foundation for your new finish.
Pro tip: Rent a professional-grade floor sander with dust collection to minimize airborne particles and achieve more consistent results.
Step 4: Clean and Remove All Residue
After sanding, thorough cleaning is crucial to prepare your hardwood floor for its final finish. Meticulous dust removal ensures a smooth, professional-looking result that will make your floors shine.
Your post-sanding cleanup requires a systematic approach to eliminate every trace of dust and debris:
- Use a high-efficiency vacuum with a soft brush attachment
- Sweep thoroughly with a microfiber dust mop
- Wipe the entire surface with a tack cloth to capture fine particles
- Check for missed spots by using bright, angled lighting
- Repeat cleaning process multiple times to ensure complete dust removal
Pay special attention to corners, edges, and hard-to-reach areas where dust tends to accumulate. Work methodically across the entire floor, moving from one section to another to guarantee comprehensive cleaning.
Perfection in cleaning is the invisible foundation of a flawless floor restoration.
Remember that any remaining dust can compromise your final finish, creating an uneven or bumpy surface. Take your time and be thorough – your patience will pay off in the final result.
Pro tip: Wear clean white socks while performing final floor checks to quickly spot any remaining dust or debris that might have been missed.
Step 5: Apply Stain and Protective Finish
Transforming your hardwood floor with stain and finish is the moment where all your preparation comes together. Selecting the right stain and finish will determine the ultimate beauty and durability of your restored floor.
Applying stain and protective coating requires precision and patience. Follow these critical steps for a professional-grade result:
- Test stain color on an inconspicuous area first
- Apply stain evenly using a brush or lint-free cloth
- Wipe excess stain immediately to prevent blotching
- Choose between oil-based or water-based polyurethane for protective coating
- Apply thin, multiple coats of finish for best results
Each finish coat requires careful application and proper drying between layers. Use long, smooth strokes following the wood grain to create a uniform appearance. Lightly sand with fine-grit sandpaper between coats to ensure maximum adhesion and smoothness.
The final finish is your floor’s armor – applied with skill, it will protect and enhance your hardwood for years to come.
Pay close attention to ventilation and temperature during application. Ideal conditions will help your finish dry evenly and prevent imperfections that could compromise the final look.
Pro tip: Wear clean socks and use a lamb’s wool applicator to minimize visible brush marks and achieve a silky-smooth finish.
Here’s a quick comparison of stain and finish options you might consider during hardwood floor restoration:
| Finish Type | Appearance | Durability | Drying Time |
|---|---|---|---|
| Oil-based Poly | Warm, amber tone | Highly resistant | 8-24 hours between coats |
| Water-based Poly | Clear, non-yellowing | Moderate to high | 2-4 hours between coats |
| Wax Finish | Soft, matte sheen | Lower, needs reapplication | 1-2 hours between layers |
| Penetrating Oil | Natural wood grain | Moderate, easy repair | 6-8 hours between coats |
Step 6: Verify Results and Maintain Your Floors
Congratulations on completing your hardwood floor restoration! The final step is ensuring your newly transformed floors remain beautiful and durable through consistent maintenance practices.
Conduct a thorough visual inspection of your restored floors, checking for these key indicators of quality:
- Uniform color across the entire floor surface
- Smooth finish with no visible brush marks or bubbles
- Consistent sheen without dull or glossy patches
- No dust inclusions or surface imperfections
- Even edge coverage along baseboards and corners
Implement a regular maintenance routine to protect your investment. Floor maintenance strategies are critical for preserving your hardwood’s renewed appearance:
- Sweep or vacuum weekly using soft attachments
- Clean spills immediately with a soft, slightly damp cloth
- Use furniture pads to prevent scratches
- Maintain indoor humidity between 30-50%
- Avoid wet cleaning methods that can damage wood
Your restored hardwood floor is a living surface that requires ongoing care to maintain its beauty and longevity.
Periodic professional inspections can help identify potential issues early and ensure your floors continue to look stunning for years to come.
Pro tip: Place doormats at all entrances and implement a no-shoes policy to dramatically reduce dirt and wear on your newly restored floors.
For fast reference, here’s a summary of essential maintenance actions and their benefits:
| Action | Frequency | Benefit |
|---|---|---|
| Sweep/Vacuum | Weekly | Removes dust, prevents scratches |
| Clean Spills | Immediate | Prevents staining and warping |
| Use Furniture Pads | Ongoing | Protects floors from damage |
| Control Humidity | Constant | Reduces expansion and shrinking |
| Avoid Wet Mops | Always | Prevents water damage |
Bring Your Hardwood Floors Back to Life with Expert Help
Restoring old hardwood floors requires careful inspection, precise sanding, and skillful finishing to achieve lasting beauty as outlined in this step-by-step guide. If you are facing challenges like deep scratches, uneven staining, or worn finishes that seem overwhelming to fix on your own, our team at J.R. Hardwood Floor Refinishing & Cleaning is ready to provide tailored solutions. We specialize in full sanding and restoration, using eco-friendly products and premium finishes that protect your floors while reviving their original charm.
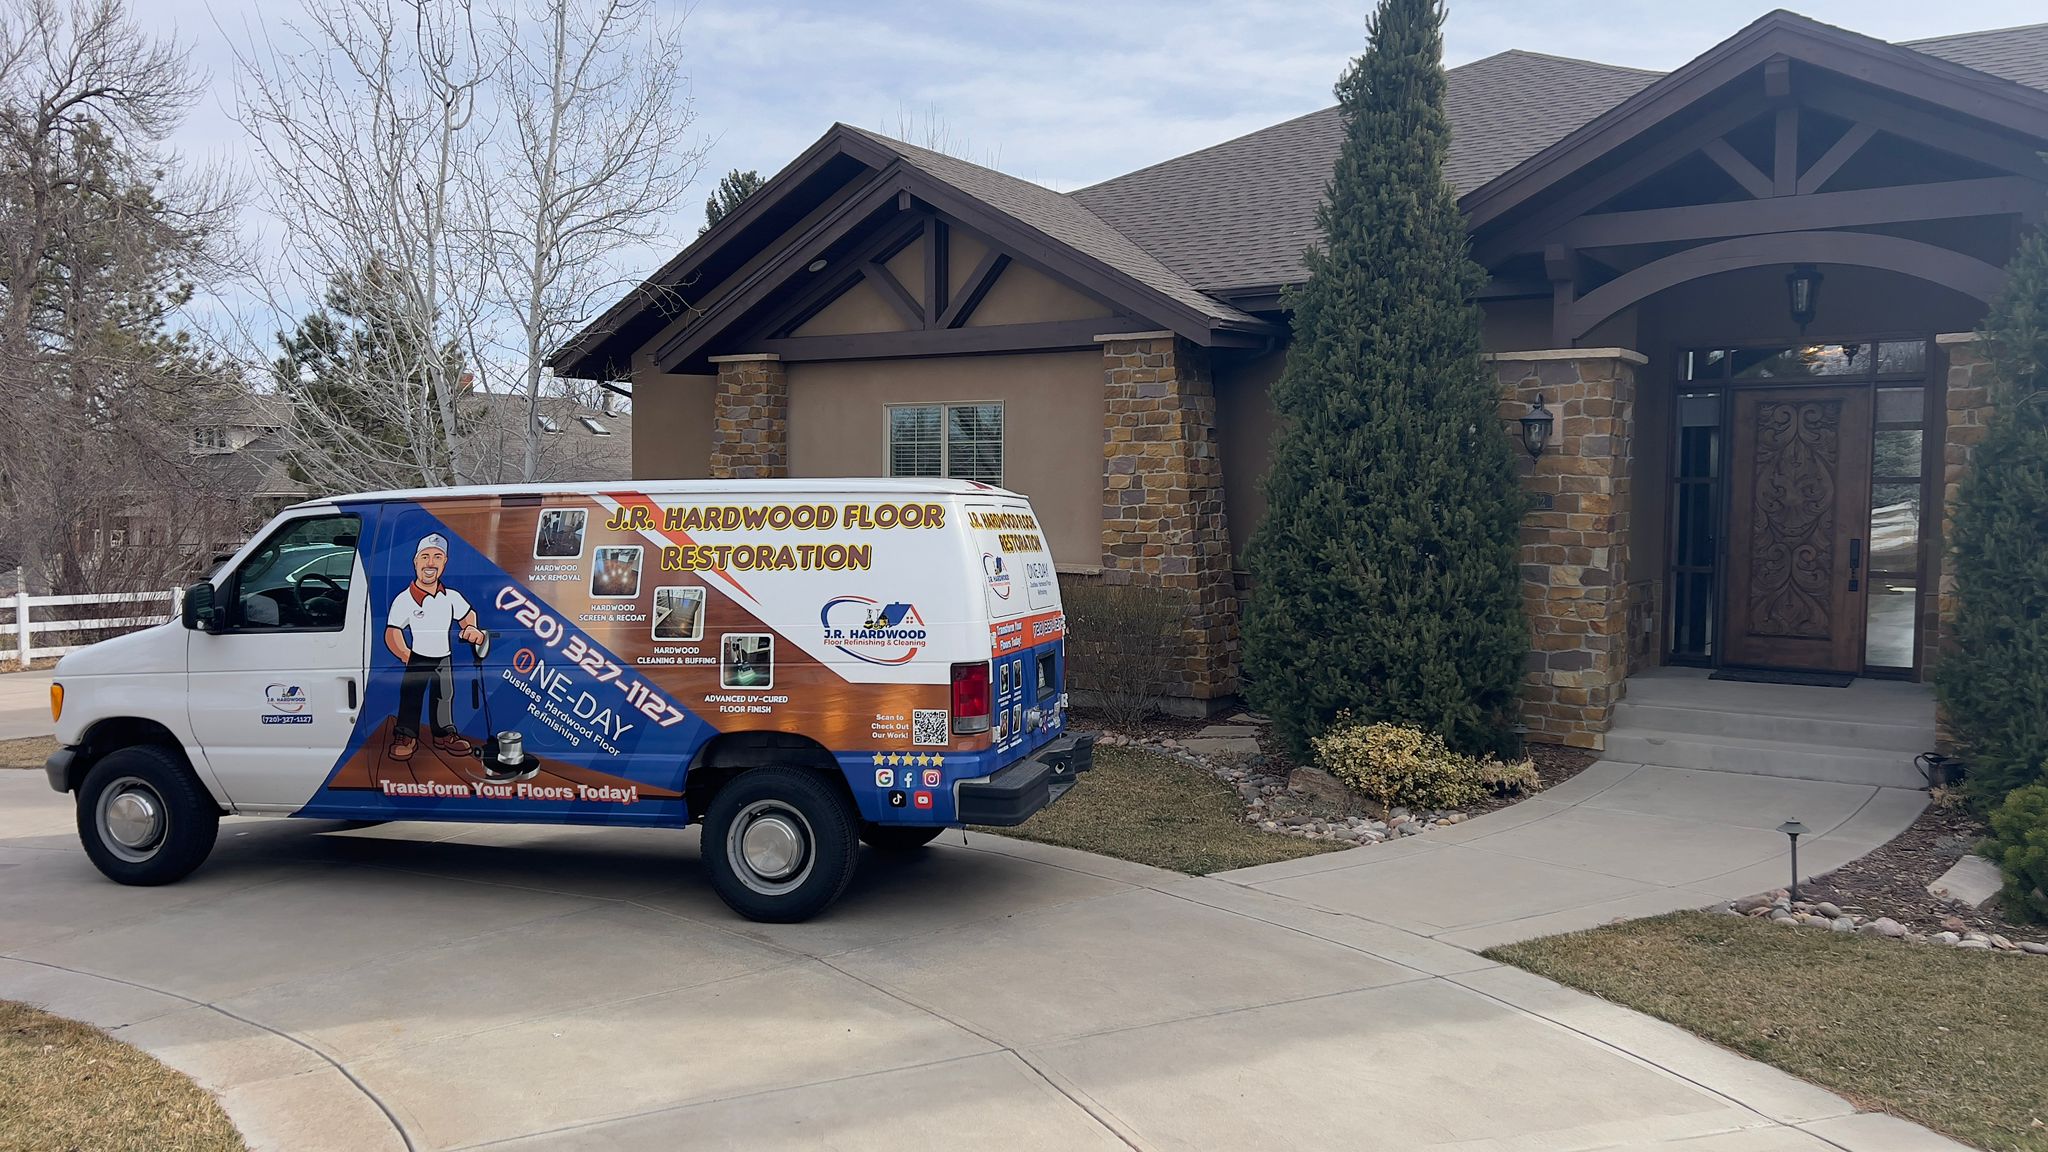
Discover why homeowners across Denver Metro, Boulder, and Colorado Springs trust us for expert hardwood care. Visit our Uncategorized Archives – J.R. Hardwood Floor Refinishing & Cleaning for insights on floor restoration and related services. Ready for a transformation that lasts? Get your free quote and personalized guidance now at J.R. Hardwood Floor Refinishing & Cleaning. Take the next step toward stunning, durable floors today.
Frequently Asked Questions
What is the first step in restoring old hardwood floors?
The first step in restoring old hardwood floors is to inspect and assess the floor condition. Conduct a thorough visual examination, looking for scratches, discoloration, warping, and water damage before planning your restoration approach.
How do I prepare the work area for hardwood floor restoration?
To prepare the work area, remove all furniture and cover vents with plastic sheeting to prevent dust circulation. Seal doorways with dust barriers and protect baseboards with painter’s tape to create a clean and safe environment for your project.
What sanding technique should I use for hardwood floor restoration?
Use a progressive sanding technique, starting with coarse-grit sandpaper (36-60 grit) to remove the existing finish, followed by medium-grit (80-100 grit) for smoothing, and ending with fine-grit sandpaper (120-150 grit) for a smooth finish. Sand in the direction of the wood grain and maintain consistent pressure to achieve the best results.
How can I ensure the surface is clean before applying finish?
To ensure a clean surface before applying finish, vacuum the floor with a high-efficiency vacuum and wipe it down with a tack cloth to capture fine particles. Repeat this cleaning process several times to guarantee all dust and debris are removed for a flawless final finish.
What should I consider when choosing a stain and finish for my hardwood floor?
When choosing a stain and finish, consider factors such as the desired appearance (oil-based or water-based), durability, and drying time. Test the stain color on a small area first to ensure it meets your aesthetic preferences before applying it to the entire floor.
How do I maintain my restored hardwood floors for lasting beauty?
To maintain your restored hardwood floors, implement regular cleaning by sweeping or vacuuming weekly and cleaning spills immediately. Use furniture pads to prevent scratches and keep indoor humidity levels between 30-50% to protect the wood from expansion and shrinking.
Recommended
- Why Restore Worn Hardwood – Lasting Value for Colorado Floors
- What Is Floor Restoration and Why It Matters
- The Ultimate Guide to Hardwood Floor Finishes – J.R. Hardwood Floor Refinishing & Cleaning
- 7 Cheap Ways to Cool Your Home Naturally and Easily – HVAC Service and Repair | Louisville, KY | Project Heating & Cooling