 Skip to content
TL;DR:
- Proper floor finishes act as a protective shield, extending the life of hardwood and laminate floors.
- Colorado’s dry climate requires durable finishes like water-based polyurethane or UV-cured coatings for best protection.
- Regular maintenance, timely re-coating, and professional application ensure floors stay beautiful and damage-free long-term.
Protect floors in Colorado: Expert guide to finishes and durability
Most Colorado homeowners don’t realize that their floors are quietly losing years of life right under their feet. Not from heavy foot traffic or moving furniture, but from something far more overlooked: the finish. The protective coating on your hardwood or laminate floor is like sunscreen for your skin. Skip it, use the wrong one, or forget to reapply, and damage builds up fast. Today, we’re clearing up the most common misconceptions about floor finishes, walking you through your best options, and giving you a practical game plan to protect your investment for the long haul.
Table of Contents
- Why finishes matter for hardwood and laminate floors
- Types of floor finishes: Comparing durability and protection
- How finishes are applied and maintained for maximum protection
- Colorado’s unique climate: What it means for floor finish protection
- The overlooked truth: Why finish selection is your strongest investment in floor longevity
- Ready to upgrade your floor’s protection? Expert help and next steps
- Frequently asked questions
Key Takeaways
| Point | Details |
|---|---|
| Finishes prevent damage | Applying the right finish shields against scratches, moisture, and stains. |
| Choose finish wisely | Not all finishes offer equal protection; select based on floor type and climate. |
| Maintenance maximizes lifespan | Consistent upkeep and timely re-coating extend floor durability. |
| Colorado needs special attention | Local climate influences which finishes perform best for long-lasting floors. |
Why finishes matter for hardwood and laminate floors
Think of a floor finish as a shield, the first line of defense between your beautiful wood surface and everything life throws at it. Every time someone walks across your floor, microscopic particles of dirt and debris act like sandpaper against the surface. A solid finish absorbs that friction so your wood doesn’t have to. Protective finishes extend floor life and prevent the kind of everyday damage that quietly adds up over months and years.
For hardwood floors, a finish does several important things at once:
- Moisture barrier: Colorado air is dry, but spills, humidity swings, and steam from cooking can still work moisture into unfinished wood. A quality finish seals the grain and keeps water from penetrating.
- Scratch resistance: Pets, kids, high heels, and furniture legs are no match for a fresh, properly applied finish. The coating takes the hit so the wood underneath stays smooth.
- Stain protection: Wine, juice, pet accidents, and cleaning products can permanently stain bare wood. A finish gives you time to clean up spills before they become disasters.
- UV protection: Sunlight fades wood faster than most people think. Some modern finishes include UV inhibitors that slow down discoloration significantly.
- Enhanced beauty: A good finish makes the natural grain pop. It can add warmth, depth, and a glow that bare wood simply can’t produce on its own.
For laminate floors, the role of a finish is slightly different. Laminate already has a factory-applied protective layer, so you’re not typically adding a traditional finish the way you would with hardwood. Instead, maintenance products and refresh coatings help restore that factory protection over time. Knowing this distinction saves you from using the wrong product and potentially voiding a warranty or causing damage.
One of the biggest misconceptions we hear is, “My floors look fine, so they don’t need anything.” But finishes wear down gradually. By the time you notice visible damage, the protective layer is often already gone. Staying ahead of wear, especially in preventing hardwood floor damage before it starts, is always easier and cheaper than repairing it later.
Pro Tip: Run a damp cloth across a section of your floor. If the water beads up, your finish is still doing its job. If it soaks in quickly or leaves a dark spot, it’s time to think about re-coating.
Types of floor finishes: Comparing durability and protection
Not all finishes are created equal, and choosing the right one makes a genuine difference in how long your floors stay beautiful. Modern finishes vary in protection and longevity, so it pays to understand what you’re working with before making a decision.
Here’s a breakdown of the most common options available to Colorado homeowners:
| Finish type | Durability | Dry time | Best for | Eco-friendliness |
|---|---|---|---|---|
| Oil-based polyurethane | Very high | 24-48 hours | High-traffic hardwood | Moderate |
| Water-based polyurethane | High | 2-4 hours | Light to moderate traffic | Better |
| UV-cured finish | Extremely high | Seconds (with UV light) | Commercial and high-use residential | Excellent |
| Hardwax oil | Moderate | 6-12 hours | Low to moderate traffic | Very good |
| Acrylic finish | Moderate | 1-2 hours | Laminate refresh coatings | Good |
Oil-based polyurethane is the classic workhorse. It creates a thick, amber-toned protective layer that holds up beautifully in busy households. The downside is the longer dry time and the stronger odor during application. You’ll need to keep the space well-ventilated and plan for a day or two off the floors.
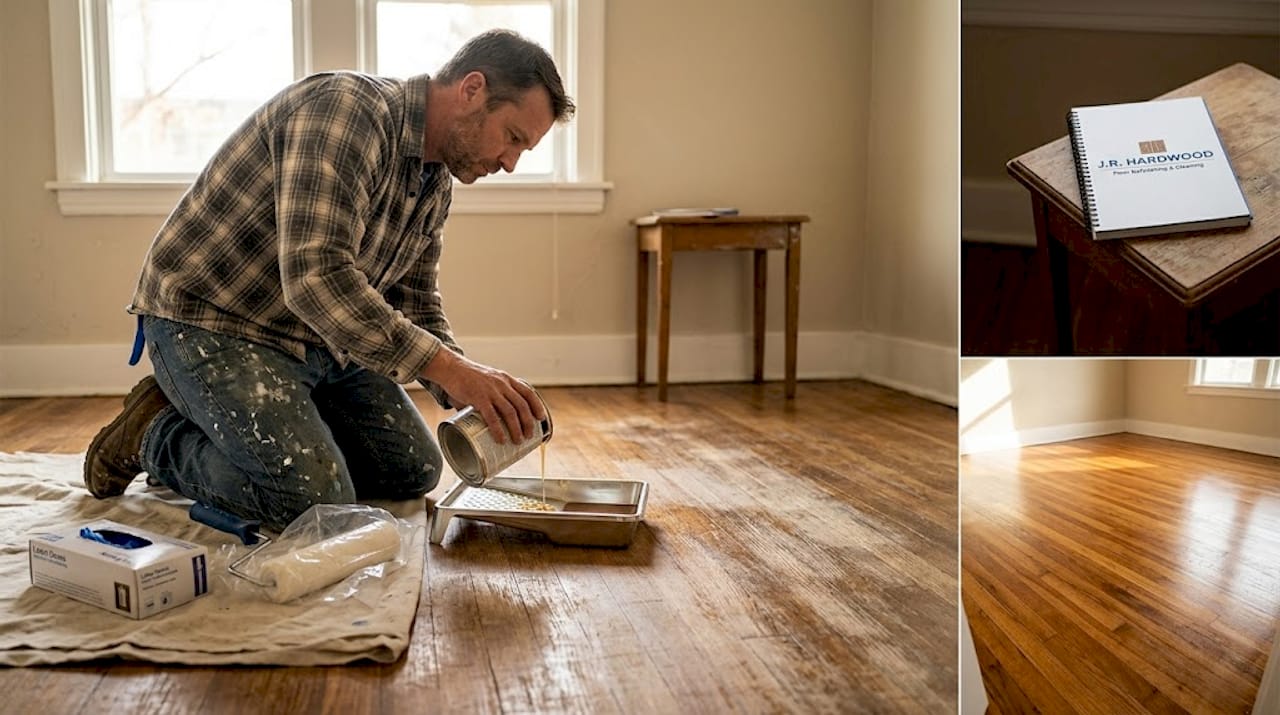
Water-based polyurethane dries clear and fast, which makes it popular for lighter-toned woods where you want to preserve the natural color. It’s also lower in VOCs (volatile organic compounds, the chemicals that make finishes smell strong), making it a friendlier option for families with kids or pets.
UV-cured finishes are the newer generation of floor protection. Applied with special equipment and cured with ultraviolet light, they harden in seconds rather than hours. We use this technology as part of our Instant UV-curable finishing service, and the results are genuinely impressive. No waiting, no off-gassing, and a finish that’s extremely resistant to scratches and wear.
When choosing a finish, think about how your space actually lives. A pristine living room used for quiet evenings needs a different solution than a mudroom where dogs come in wet from a Colorado snowstorm.
Hardwax oil is a penetrating finish that soaks into the wood rather than sitting on top. It creates a natural, matte look that many homeowners love, but it does require more frequent maintenance than film-forming finishes like polyurethane. Check out our Denver finish options and our guide to floor finishes if you want to go deeper on matching finish type to your specific floor.
Key factors to consider when choosing:
- Traffic level: High-traffic areas need film-forming finishes like polyurethane or UV-cured.
- Wood species: Softer woods like pine scratch more easily and benefit from harder finishes.
- Desired sheen: Finishes come in matte, satin, semi-gloss, and gloss. Satin is the most popular because it hides minor scratches well.
- Timeline: If you need floors back in use quickly, water-based or UV-cured finishes win every time.
How finishes are applied and maintained for maximum protection
A great finish poorly applied is not much better than no finish at all. Preparation is everything. DIY and professional applications yield different results in protection, and understanding why helps you make the right call for your situation.
Here’s how a proper finish application should go, whether you’re doing it yourself or watching a pro:
- Clean the floor thoroughly. Remove all dust, dirt, and debris. Any particle trapped under a finish will show up as a bump or flaw later.
- Lightly sand or screen the surface. This step, called screening or abrading, scuffs up the existing finish so the new coat bonds properly. Without it, peeling is almost inevitable.
- Vacuum and tack cloth. After sanding, vacuum the entire floor and then go over it with a tack cloth to grab any remaining dust. Even tiny particles will ruin a smooth finish.
- Apply the first coat. Work in long, even strokes from one end of the room to the other. Don’t overload the applicator, and avoid going back over areas that are starting to dry.
- Allow full dry time. Each coat needs to dry completely before the next is added. Rushing this step causes clouding, bubbling, or soft spots.
- Lightly screen between coats. A light scuff between coats improves adhesion and keeps the build smooth.
- Apply final coat and cure fully. Most finishes need at least 24 hours before light foot traffic and up to 72 hours before moving furniture back.
For helpful guidance on application techniques and understanding finish coats explained, our website covers the details in plain language.
| Task | DIY | Professional |
|---|---|---|
| Equipment needed | Rented or basic tools | Specialized commercial-grade tools |
| Time to complete | 2-5 days depending on coats | 1-2 days |
| Risk of mistakes | Moderate to high | Low |
| Finish quality | Varies | Consistent, even results |
| Cost | Lower upfront | Higher upfront, better long-term value |
Pro Tip: The number one mistake homeowners make with DIY finishing is skipping the prep. If your floor isn’t perfectly clean and lightly abraded, no amount of quality finish will compensate. Prep work is 80% of the result.
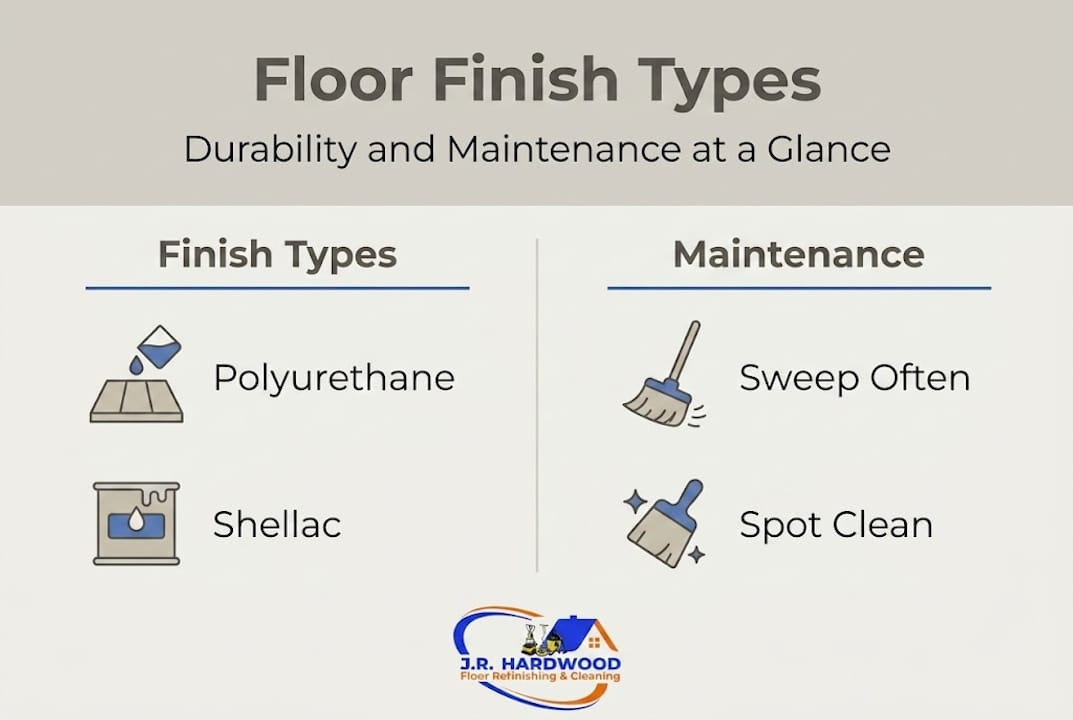
For maintenance after application, keep things simple. Sweep or dust-mop regularly to prevent grit buildup. Clean spills immediately. Use a pH-neutral cleaner recommended for your specific finish type. And plan for a screen and recoat every three to five years to refresh the protective layer before it wears all the way through.
Colorado’s unique climate: What it means for floor finish protection
Colorado’s climate is beautiful but tough on floors. We live at high altitude with low humidity, wide seasonal temperature swings, and dry indoor air in winter thanks to heating systems running constantly. All of this puts extra stress on both your floors and their finishes. Climate impacts the performance and longevity of finishes in ways that homeowners in more temperate states don’t have to think about.
Here’s what the Colorado climate actually does to your floors and their finishes:
- Low humidity causes wood to contract. When wood shrinks, it can crack and create gaps between boards. A finish that remains flexible under dry conditions handles this stress far better than a rigid one.
- Rapid humidity changes stress finishes. Going from a dry winter to a wet spring creates repeated expansion and contraction. Finishes that can’t flex with the wood will crack or peel faster.
- High altitude means stronger UV exposure. Colorado gets more direct sunlight and UV radiation than lower-altitude states. Finishes with built-in UV protection are especially valuable here.
- Indoor heating accelerates drying. Running the furnace drops indoor humidity dramatically, which can dehydrate wood and stress even well-applied finishes.
- Snowmelt and moisture from boots. Wet shoes and tracked-in snow during winter months put constant moisture pressure on entryway and kitchen floors.
On average, a high-quality finish in Colorado can last anywhere from three to seven years before it needs refreshing, depending on traffic, finish type, and how diligently you maintain it. Oil-based polyurethane and UV-cured finishes tend to perform best in our climate because of their thickness and resistance to drying stress. Thinner finishes like hardwax oil may need more frequent attention in Colorado’s arid conditions.
For the best floor finish durability in Colorado, we recommend:
- Using a humidifier in winter to keep indoor humidity between 35% and 55%, which is the sweet spot for wood stability.
- Choosing a finish rated for wide-plank or engineered hardwood if your floors move more than average.
- Applying area rugs in high-exposure zones like south-facing rooms where sunlight is strongest.
- Scheduling your refinishing or re-coating in late spring or fall, when humidity levels are more stable and conditions are ideal for finish curing.
Colorado is a gorgeous place to live, and your floors should reflect that beauty year after year. The right finish, applied correctly, gives your floors the resilience they need to handle everything our climate brings.
The overlooked truth: Why finish selection is your strongest investment in floor longevity
Here’s something we’ve learned after years of working on floors across Denver, Castle Rock, Boulder, and everywhere in between: most homeowners think about floor finishes only when something goes wrong. A scratch they can’t ignore. A dull patch that won’t clean up. Water damage creeping in from a doorway. By that point, the cost of repair is always higher than the cost of prevention would have been.
Conventional wisdom says, “If it isn’t broken, don’t fix it.” With floors, that mindset is expensive. Proper finish care is a savvy investment, not just a cosmetic choice. A well-maintained finish can add measurable value to your home, and it absolutely reduces the frequency of costly full sanding and refinishing jobs.
We genuinely believe that choosing the right finish and staying consistent with maintenance is the single highest-return thing you can do for your floors. It’s not glamorous. It doesn’t feel as satisfying as a full floor restoration benefits project. But it quietly saves you thousands of dollars over the life of your home. Don’t wait for visible damage to act. Invest in the finish now, and your floors will reward you with decades of beauty and durability.
Ready to upgrade your floor’s protection? Expert help and next steps
You’ve now got the knowledge to make confident decisions about your floor finishes. The next step is putting that knowledge to work with a team that knows Colorado floors inside and out.
At J.R. Hardwood Floor Refinishing & Cleaning, we make it easy to get started. Whether you’re weighing DIY vs professional floor refinishing or ready to book a full restoration, we’re here to guide you. Our complete hardwood floor refinishing guide walks you through every step of the process. We offer free over-the-phone quotes and serve communities from Parker and Castle Rock to Denver, Boulder, and Colorado Springs. Your floors deserve expert care, and we’re ready to deliver it.
Frequently asked questions
How often should hardwood floors in Colorado be refinished or re-coated?
Most Colorado hardwood floors benefit from a screen and recoat every three to five years, with a full refinish every seven to ten years depending on wear. Finishes maintained regularly last significantly longer than those left without attention.
Are there finishes specifically suited to Colorado’s dry climate?
Yes, water-based polyurethane and UV-cured finishes hold up especially well in Colorado’s low-humidity environment because they stay flexible and resist cracking. Modern finishes vary in protection and are increasingly formulated to handle regional climate conditions.
What are the signs a finish needs reapplication or replacement?
Look for dull or cloudy patches, visible scratches that go below the surface, water that soaks in rather than beads, and areas where the wood color looks uneven. Protective finishes extend floor life when refreshed before these signs become severe damage.
Can I apply floor finishes myself or should I hire a professional?
DIY application is possible for minor refreshes, but professional services produce more even, durable results and eliminate the risk of common mistakes like bubbling, peeling, or missed prep steps. DIY and professional applications differ most in consistency and long-term protection quality.