 Skip to content
TL;DR:
- Proper laminate installation requires thorough subfloor preparation, acclimation of planks, and correct use of expansion gaps.
- Most DIY projects can be completed in one to three days when following all key steps and avoiding common mistakes.
- Hiring a professional is recommended for complex spaces, damaged subfloors, or when warranty protection is a priority.
If you’ve been wondering what is laminate floor installation and whether it’s something you can realistically tackle yourself, you’re not alone. Many homeowners assume it’s either too complicated or too simple. The truth sits comfortably in the middle. Laminate floor installation, known in the trade as a “floating floor” installation, means the planks lock together and rest on top of the subfloor without being glued or nailed down. Understanding this process from start to finish helps you make smarter decisions, avoid costly mistakes, and get a floor that looks great for years.
Table of Contents
- Key Takeaways
- Preparation steps before installing laminate flooring
- The laminate floor installation workflow, step by step
- Common mistakes and how to avoid them
- Why laminate flooring is worth considering
- My take on laminate installation after years in the field
- Let Jrhardwoodfloorrefinishingandcleaning handle your floor
- FAQ
Key Takeaways
| Point | Details |
|---|---|
| Acclimation is non-negotiable | Let planks sit in the room for at least 48 hours before installing to prevent gaps and warping. |
| Expansion gaps protect your floor | Maintain roughly 1/4 inch around all walls and obstacles to prevent buckling as the floor moves. |
| Subfloor prep determines everything | A clean, flat, and dry subfloor is the foundation of a successful laminate installation. |
| Moisture control on concrete is critical | Always install a vapor barrier over concrete subfloors to reduce water damage risk. |
| DIY is doable, but details matter | Most installations take one to three days, but skipping key steps leads to long-term problems. |
Preparation steps before installing laminate flooring
Think of preparation as laying the groundwork for everything that follows. Skip it, and even the most beautiful laminate will buckle, gap, or creak within months. Do it right, and your floor will look and perform great for years.
Inspect and prep the subfloor
Your subfloor needs to be clean, flat, and dry before a single plank goes down. Sweep and vacuum thoroughly. Check for high spots or dips greater than 3/16 of an inch over a 10-foot span, and address them with a floor leveling compound. Any debris or unevenness becomes a pressure point under the floating floor.
Moisture is especially important on concrete subfloors. A simple test involves taping a sheet of plastic to the concrete and checking it after 48 hours for condensation. Even when the test looks fine, vapor barrier installation over concrete is recommended as standard practice to protect your investment.
Acclimate your planks
This step surprises a lot of homeowners. Laminate planks are made from compressed wood fibers, and like real wood, they expand and contract with changes in temperature and humidity. Acclimating planks for 48 hours in the room where they will be installed gives them time to adjust to their environment. Skip this, and you risk gaps between planks or warping after installation.

Choose the right underlayment
Underlayment serves as a cushion, a sound absorber, and in some cases, a moisture barrier. Foam underlayment is the most common choice. Some laminate products come with underlayment pre-attached. If yours does not, roll out a separate layer before you begin. On concrete, use an underlayment with a built-in vapor barrier to handle two jobs at once.
Here is a quick checklist of tools and materials you will want on hand:
- Laminate planks (plus 10% extra for cuts and waste)
- Underlayment and vapor barrier (if needed)
- Spacers for expansion gaps
- Tapping block and pull bar
- Circular saw or miter saw
- Tape measure, pencil, and safety glasses
- Transition strips and baseboards
Pro Tip: Buy 10% more laminate than your square footage calls for. Cuts around doorways, closets, and irregular walls add up fast, and running short mid-project means waiting for a new order that may not match your current batch.
The laminate floor installation workflow, step by step
With prep done, you are ready to install. This is the laminate flooring installation guide section most people come here for, and we want to make it as clear as possible.
-
Plan your layout. Start by measuring the room and calculating how wide your last row of planks will be. Aim for at least 2 inches. If the last row would be a sliver, trim the first row slightly wider to balance things out. This is called a “dry fit” and it saves a lot of frustration later.
-
Place your spacers. Set spacers along the starting wall before laying any planks. Expansion gaps of about 1/4 inch around the entire perimeter give the floor room to move with seasonal humidity changes. This gap will be covered by your baseboard or trim later, so it does not affect the finished look.
-
Lay your first row. Start in the corner of the longest, most visible wall. Place the groove side facing the wall. Lock planks together end to end by angling them slightly and pressing down. Work left to right.
-
Stagger your seams. End joints between rows should be offset by at least 8 to 12 inches. This is not just about looks. Staggered seams distribute stress more evenly across the floor, which makes it stronger and more stable over time.
-
Click and lock each row. Angle the new plank’s long edge into the previous row and press down until it clicks. To close tight end joints, use a tapping block or pull bar rather than striking the plank directly. Direct hammer blows damage the locking mechanism and lead to loose, uneven joints.
-
Cut planks to fit. Measure twice, cut once. Use a pencil to mark your cut line and a miter saw or circular saw for clean edges. When cutting around door frames, undercut the casing slightly so the plank slides underneath for a professional finish.
-
Install transitions and trim. Once all planks are down, remove your spacers and install transition strips between rooms and at doorways. Re-attach or install new baseboards, making sure to nail them to the wall, not the floor. The baseboard’s job is to cover the gap, not pin the floor in place.
Pro Tip: Use a pull bar at the walls where a tapping block has no room to swing. Hook it over the edge of the last plank and tap the other end with a rubber mallet. This keeps joints tight without risking damage to the locking system.
Most residential laminate jobs take between one and three days, which makes it one of the faster flooring categories to complete.
Common mistakes and how to avoid them
Even experienced DIYers run into trouble with laminate if they rush or overlook small details. Here is what we see go wrong most often.
| Mistake | What Happens | How to Avoid It |
|---|---|---|
| Skipping expansion gaps | Floor buckles or peaks, especially in summer | Use spacers on every wall and obstacle |
| Ignoring subfloor prep | Uneven, creaky, or hollow-sounding spots | Level subfloor before laying underlayment |
| No acclimation period | Gaps or warping after installation | Wait 48 hours minimum in the actual room |
| Forcing planks together | Damaged locking system, loose joints | Always use a tapping block or pull bar |
| No vapor barrier on concrete | Moisture damage, mold under the floor | Install a 6-mil polyethylene vapor barrier |
A detail that surprises many first-time installers: expansion gaps around vertical obstacles like pipes, columns, and door frames are just as important as the gaps at the walls. A floor with proper perimeter gaps but a pipe collar nailed tight to the plank will still buckle at that pipe. Use pipe cover plates and make sure the plank opening around the pipe has a bit of breathing room.
Rooms with unusual shapes, like L-shaped spaces or rooms with alcoves, require extra planning. Break these spaces into rectangles in your mind and plan which direction your rows will run before you start.
Pro Tip: When working in kitchen areas or spaces near exterior doors, check out common renovation pitfalls that affect laminate longevity. Moisture at transitions and improper door thresholds are two of the most frequent culprits.
- Avoid ending a row with a plank shorter than 8 inches. Short pieces tend to pop loose over time.
- When cutting around irregular shapes, make a cardboard template first to test the fit before cutting the real plank.
- Keep the room at normal living temperature and humidity during and after installation. Do not install in an empty house with the heat off in winter.
Why laminate flooring is worth considering
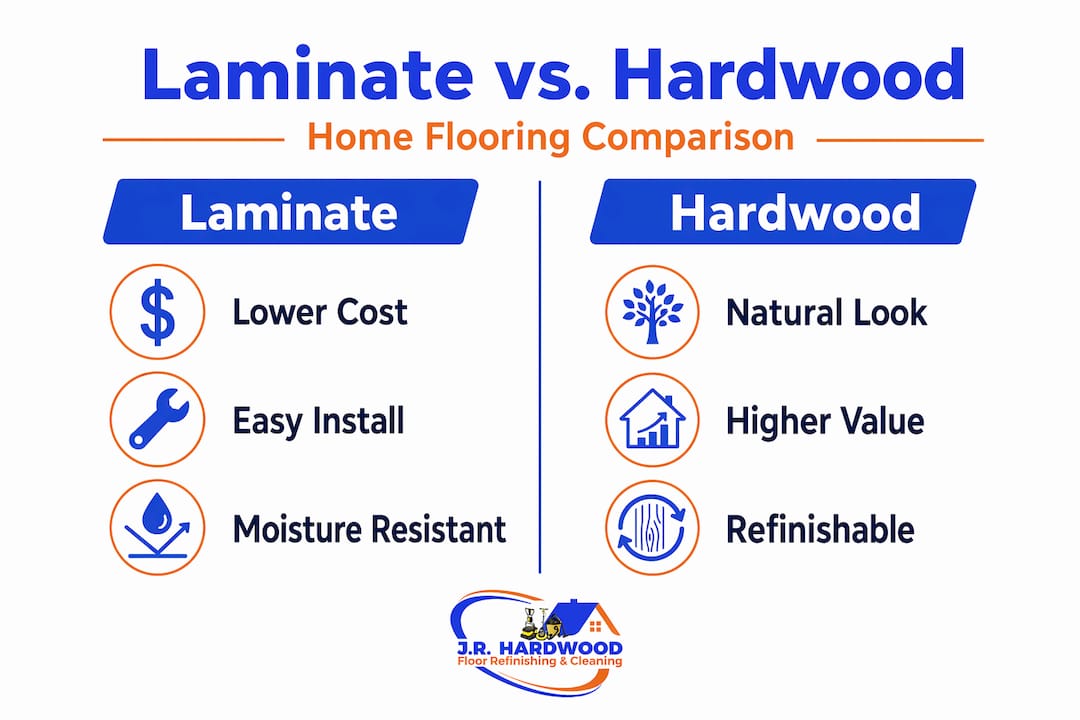
Laminate has had a bit of a reputation makeover. Older products were sometimes associated with a plastic look or quick wear, but modern laminate has significantly improved in water resistance, durability, and realistic wood and stone visuals. Today’s laminate often looks so close to hardwood that most guests cannot tell the difference.
Here is how laminate stacks up as a flooring choice:
| Factor | Laminate | Hardwood | Vinyl (LVP) |
|---|---|---|---|
| Cost | Low to moderate | High | Low to moderate |
| Water resistance | Moderate to high (varies by product) | Low | High |
| DIY-friendly | Yes | Moderate | Yes |
| Refinishable | No | Yes | No |
| Appearance realism | High | Highest | High |
| Durability | High (AC rating) | High | Very high |
Because laminate floats rather than being fastened to the subfloor, it is also more forgiving on slightly imperfect subfloors and easier to remove if you ever want to change flooring down the road. Once installed, keep it looking great with simple cleaning practices designed specifically for laminate surfaces.
The DIY versus professional question comes down to your comfort level with measuring, cutting, and working in tight spaces. Many homeowners manage laminate installation successfully on their own. But if your subfloor needs significant repair, your room has complex angles, or you simply want the job done right the first time, a professional installer is worth the investment. Trained installers meet manufacturer and performance specifications in ways that protect your warranty and your floor’s lifespan.
My take on laminate installation after years in the field
I have seen a lot of laminate floors, both freshly installed and years into their life. The ones that hold up beautifully almost always share one thing in common: whoever put them down actually followed the manufacturer’s instructions instead of winging it.
That sounds obvious. But in practice, I have walked into homes where the floor buckled because someone skipped the expansion gap at a single wall, or where planks were clicking loose because the locking system got hammered directly instead of using a tapping block. These are small details that add maybe 15 minutes to the job. But skipping them costs hundreds of dollars in repairs.
What I have also learned is that the product quality matters less than people think. A mid-range laminate installed correctly will outperform a premium product installed carelessly every single time. And with consumer perceptions about laminate shifting as products improve, the category is genuinely exciting right now. Moisture-resistant cores, realistic embossing, and better locking systems mean today’s laminate is a serious option for most rooms in a home.
If you are unsure whether to DIY or call someone, read up on hardwood floor installation considerations to get a sense of what professional installation involves. It will help you make a more informed call. In my experience, the homeowners who ask questions first always end up happier with their floors.
— J.R.
Let Jrhardwoodfloorrefinishingandcleaning handle your floor
Whether you are ready to install new laminate or your existing floors need some love, Jrhardwoodfloorrefinishingandcleaning is here for you. We serve homeowners across Denver, Parker, Castle Rock, Boulder, Colorado Springs, and the entire Denver Metro Area with professional laminate installation, hardwood refinishing, LVP installation, and floor care that actually lasts.
We offer free over-the-phone quotes based on your description and photos, so you can get a clear picture of your options without any pressure. Our team uses eco-friendly products, premium finishes, and years of hands-on expertise to deliver results you will be proud of. If you are weighing whether to go the DIY route or hire a professional, we can walk you through the honest pros and cons for your specific situation. Give us a call and let us help you get a floor that feels like a warm, inviting hug every time you walk through the door.
FAQ
What is laminate floor installation exactly?
Laminate floor installation is the process of locking laminate planks together over a subfloor using a click-lock floating system, meaning no glue or nails attach the floor to the subfloor beneath it.
How long does laminate floor installation take?
Most residential laminate installations take between one and three days depending on room size and subfloor conditions, making it one of the faster flooring options available.
Do I really need to leave an expansion gap?
Yes. Expansion gaps of 1/4 inch around all walls and vertical obstacles give the floor room to expand and contract. Skipping them causes buckling and peaking, especially in summer.
Can I install laminate over concrete?
Yes, but you must install a vapor barrier first. A 6-mil polyethylene barrier over the concrete slab protects the laminate from moisture damage and mold growth underneath.
Should I hire a professional or DIY my laminate installation?
If your subfloor is in good condition and the room is straightforward, DIY is very manageable. For complex rooms, damaged subfloors, or warranty protection, a certified flooring professional will deliver more reliable results.