 Skip to content
The safest way to remove glue from hardwood is also the slowest: soften it first, lift it with a plastic tool, and clean up before you ever reach for a solvent. Start with heat from a hair dryer or a hot, damp towel, then slide a plastic scraper or an old credit card under the softened glue. Wipe the spot with warm soapy water, let it dry, and check the finish for dullness. If a patch of adhesive won’t budge, escalate to rubbing alcohol or a commercial remover, always in a hidden spot first.
- Soften with heat (hair dryer, hot towel) before you touch a tool to the floor.
- Lift with a plastic scraper or credit card angled low, never a metal blade.
- Clean with warm, soapy water and dry the area completely.
- Test any product on a hidden section before treating the visible spot.
Pro Tip: Run a strip of painter’s tape around the edge of the glue spot before you start. It keeps solvents and scraper slips off the surrounding finish while you work.
Table of Contents
- Five Quick Fixes for Small Glue Spots
- How Long Should You Apply Heat to Loosen Glue?
- Which Solvents and Commercial Removers Actually Work?
- When Should You Scrape, Freeze, or Sand Glue Off?
- When Should You Call a Professional Instead?
- A Faster, Safer Path When Your Floor Needs More Than a Scraper
- Frequently Asked Questions
- Sources
Five Quick Fixes for Small Glue Spots
Most glue spots on hardwood come from stickers, tape, or a dropped piece of packing material, and they respond well to the gentlest tools in your kitchen. Work through these in order, stopping as soon as one works.
- Warm soapy water and a microfiber towel. Dab the spot, let it sit two to three minutes, then wipe. This alone handles most water soluble glues.
- Heat plus a plastic scraper. Warm the spot with a hair dryer on medium for 30 to 60 seconds, then lift the softened edge with a plastic scraper.
- Rubbing alcohol for hardened glue. Dampen a cloth with 70% isopropyl alcohol, hold it on the spot for a minute, then scrape gently. Rubbing alcohol breaks down hardened adhesive effectively and evaporates fast, so it doesn’t sit on the finish long enough to cause trouble.
- A dab of coconut or olive oil. Light residue often loosens with a small amount of oil worked in with a soft cloth, then wiped clean.
- Adhesive remover wipes or a citrus based product. These work well for tiny, isolated spots when you’d rather not mix up a solution.
Keep a few rules in mind as you go.
- Always start with the gentlest option and only move up if it fails.
- Never use a metal scraper, putty knife, or razor blade on the wood.
- Test in a hidden corner before applying anything to a visible spot.
- Dry the floor thoroughly afterward. Standing moisture can cup or swell the boards.
How Long Should You Apply Heat to Loosen Glue?
Heat is often the single best first move because it works on almost every adhesive type without introducing a single drop of chemical. The trick is patience, not power.
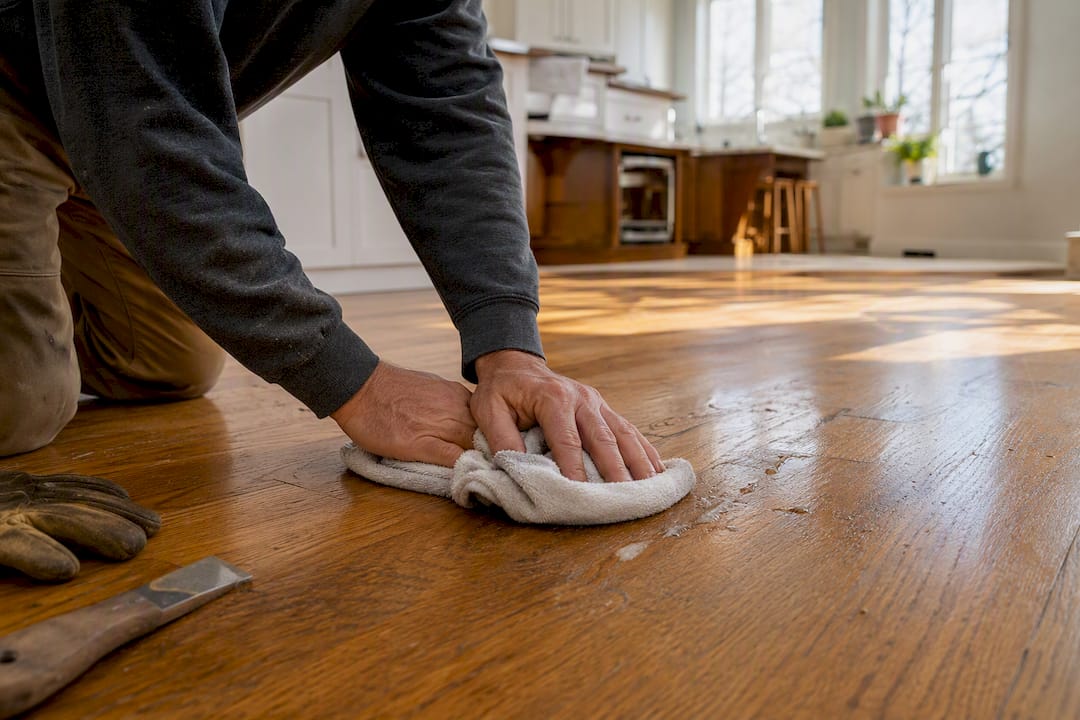
For the hot towel method, soak a towel in boiling water, wring it out so it’s damp but not dripping, and lay it directly over the glue for three to five minutes. Lift it, and the glue should have softened enough to peel or scrape away cleanly. If it hasn’t, reheat the towel and repeat rather than pressing harder with your scraper.
For the hair dryer technique, hold the dryer six to eight inches from the floor on medium heat, moving it in slow circles for 30 to 60 seconds at a time. Never park the dryer in one spot. Concentrated heat on a single point is how you end up with a discolored ring in the finish.
A heat gun can work on stubborn, thick adhesive, but only on its lowest setting and kept constantly moving. Skip steam cleaners entirely. Steam introduces moisture directly into the wood grain, and swollen boards are far harder to fix than a glue spot.
- Test heat on a hidden area first to confirm the finish tolerates it.
- Apply heat in short bursts, checking the glue’s texture between passes.
- Stop the moment the glue turns soft and pliable. Overheating just melts it deeper into the grain.
- Wear gloves. Hot towels and heat guns burn skin fast.
- Keep heat moving at all times.
- Avoid finish seams, inlays, or veneer edges where heat concentrates unevenly.
Which Solvents and Commercial Removers Actually Work?
Matching the remover to the glue is where most DIY jobs go right or wrong. Latex and PVA adhesives usually respond to warm water and mild detergent, while oil-based or polyurethane construction adhesives typically need mineral spirits or a citrus-based remover. Epoxy is the toughest customer and sometimes needs a specialized remover or mechanical work instead of a solvent at all.
Before treating a visible spot, run a patch test:
- Pick a hidden area, like inside a closet or under a rug.
- Apply a small amount of the product and wait the time listed on the label.
- Check for dulling, softening, or color change in the finish before proceeding.
Testing solvents in an inconspicuous spot first matters because a “universal fix” can strip a finish faster than it lifts the glue, and repairing that damage often costs more than the original mess.
Once you’ve confirmed a product is safe, apply it correctly:
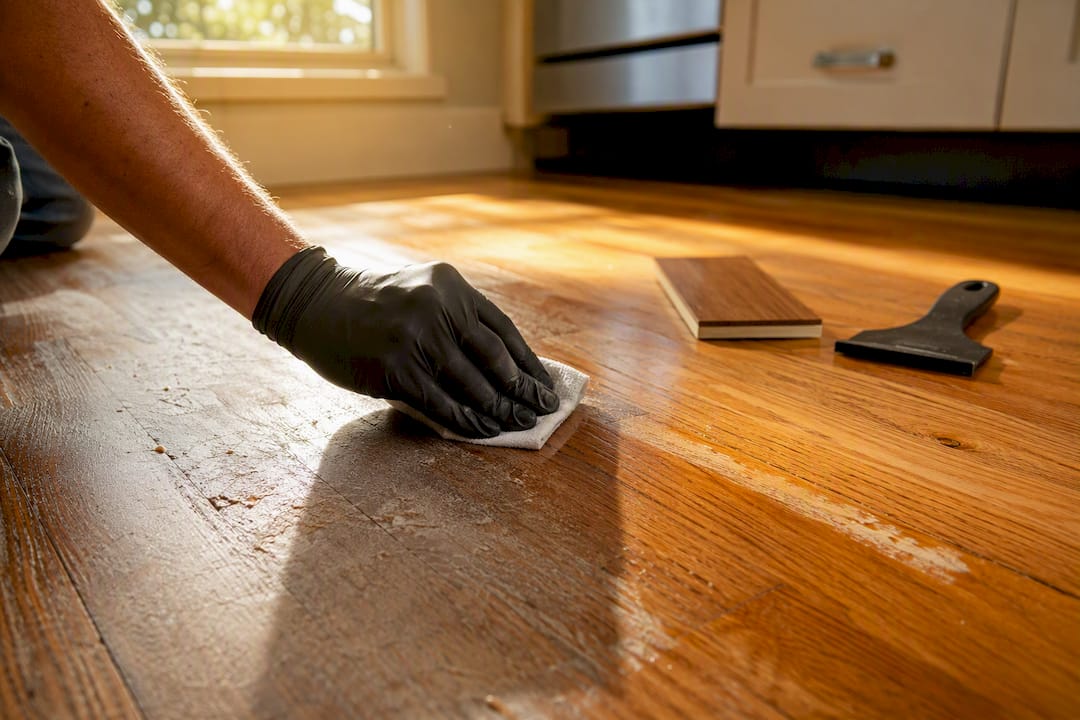
- Put the solvent on a cloth, not directly on the floor.
- Let it sit for the shortest dwell time that softens the glue, usually a minute or two.
- Lift with a plastic scraper, then wipe the area with mild soap and water to clear solvent residue.
- Dry completely before walking on the spot.
On safety: ventilate the room, wear gloves and eye protection when applying mineral spirits or citrus removers, and know that mineral spirits are flammable, so keep them away from pilot lights and open flames. Dispose of soaked rags in a sealed metal container.
A few notes on specific products: Goo Gone and Goof Off both cut through sticky residue well, but manufacturers themselves recommend patch-testing since certain finishes can dull or strip. WD-40 can loosen light adhesive in a pinch, but use it sparingly and wipe up excess quickly since it leaves an oily film. MAPEI adhesive remover, built for construction-grade flooring adhesives, is stronger and better suited to leftover mastic from old tile or vinyl installations than to a light sticker spot. Skip all of these on waxed, oiled, or unfinished floors, where solvents behave unpredictably.
Pro Tip: If you’re not sure what finish is on your floor, check our guide to identifying your floor finish before opening any solvent. Polyurethane, oil, and wax finishes each react differently.
When Should You Scrape, Freeze, or Sand Glue Off?
Mechanical removal is your next step when heat and solvents alone won’t lift the residue, and the tool you choose matters as much as the technique.
- Use a plastic putty knife or plastic razor blade held at a low angle, sliding under the glue rather than digging into it.
- Never use a metal blade or aggressive prying. Metal gouges the wood and cuts straight through most finishes.
- For thicker layers, an oscillating tool fitted with a wood-safe blade can help, used lightly and only on the adhesive itself.
Dry ice is a lesser-known option worth trying before you consider sanding. Dry ice can embrittle and crack certain adhesives so they lift away in pieces instead of smearing. Wear insulated gloves, place the dry ice on a small tray directly over the glue, and limit contact to short intervals to avoid cold burns on your hands or the surrounding finish.
- Test dry ice on a small hidden section to confirm it doesn’t crack the finish itself.
- Apply for 30 to 60 seconds, then attempt to lift the brittle adhesive with a plastic scraper.
- Repeat as needed, moving to a fresh section rather than lingering in one spot.
Sanding should be your true last resort. Adhesive that’s soaked into or chemically bonded with the finish sometimes can’t be lifted any other way, but sanding risks creating low spots and color mismatches that are far more visible than the glue ever was. Our complete guide to hardwood floor refinishing walks through what that process actually involves.
Pro Tip: Keep a spare scrap of the same flooring, if you have one, to test dry ice or sanding pressure before touching the actual floor.
When Should You Call a Professional Instead?
Some jobs simply aren’t worth the DIY risk, especially when the stakes are an entire room’s finish rather than one spot.
Call a professional if any of these apply:
- The adhesive covers a large or widespread area, like an old rug pad or full-room tile mastic.
- The glue has visibly soaked into or discolored the finish rather than sitting on top of it.
- You’re dealing with antique, engineered, or otherwise valuable flooring you don’t want to risk.
- A DIY attempt has already dulled or damaged a section of the finish.
- You suspect the backing material contained PVC or phthalates, common in cheap rug pads, which can permanently bond with or discolor wood finishes.
When you do call a contractor, ask these questions:
- Will you inspect the floor and finish type before quoting a method?
- Will you attempt spot-sanding, or does the damage require a full refinish?
- Do you offer eco-friendly stripping and finish products?
- What’s the estimated timeline, and how is the estimate structured?
A qualified flooring specialist typically offers targeted chemical stripping, controlled sanding with proper feathering at the edges, full refinishing when needed, and touch-up poly to blend repairs into the surrounding floor. Jrhardwoodfloorrefinishingandcleaning handles this exact inspection process for homeowners across the Denver Metro Area, offering free quotes over the phone based on photos and a quick conversation about what happened, then recommending eco-friendly refinishing options suited to the floor’s actual condition rather than a one-size-fits-all fix.
Pro Tips and Mistakes That Cost You the Finish
Before you touch anything, look at the sheen. A glossy, plastic-feeling surface is usually polyurethane. A matte, absorbent surface that darkens when you drop water on it is likely wax, oil, or unfinished wood, and it needs gentler treatment across the board.
Pro Tip: Apply solvents to a cloth, never straight onto the boards, and keep dwell time under a minute or two. Longer exposure is how a “safe” product ends up dulling the sheen.
- Never use a metal scraper. It’s the single most common cause of finish scratches.
- Don’t over-wet the floor. Standing water causes cupping days later, not immediately.
- Don’t skip ventilation when using mineral spirits or citrus removers indoors.
- Don’t sand deeper than necessary. Repeated solvent use or overly aggressive sanding both wear down a finish faster than the original glue spot ever would.
A Flooring Specialist’s Take on Glue Removal
The costliest mistakes we see aren’t from using the wrong product. They’re from homeowners pushing past the point where they should have stopped and called someone. If glue has soaked into the finish or left a stain that won’t lift, an inspection saves you from turning a small spot into a full refinish. We offer free phone and photo quotes and use eco-friendly finishes precisely because that first conversation should cost you nothing.
Stepwise, finish-first removal protects your floor better than any single product ever will.
| Point | Details |
|---|---|
| Start gentlest first | Soften with heat or warm soapy water before reaching for any solvent or scraper. |
| Skip metal tools entirely | Use only plastic scrapers or old credit cards to avoid scratching the finish. |
| Match solvent to glue type | Latex responds to soap and water; oil-based and polyurethane adhesives need mineral spirits or citrus removers. |
| Sanding is a last resort | Sanding risks low spots and color mismatch, so try every gentler method first. |
| Call J.R. Hardwood for larger jobs | Jrhardwoodfloorrefinishingandcleaning offers free phone and photo quotes for Denver-area floors with soaked-in adhesive or finish damage. |
A Faster, Safer Path When Your Floor Needs More Than a Scraper
If you’ve worked through heat, alcohol, and even a commercial remover and the glue (or the damage it left behind) is still staring back at you, the honest next step usually isn’t another product. It’s an inspection. Jrhardwoodfloorrefinishingandcleaning gives Denver Metro homeowners a free quote over the phone, based on a quick description and a few photos, so you find out what you’re dealing with before spending another weekend on it. That’s the real advantage here: no guessing which solvent is safe for your specific finish, no risk of turning a glue spot into a bigger repair, just a straight answer from someone who’s looked at hundreds of floors like yours.

Our team uses eco-friendly products and premium finishes, whether the fix is a targeted spot repair or a full hardwood floor refinishing job. If the adhesive has soaked into the wood or discolored the finish, ask about our sanding and refinishing process to see whether a full restoration or a smaller spot fix makes more sense for your floor. Call for your free phone and photo quote, and we’ll tell you plainly what your floor needs.
Frequently Asked Questions
Will rubbing alcohol damage my hardwood floor’s finish?
Rubbing alcohol is generally safe on polyurethane finishes when used briefly and wiped off promptly, since it evaporates fast. Always patch-test first, since older or oil-based finishes can react differently.
Can I use Goo Gone or Goof Off on hardwood floors?
Yes, with caution. Both products remove sticky residue effectively, but manufacturers recommend patch-testing since some finishes can dull or dry out with extended contact. Wipe up excess quickly and clean the area with mild soap and water afterward.
Is it safe to remove glue from hardwood with WD-40?
WD-40 can loosen light adhesive residue, but it leaves an oily film that needs thorough cleaning afterward. It’s better suited to a quick, small spot than a large area.
What’s the best glue remover for wood floors with a polyurethane finish?
If those fail, a citrus-based commercial remover applied briefly and patch-tested first is the next step up.
When should I stop trying to remove glue myself and call a professional?
Stop if the adhesive has stained or soaked into the finish, if it covers a large area, or if a DIY attempt has already dulled the surface. A professional can inspect the floor and recommend spot-sanding or full refinishing rather than risking further damage.
Sources
- How to remove gummy residue from hardwood floors
- How to remove glue from hardwood floors safely and effectively – Floor Chem Depot
- How to Remove Adhesive From a Hardwood Floor