 Skip to content
TL;DR:
- Proper floor preparation enhances a home’s first impression by cleaning, repairing, refinishing, and staging floors before listing. It is essential to inspect thoroughly, clean with appropriate tools, repair damages, and time refinishing correctly while testing moisture before installing new flooring. Protecting and staging floors after curing ensures they look their best during showings and photos, ultimately boosting buyer appeal and sale potential.
Floor preparation for sale is the process of cleaning, repairing, refinishing, and staging your floors so buyers see them at their absolute best. Floors are one of the top visual priorities for buyers, especially in kitchens and entryways, making thorough prep the key to a strong first impression. The steps to prepare floors for sale follow a clear sequence: assess condition, clean deeply, repair damage, refinish if needed, test moisture, and stage carefully. Get the order right and your floors become a selling point. Skip a step and buyers notice.
1. start with a full floor inspection
A floor inspection is the foundation of every smart prep plan. Walk every room and note scratches, stains, soft spots, loose boards, and finish wear. Pay close attention to high-traffic zones like hallways, kitchens, and living rooms. These areas show wear fastest and draw buyer attention first.
Use a bright flashlight held at a low angle to reveal surface scratches that overhead lighting hides. Check for squeaky boards by pressing down firmly as you walk. Write down what you find so you can prioritize repairs and decide whether a professional refinish makes sense.
2. deep clean every floor surface
Cleaning floors before sale is the fastest, lowest-cost improvement you can make. Microfiber mops and safe dilutions preserve floor finish and appearance far better than traditional string mops, which push dirty water into seams and scratch surfaces. Start with dry dust removal using a microfiber pad, then follow with a damp mop using a properly diluted, floor-safe cleaner.
Focus your effort on the areas buyers scrutinize most:
- Kitchens: Grease buildup near the stove and refrigerator dulls finish quickly.
- Bathrooms: Soap scum and hard water stains on tile grout signal neglect.
- Entryways: Dirt tracked in from outside concentrates here and shows in listing photos.
- Baseboards: Dust and grime along baseboards make even clean floors look dingy.
Pro Tip: Avoid using steam mops on hardwood or laminate. The heat and moisture can warp boards and lift finish, creating damage that costs more to fix than the cleaning saves.
3. repair scratches, dents, and damaged boards
Spot sanding and wood fillers improve appearance and reduce buyer objections before a single showing. Minor surface scratches on hardwood respond well to a touch-up marker or blended wood filler in a matching stain color. Deeper gouges need spot sanding followed by filler, then a light coat of finish to blend.
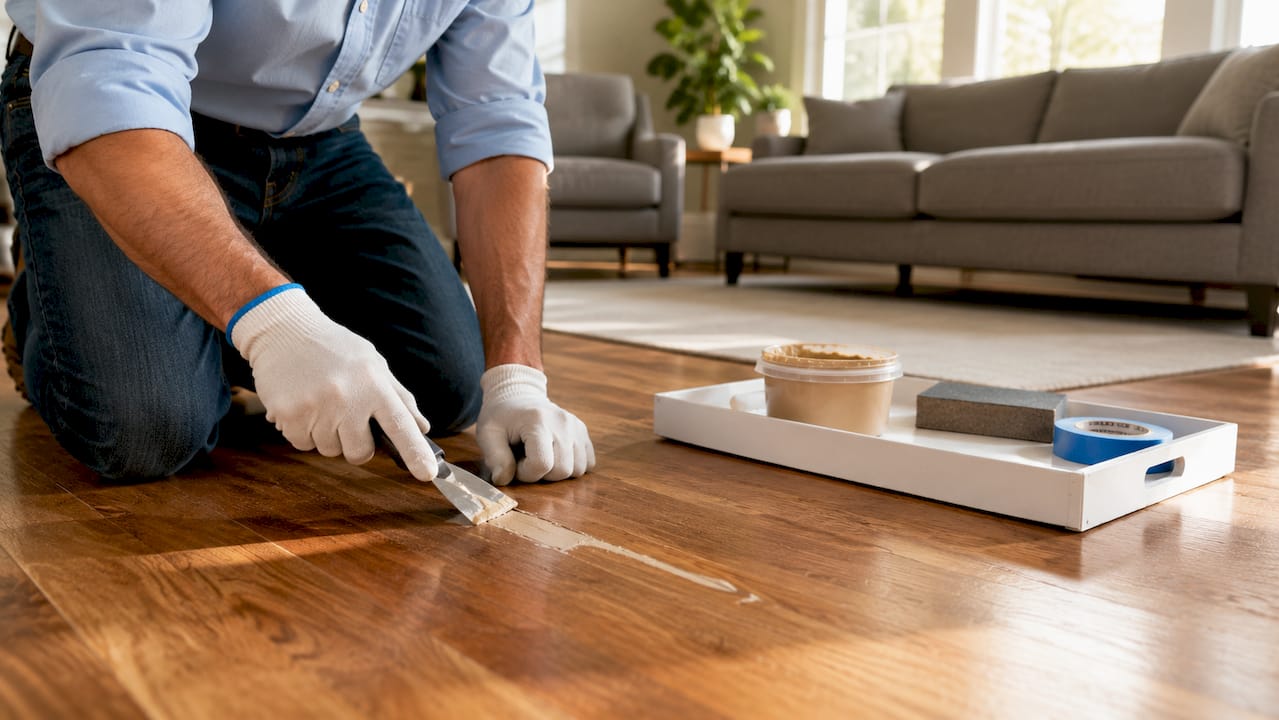
Here is a quick guide to matching repair methods to damage severity:
| Damage Type | Severity | Recommended Fix | Approximate Cost |
|---|---|---|---|
| Light surface scratches | Low | Touch-up marker or wax stick | Under $20 DIY |
| Deep scratches or gouges | Medium | Spot sand and wood filler | $50–$150 DIY or pro |
| Water stains or discoloration | Medium | Spot sand and refinish | $100–$300 pro |
| Loose or squeaky boards | Medium | Re-nail or re-glue boards | $75–$200 pro |
| Warped or rotted boards | High | Full board replacement | $200–$600+ pro |
Call a professional when damage covers more than a few boards or when water damage has reached the subfloor. Attempting large repairs without the right tools often makes the problem worse and more expensive to fix later.
4. refinish hardwood floors at the right time
Refinishing hardwood before listing is like giving your floors a full spa day. It removes years of wear and brings back the warm, rich look that buyers love. The key is timing. Book your refinishing 6–8 weeks before your target listing date and schedule the work to finish 3–4 weeks out so floors have time to cure fully before photos and showings.
The active refinishing process typically follows this sequence:
- Day 1: Clear furniture and prep the space. Sand the entire floor to remove the old finish.
- Day 2: Detail sand edges and corners. Make any board repairs.
- Day 3: Apply stain if a color change is desired. Allow full dry time.
- Days 4–5: Apply finish coats and allow drying between each coat.
A floor may feel dry to the touch within hours, but full chemical curing takes days. Placing rugs or heavy furniture too soon risks scuffs and trapped odors that reduce buyer appeal right before showings.
Pro Tip: Water-based finishes dry faster and allow re-entry in as little as 24 hours for light foot traffic. Oil-based finishes take longer but offer a richer amber tone. Talk to your floor professional about which finish fits your timeline and the look you want.
Allow a full 7-day cure after the final coat before placing rugs or staging furniture. That patience pays off in floors that photograph beautifully and hold up through multiple showings.
5. test moisture before any new flooring goes down
Moisture testing is a non-negotiable step if you are replacing flooring rather than refinishing. ASTM F2170 and ASTM F1869 are the two industry-standard methods for measuring moisture in concrete subfloors. ASTM F2170 measures relative humidity inside the slab at 40% depth, with typical acceptable thresholds of 75–85% RH. ASTM F1869 uses a calcium chloride test with thresholds of 3–5 lbs per 1,000 square feet per 24 hours. Exceeding these thresholds before installation voids most flooring warranties.
Follow these steps to prepare your subfloor properly:
- Remove all old adhesive residue, staples, and debris from the subfloor surface.
- Check for high or low spots using a long straightedge. Level any variation greater than 3/16 inch over 10 feet.
- Run moisture tests per ASTM F2170 or ASTM F1869 and record results.
- If moisture exceeds thresholds, apply an approved moisture mitigation product before proceeding.
Improper subfloor prep causes installation problems, delays your listing date, and can void warranties on new flooring. Skipping this step is one of the most expensive mistakes sellers make.
6. stage and protect floors for showings
Staging floors well after refinishing is about protecting your investment until closing day. Timing refinishing to finish well before photos and showings means floors are fully cured, odor-free, and show at their best. Rushing this step is one of the most common mistakes we see.
Follow these protective measures once floors are cured:
- Felt pads: Apply felt pads to the bottom of every piece of furniture before moving it back in. Hard feet scratch fresh finish instantly.
- Area rugs: Place rugs only after the full 7-day cure period. Rugs placed too early trap solvents and cause soft spots in the finish.
- Foot traffic rules: Ask family members and showing visitors to remove shoes or wear clean socks during the listing period.
- Photography timing: Schedule listing photos after the full cure period so floors reflect light cleanly and show their true color.
Pro Tip: Turn off HVAC systems during the final finish coats and for several hours afterward. Forced air circulation can cause dust to settle on wet finish, creating a rough texture that dulls the final appearance.
7. create a pre-listing floor inspection checklist
A written checklist keeps your floor prep on track and prevents last-minute surprises. Real estate professionals who use a floor inspection checklist before listing consistently catch issues that would otherwise surface during buyer inspections. Use this as your baseline:
- All surface scratches and gouges repaired or refinished
- Floors deep cleaned including baseboards and transitions
- Moisture test completed and results within acceptable range
- Subfloor level and free of debris
- Finish fully cured before staging furniture or rugs
- Felt pads on all furniture legs
- Listing photos scheduled after full cure period
Walk through this list at least two weeks before your target listing date. That buffer gives you time to address anything you missed without scrambling.
Key takeaways
The most effective steps to prepare floors for sale combine early inspection, thorough cleaning, targeted repairs, properly timed refinishing, moisture testing, and careful staging to maximize buyer appeal.
| Point | Details |
|---|---|
| Inspect before anything else | Walk every room with a flashlight to catch scratches, soft spots, and water damage early. |
| Clean with the right tools | Use microfiber mops and properly diluted cleaners to protect finish and remove buildup. |
| Time refinishing carefully | Book 6–8 weeks out and finish 3–4 weeks before listing to allow full curing. |
| Test moisture before new installs | Use ASTM F2170 or F1869 standards to avoid warranty voids and installation failures. |
| Protect floors through showings | Apply felt pads, delay rugs until day 7, and schedule photos after full cure. |
What i’ve learned after years of prepping floors for sale
The single biggest mistake I see sellers make is treating floor prep as a last-minute task. They call us two weeks before their listing date expecting a full refinish, and we have to deliver hard news: the cure time alone takes most of that window. Scheduling refinishing early avoids delays that directly impact listing dates and buyer impressions. I have watched sellers lose negotiating power because buyers spotted soft finish or strong odors during showings.
The second thing I tell every homeowner is this: do not skip the moisture test if you are putting down new flooring. I have seen beautiful new hardwood installations buckle within months because the subfloor was never tested. That is a warranty void and a costly repair that falls entirely on the seller or new owner.
My honest recommendation is to treat floor prep the same way you treat a home inspection. Do it early, document everything, and fix what needs fixing before buyers ever walk through the door. Freshly refinished floors create real buyer excitement. They photograph well, they feel solid underfoot, and they signal that the home has been cared for. That perception translates directly into offers.
— J.R.
Get your floors show-ready with Jrhardwoodfloorrefinishingandcleaning
If you are preparing to list your home in the Denver Metro Area, Parker, Castle Rock, or anywhere along the Front Range, Jrhardwoodfloorrefinishingandcleaning is ready to help you get your floors looking their best before the first showing.
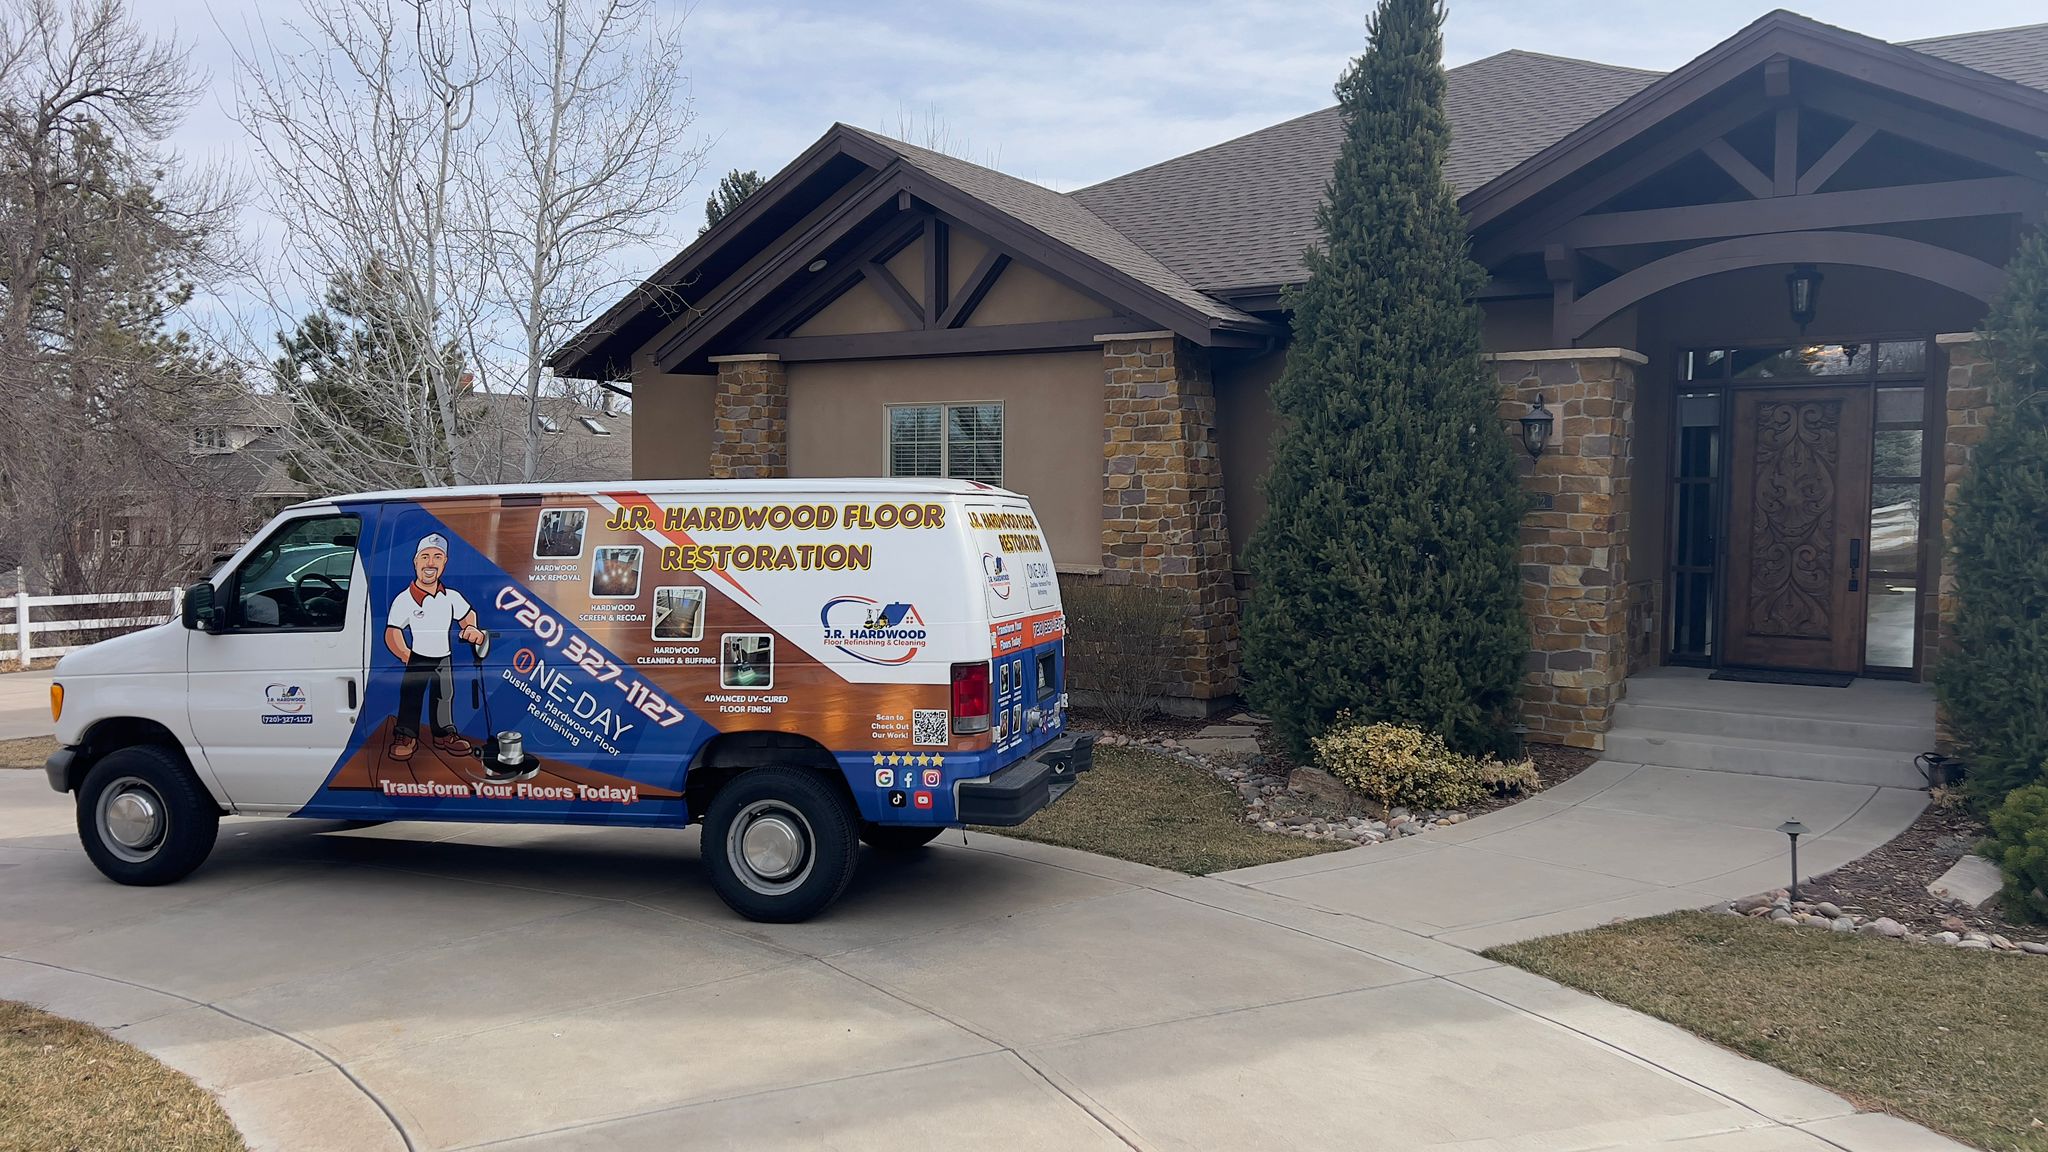
We offer free over-the-phone quotes, flexible scheduling built around your listing timeline, and eco-friendly products that are safe for your family and your floors. Whether you need a full sand and refinish or a targeted clean and buff, our team delivers results that show up in listing photos and hold up through every showing. Explore your options on our DIY vs. professional refinishing page, or reach out today to lock in your spot before your listing date arrives.
FAQ
How far in advance should i refinish floors before listing?
Book refinishing 6–8 weeks before your listing date and complete the work 3–4 weeks out. This allows full curing before photos, staging, and showings.
Can i clean hardwood floors myself before selling?
Yes. Use a microfiber mop with a properly diluted, hardwood-safe cleaner. Avoid steam mops and excess water, which can warp boards and lift finish.
How long does hardwood floor refinishing take?
Active refinishing work takes 3–5 days, covering sanding, repairs, staining, and finish coats. Add 7 days of cure time before placing furniture or rugs.
Do i need a moisture test before installing new flooring?
Yes. ASTM F2170 and F1869 moisture tests are required before most flooring installations. Skipping this step can void warranties and cause flooring to buckle or separate after installation.
What floors do buyers notice most during showings?
Buyers focus most on kitchens and entryways because these are the first spaces they see and use. Clean, scratch-free floors in these areas create a strong first impression that carries through the rest of the showing.